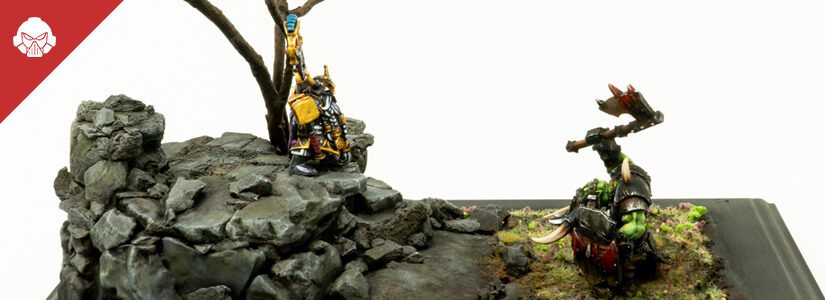
After participating in the diorama paint-off challenge earlier this year, Jason finally decided it was time to work on a duel concept he’s had in his mind for years. Continue on to see more of this Dwarf v. Orc duel …
I’ve had these two minis for years now, always with a plan to one day create some sort of mini diorama showing a standoff between the two. But after my work on the Ultramarines display piece, I felt confident to finally work on the idea.
Painting the minis

I’ve had the dwarf half-painted since 2018 when I tested out the Mr. Color buffable metallic paints so I got started on him first. From there, it was really just working on the rest of the details using a few GW and Vallejo metallics to brighten him up then sealing it in with a gloss varnish. I went back to the beard (which was based with acrylic greys) with some white and black mixed oil paints to build them up more then seal with some ultra matte varnish.
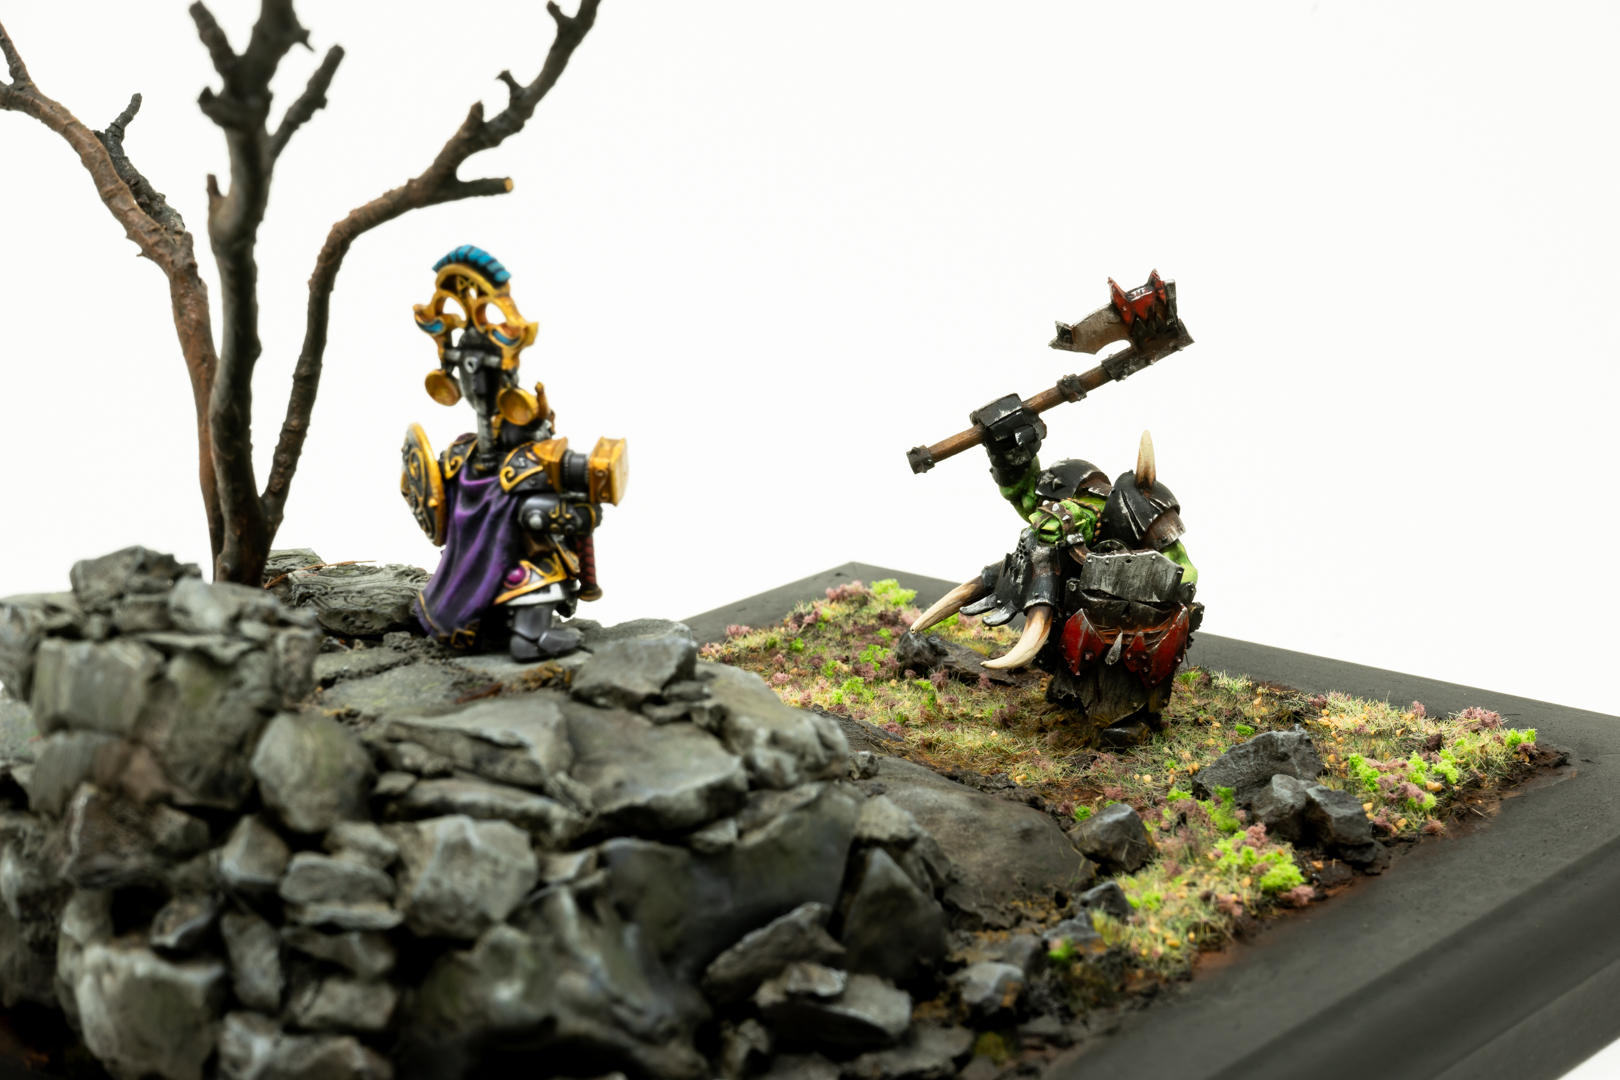
I’ve painted A TON of Orcs (or rather, Orks) for my 40K force, but for the Black Orc I wanted to try out some variations to my skin and black armor recipes. The skin is pretty straight forward with some various Orc flesh colors from GW but I built up the highlights a bit with Dead Flesh from Vallejo. After that I used some oil paints (browns/greens) for a wash and then highlighted the skin back up with some light green oils. For the armor, it was really focused on black and Incubi Darkness (GW) with an all-over black oil wash. I went with an ultra matte varnish all over to really knock it all back down. Now I’ll break down how I came up with the base…

Building and painting the base
In all honesty, the base is what kept me from even approaching this idea in the first place. So many ideas in my head, but I wasn’t sure on the scale of it all. We were cleaning the apt this year and I had this broken picture frame and instantly knew, this could be the base!
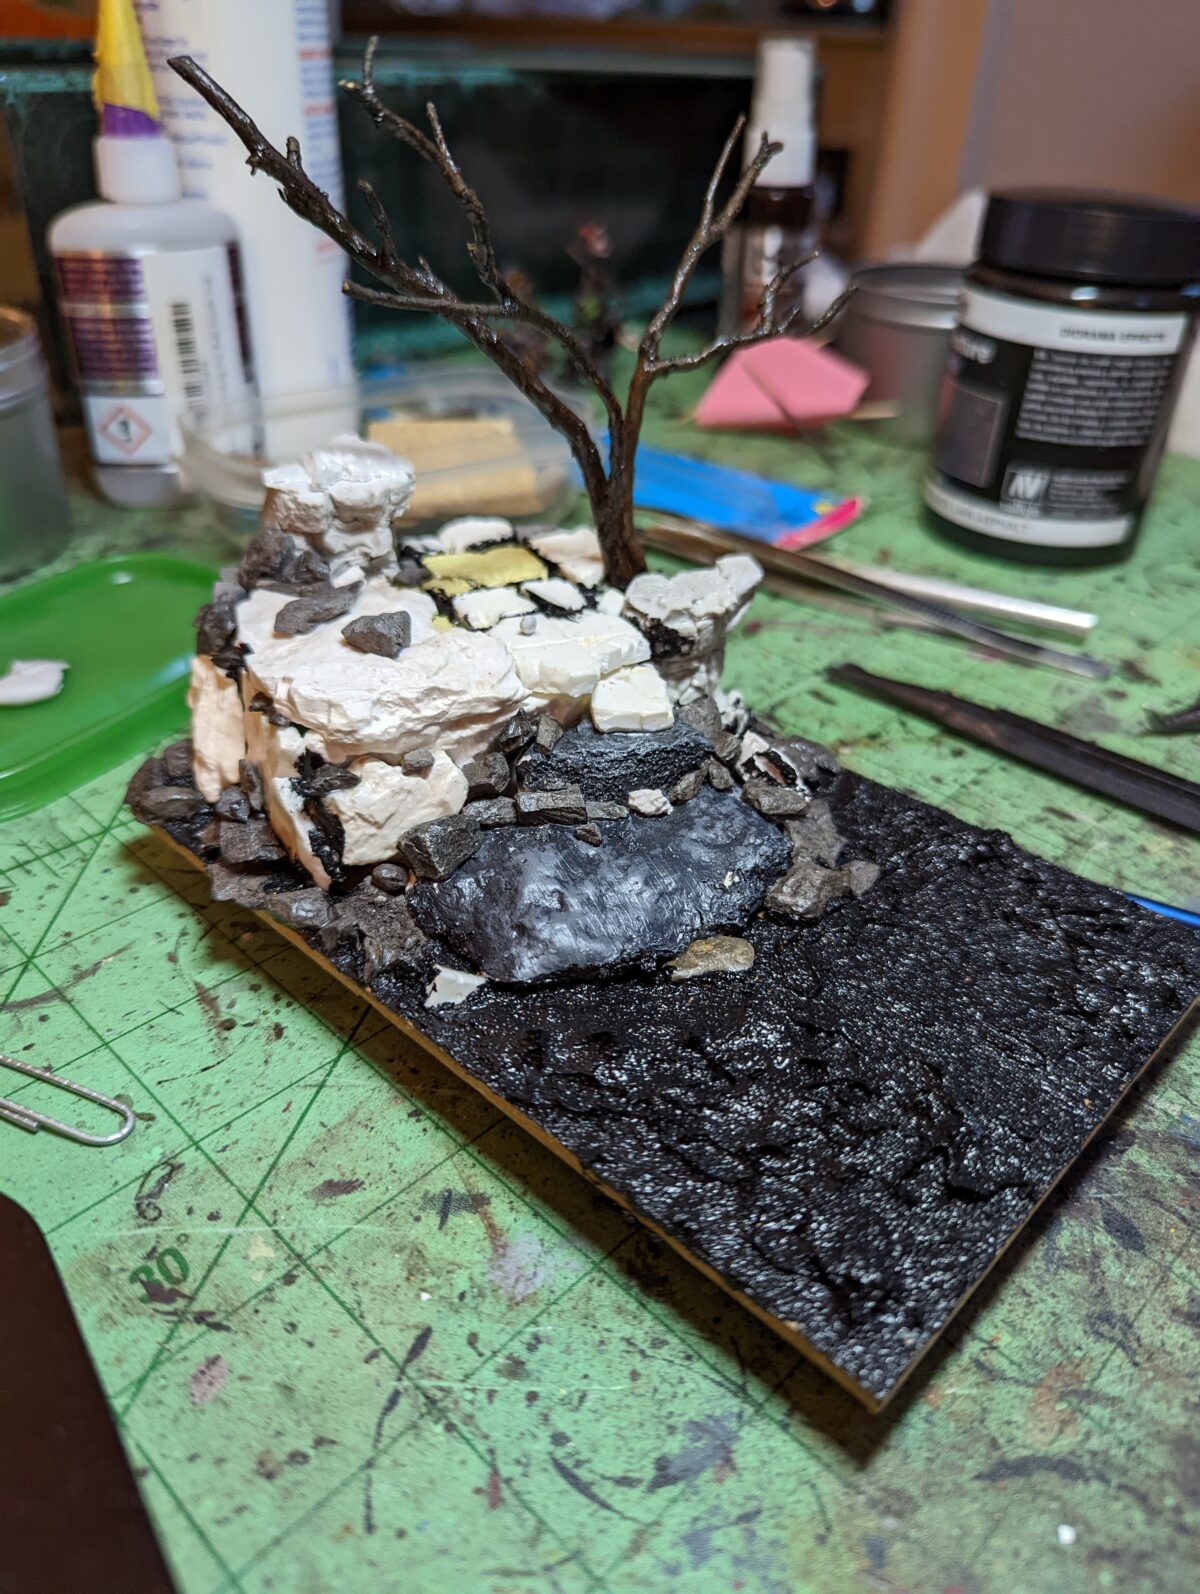
I took the backing off the frame so I knew how much space I had to work with. Instead of putting it back in the back of the frame, I was going to place it up top so it’d be more flush. I started to sketch out how I wanted the mountain area to be setup using a mix of foam, plaster rocks, cork and more. At first I had this idea for stairs leading up, but I switched up my mind to having it be more natural. I picked up a few Dwarf basing accessories from Scibor miniatures to give it a bit more detail.
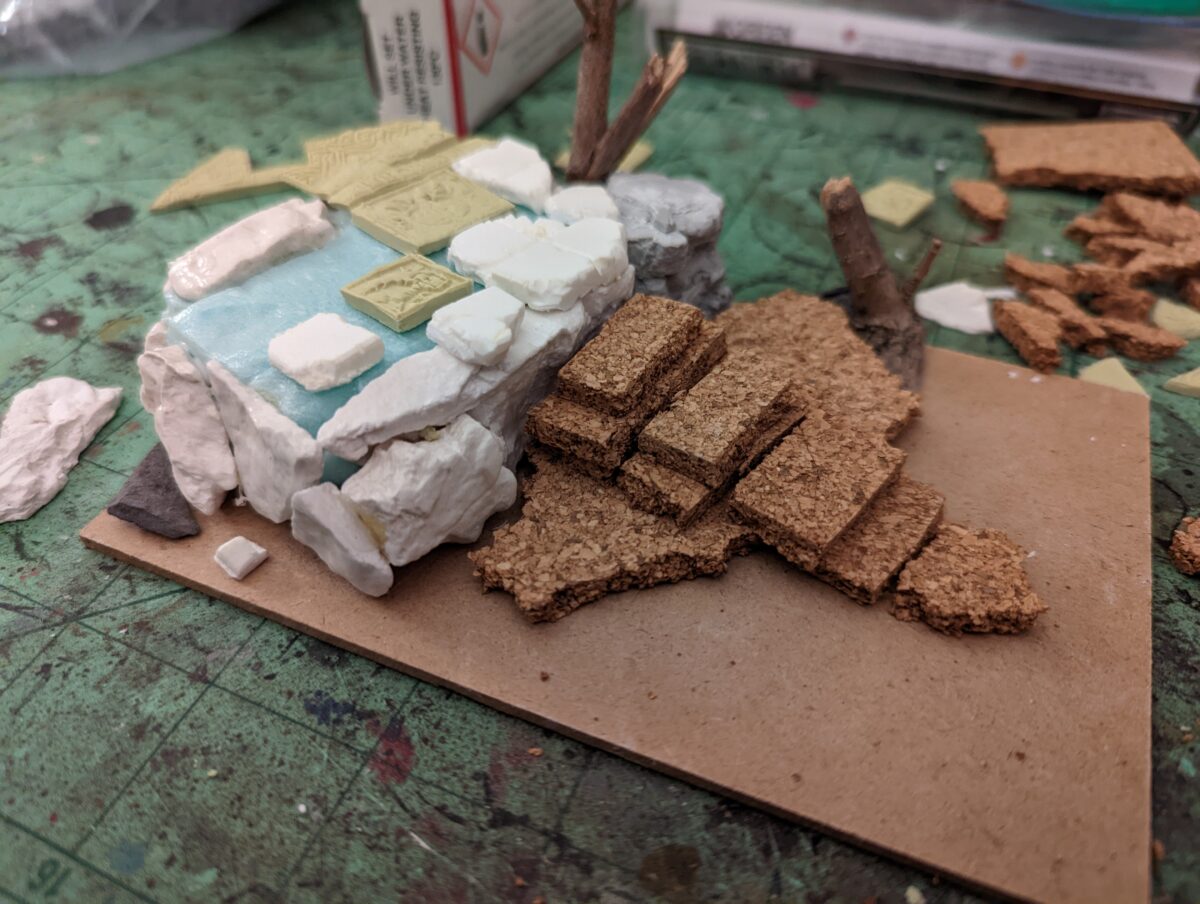
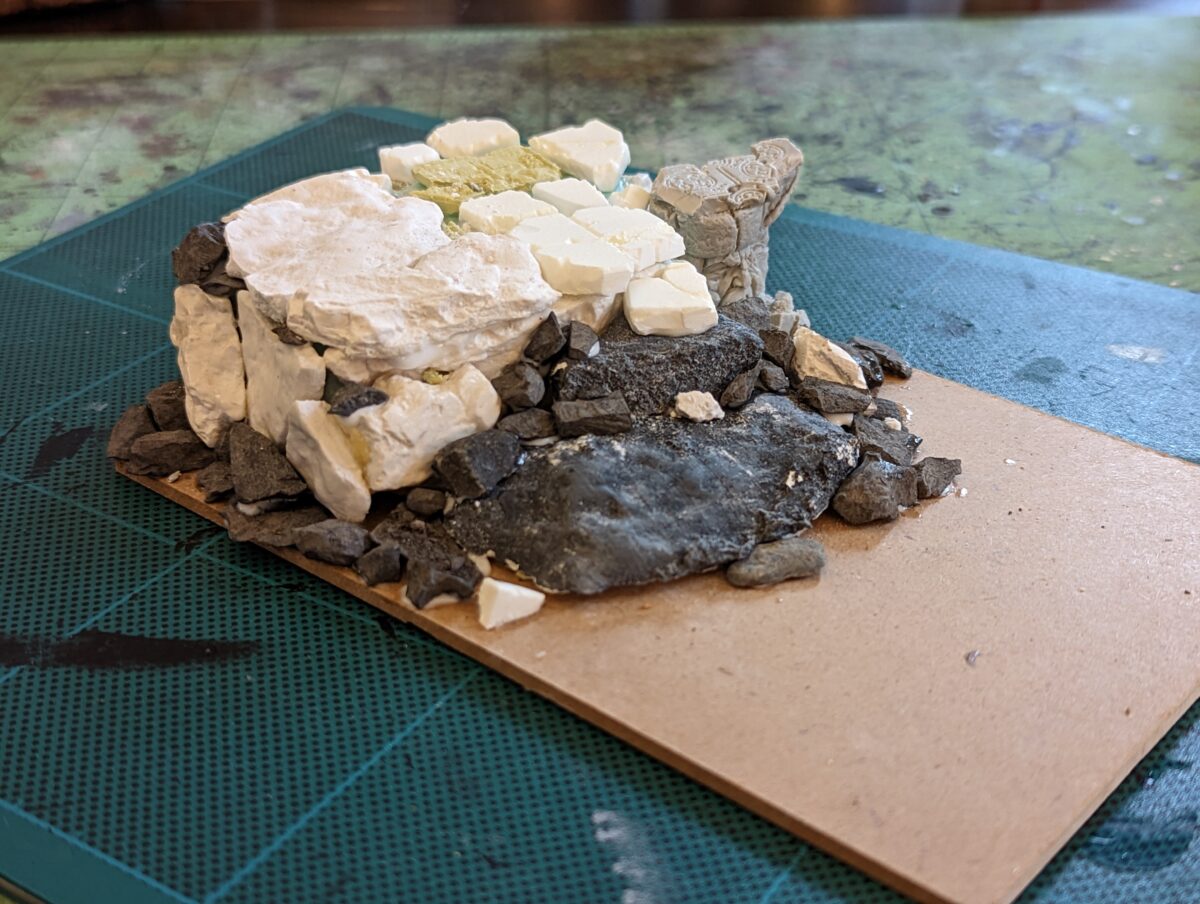
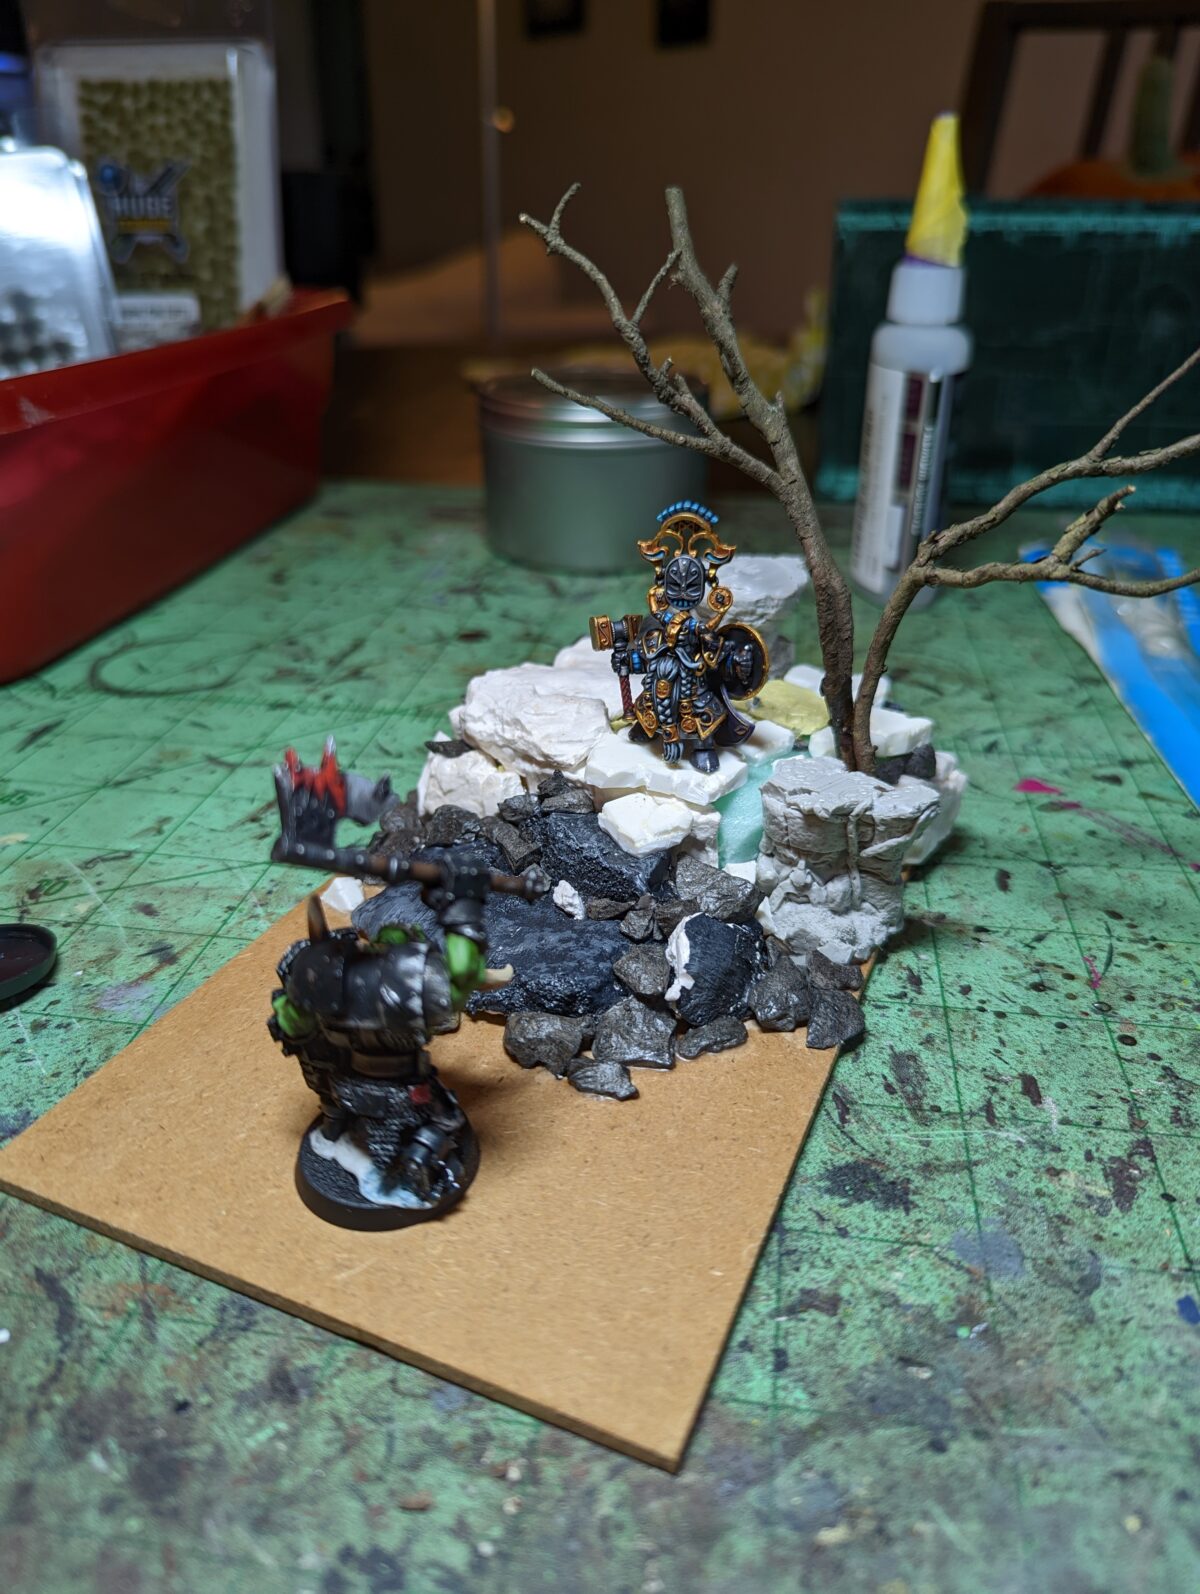
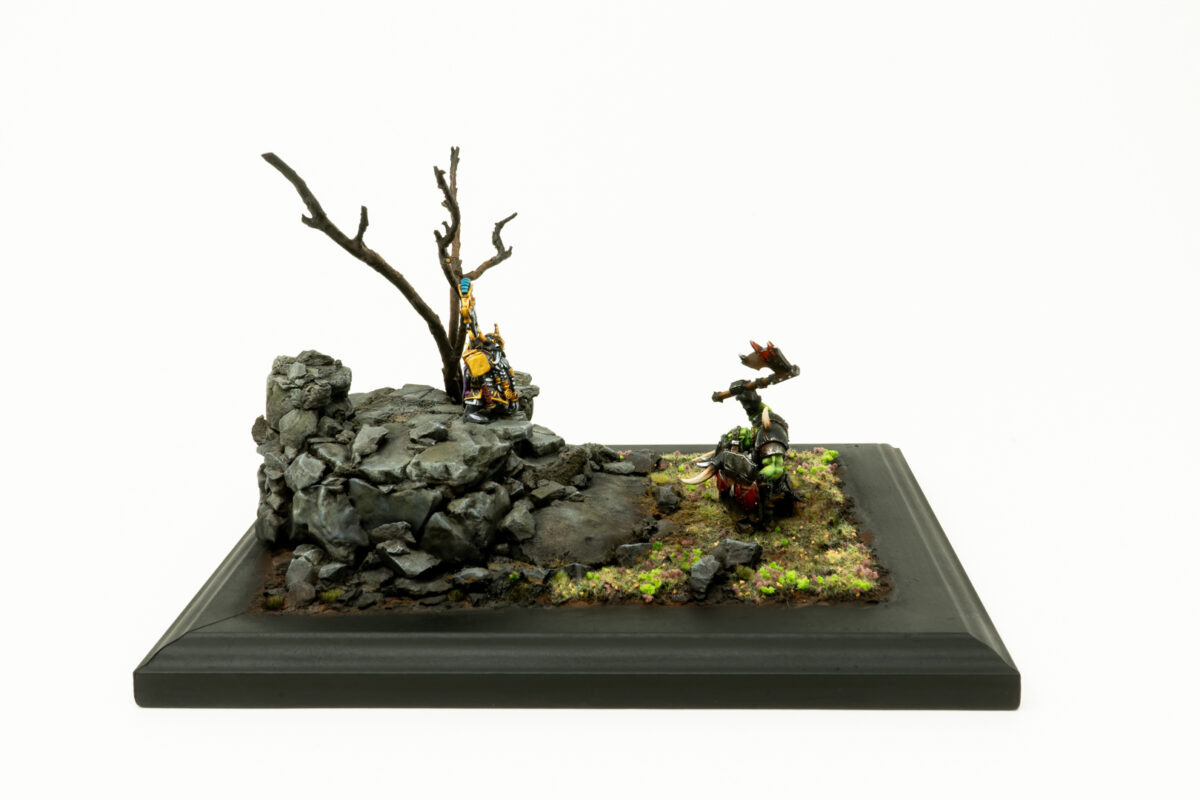
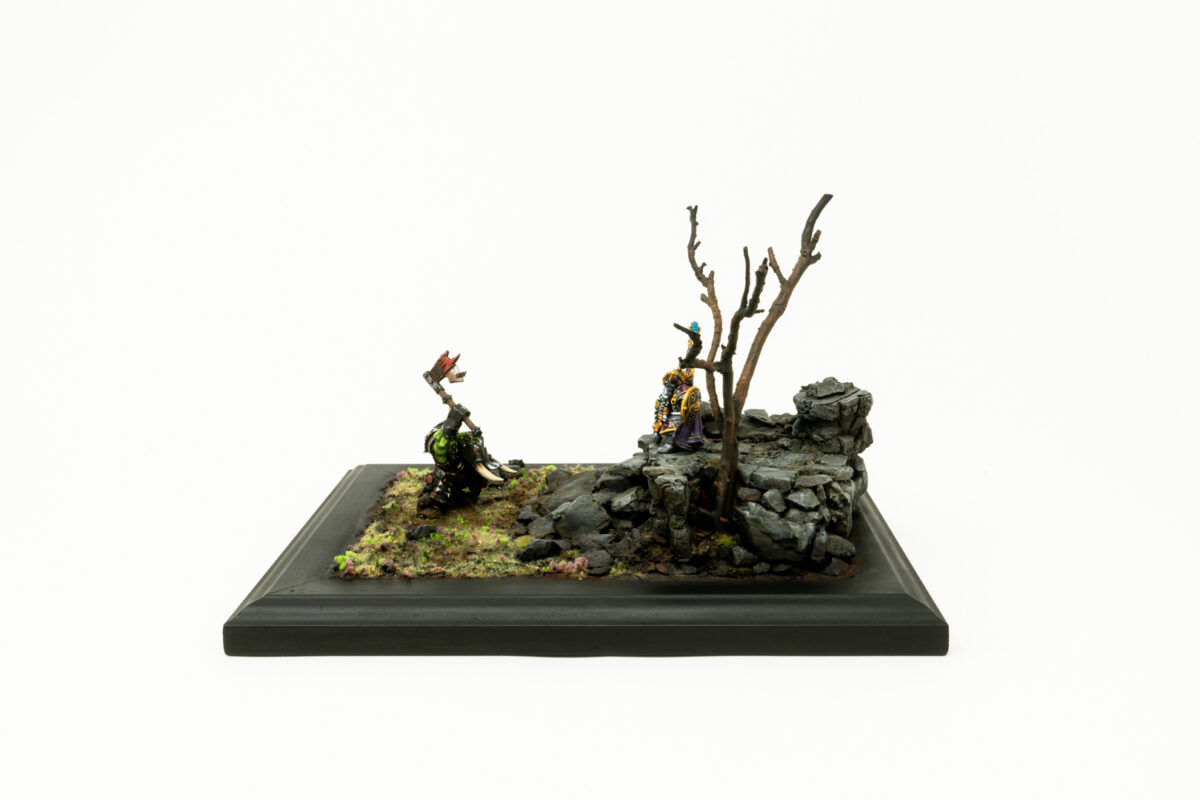
I brought in the minis to test the scale and once I was happy I fleshed out the scene more with bits of slate, some branches from a bush to act like a tree and using some Vallejo lava paste as my base for the ground.
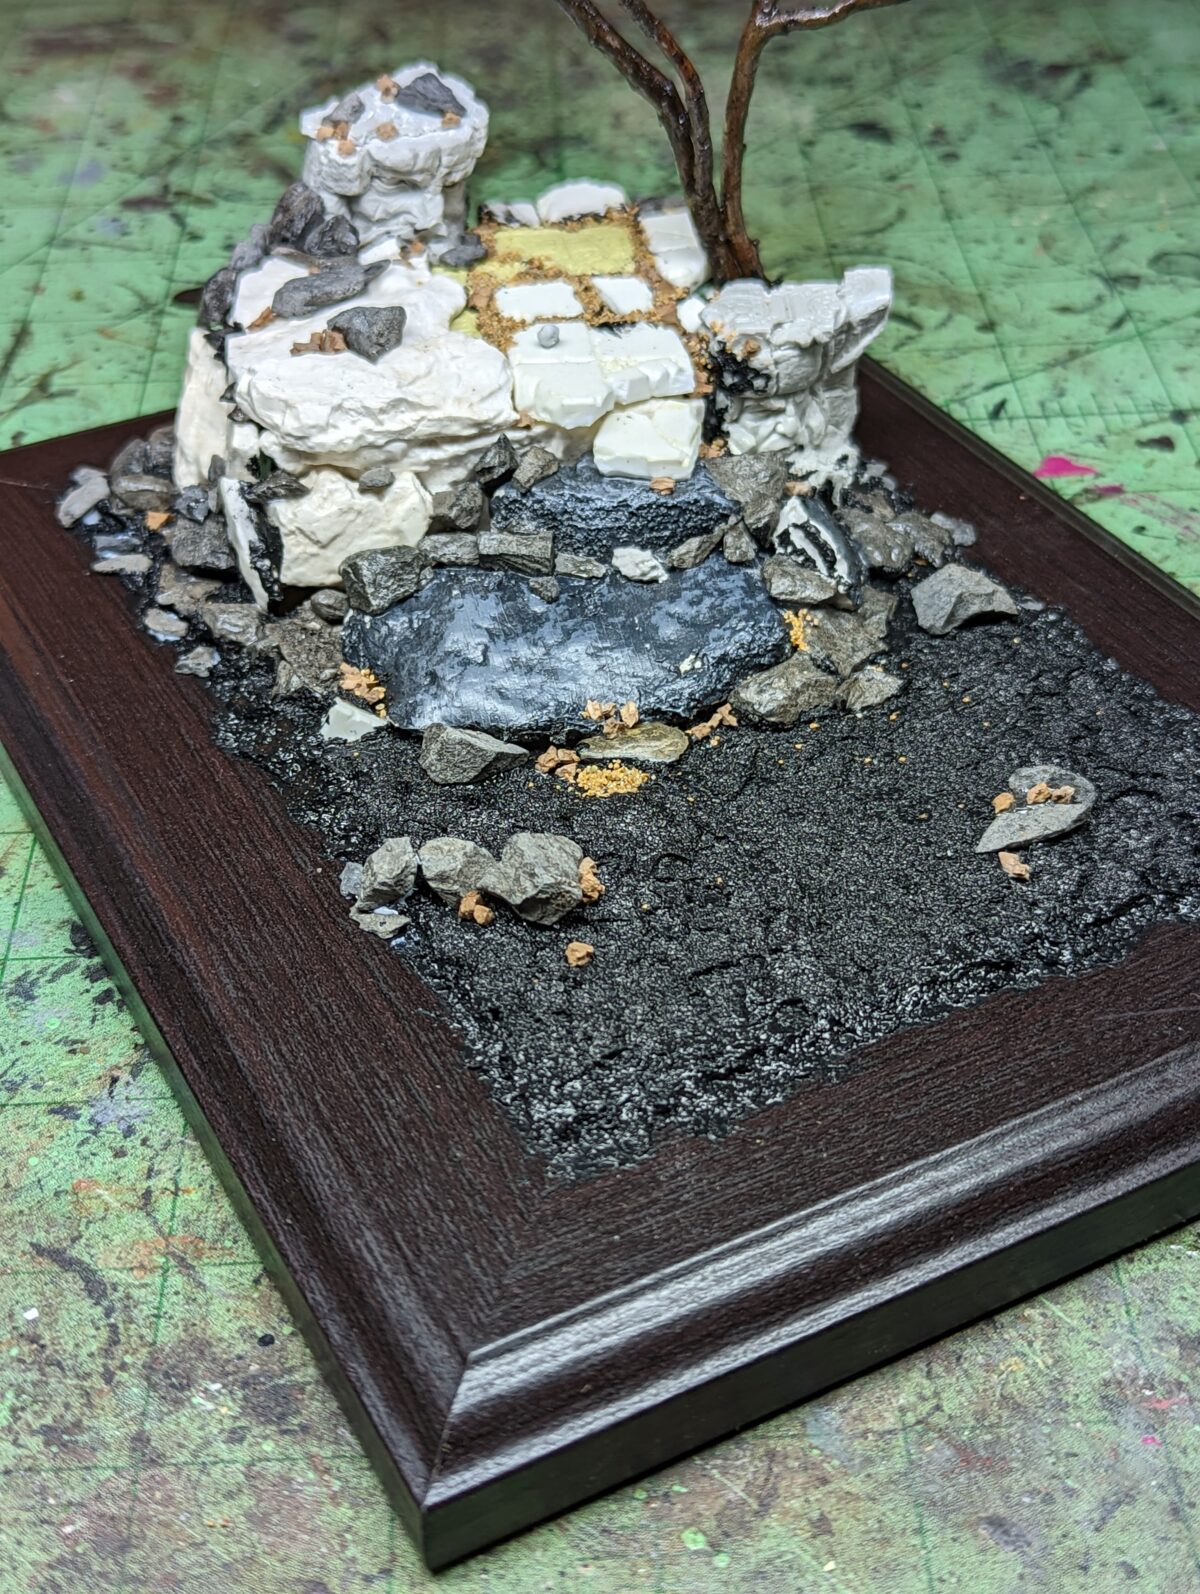
Once that was set I put the scene onto the frame and started to fill in the gaps between it and the frame, trying to blend it more evenly. After that I masked the frame and got to painting!
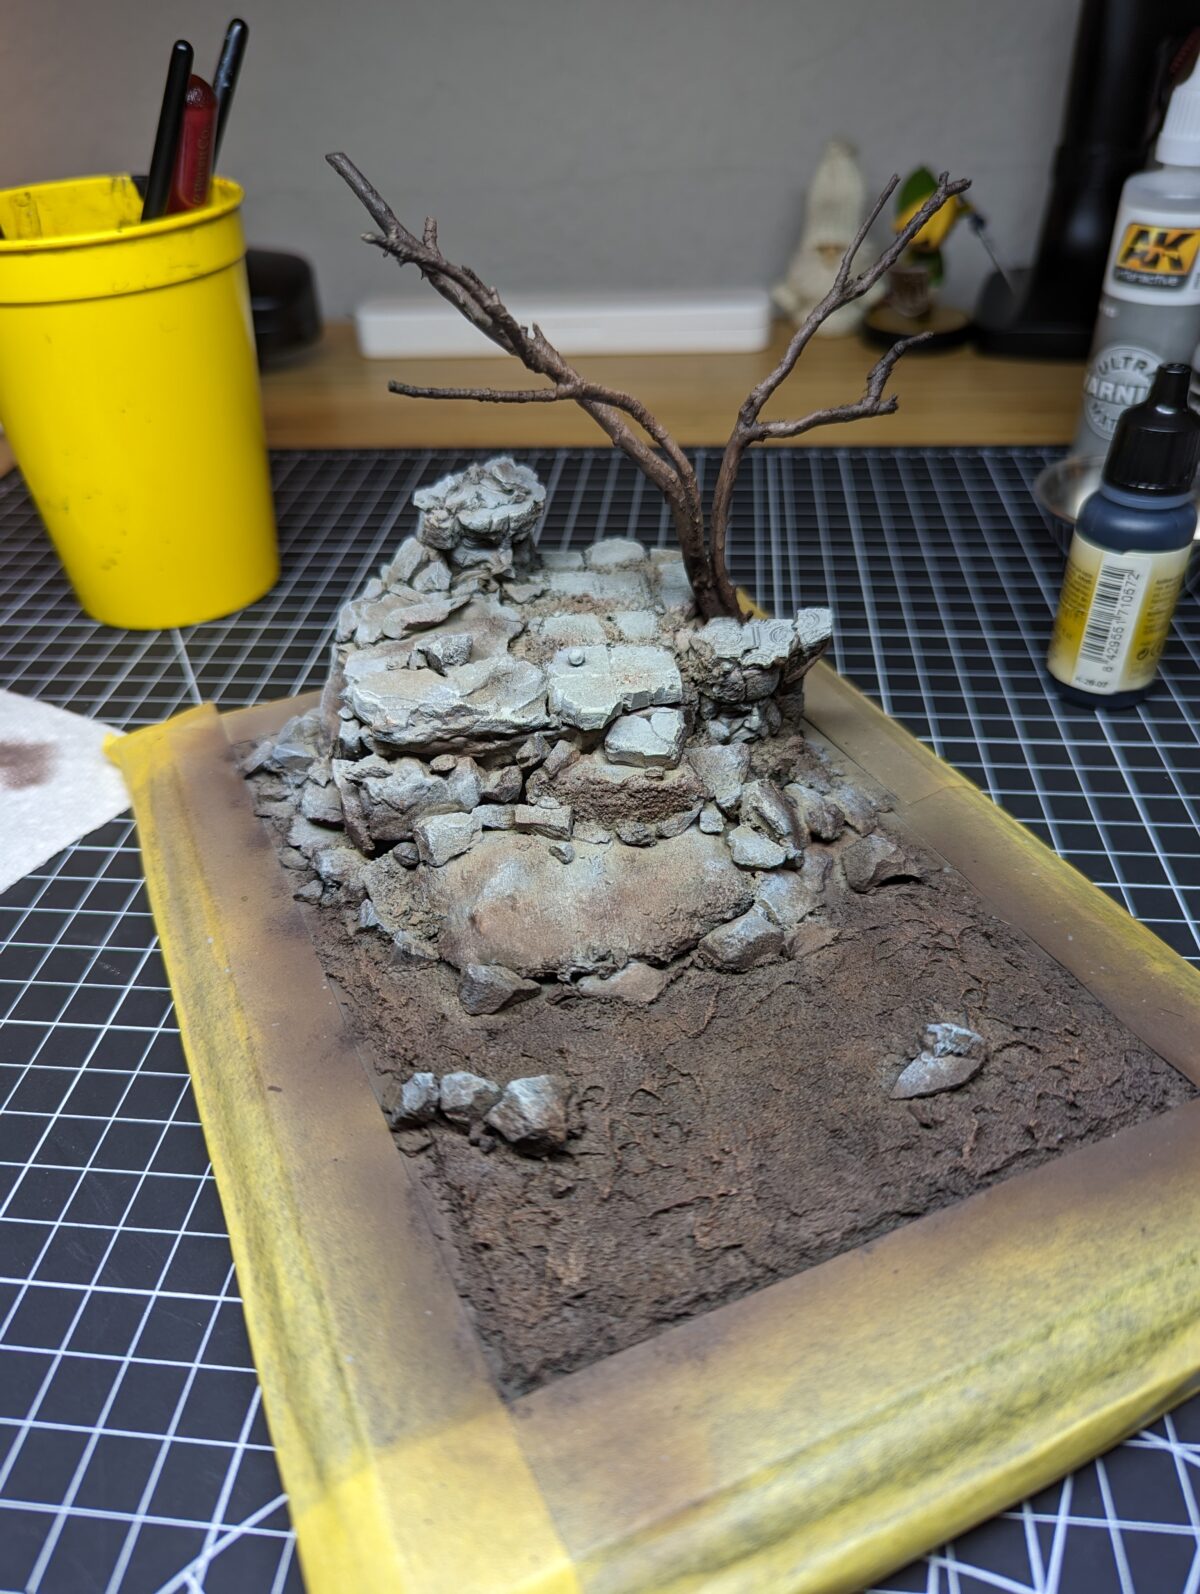
And with some finishing touches of tufts and grass from Huge Miniatures and some Vallejo weathering powders, the scene is complete…


If pictures aren’t enough, I also setup a 360 degree breakdown of the display on my Youtube channel.
Leave a Reply