
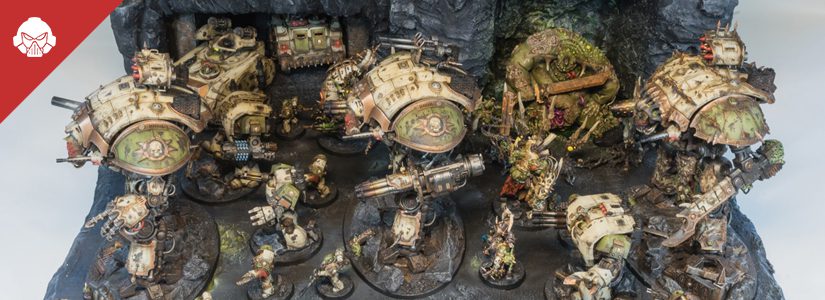
After placing Bronze last year, Jason really wanted to up his game for Armies on Parade this year and get a gold. He took photos along the way and wants to share the making of his Death Guard display for Armies on Parade this year.
Building the Core Display
Planning. Planning. Planning!
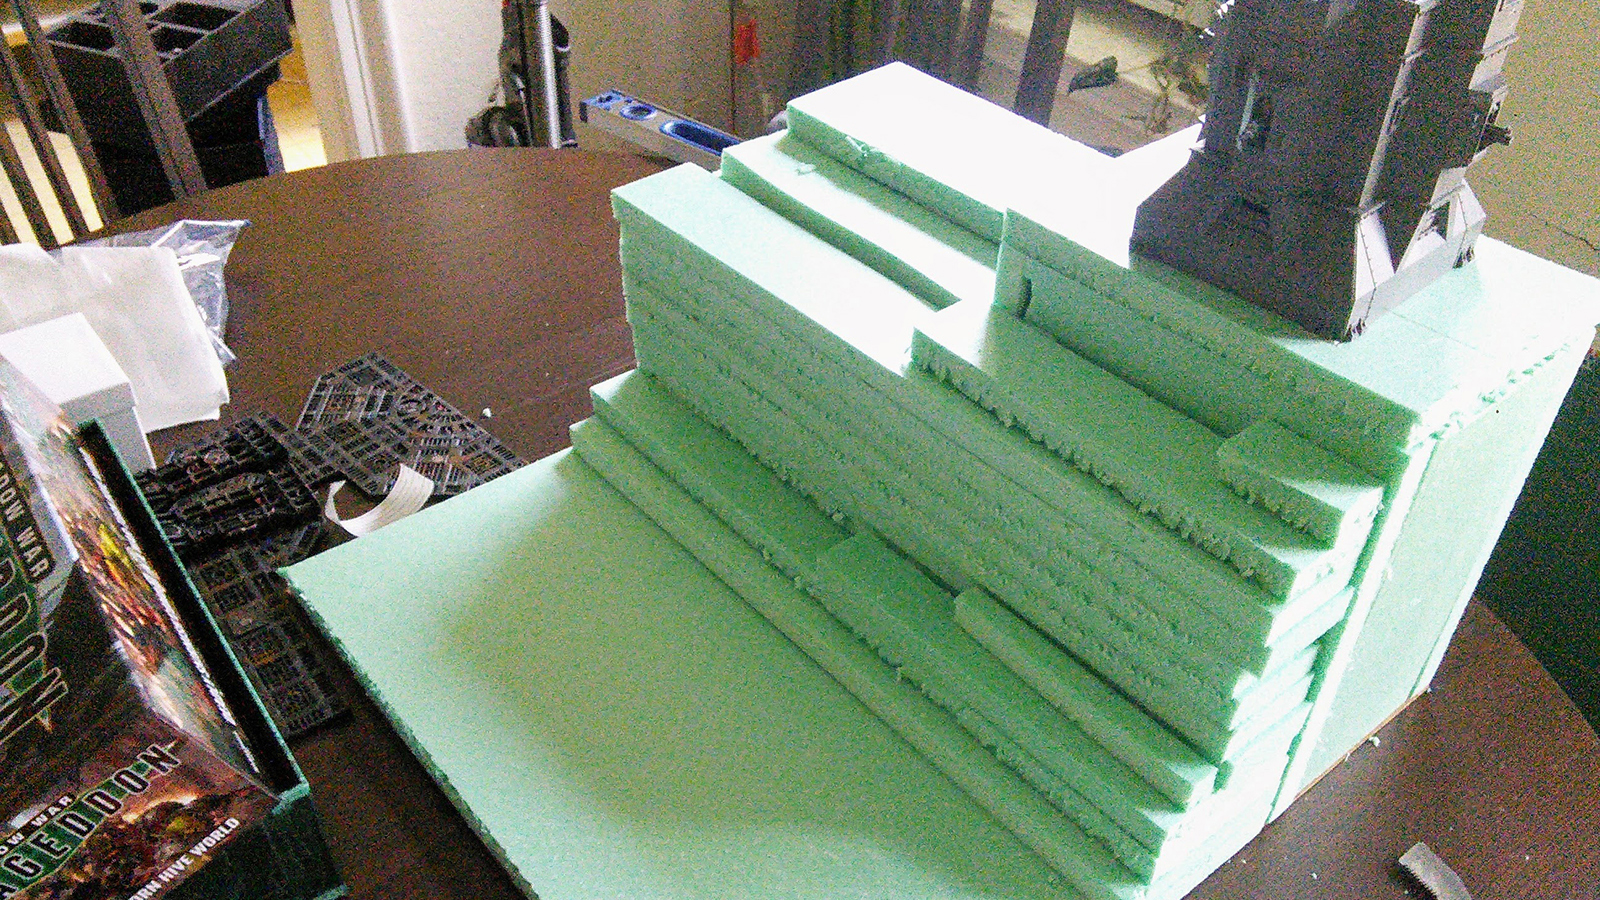
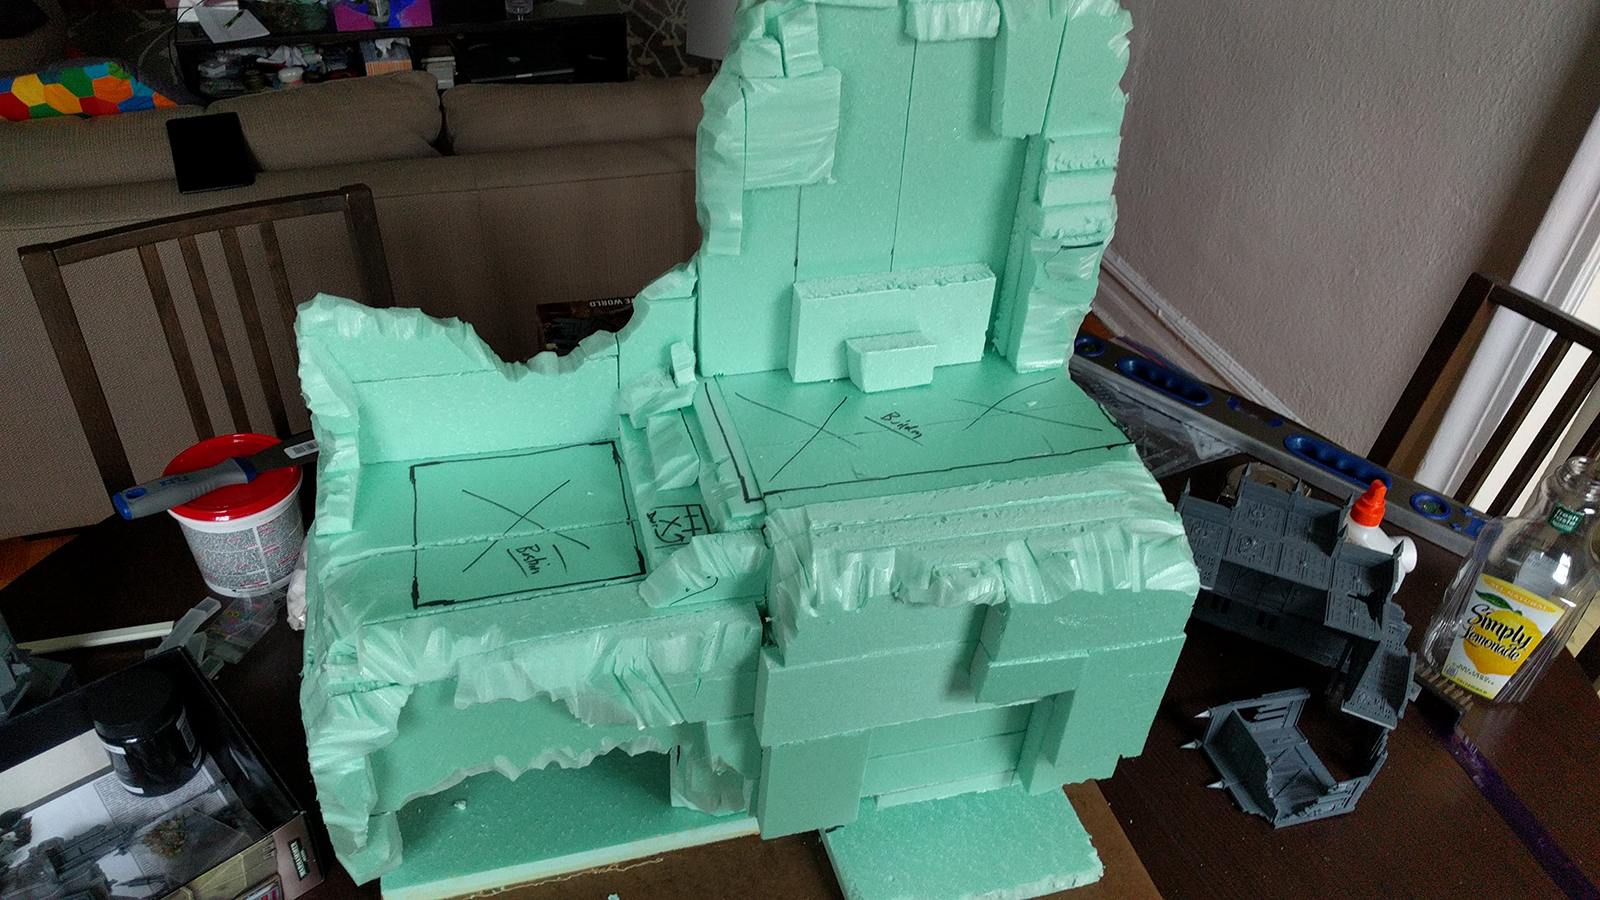
I really wanted to make a custom display this year and finally try my hand at cutting out foam. I started by sketching out various ways I wanted to approach it but since I was on a tighter budget than I had originally planned, I didn’t get as crazy as I had originally sketched out and adjusted a bit. The other difficult part is living in Brooklyn in a tiny apartment, space is VERY limited. Thankfully I have a really awesome girlfriend that let me take over the dining table for a few months.
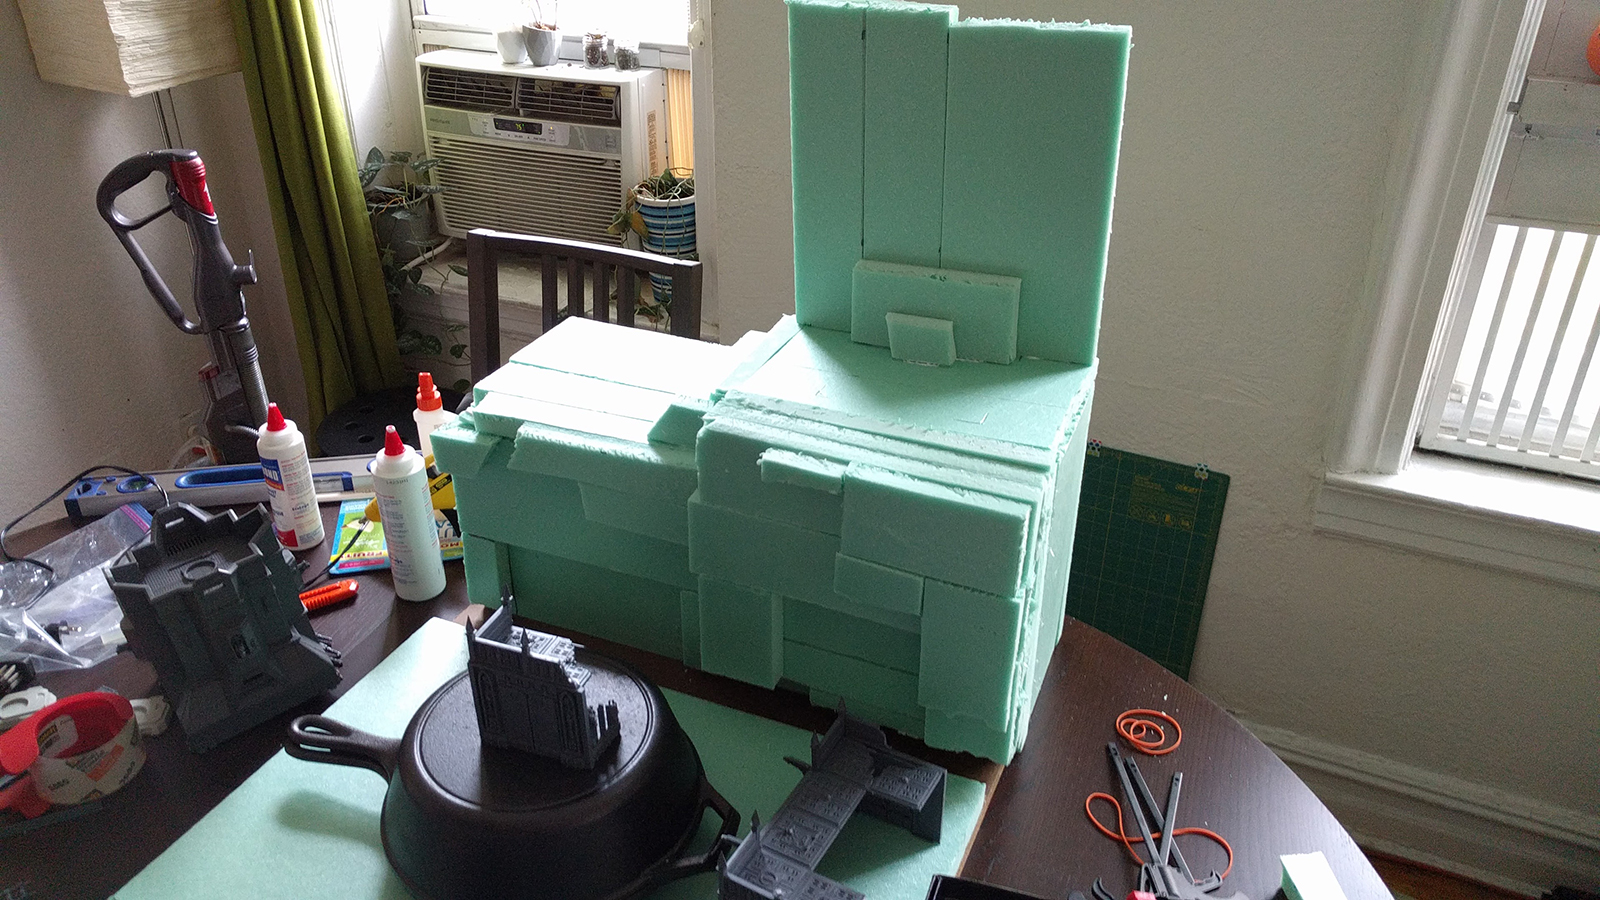
I started with a few 2×2 insulation foam sheets from Lowes. Since I didn’t have as much foam as I wanted, I used USPS mail boxes to hold up the main shape and glued the foam vertically around it to help get the height I wanted. I kept building up and out with the extra foam. From there, I borrowed a hot wire foam cutter from Max to start getting the shapes cut out of the foam.

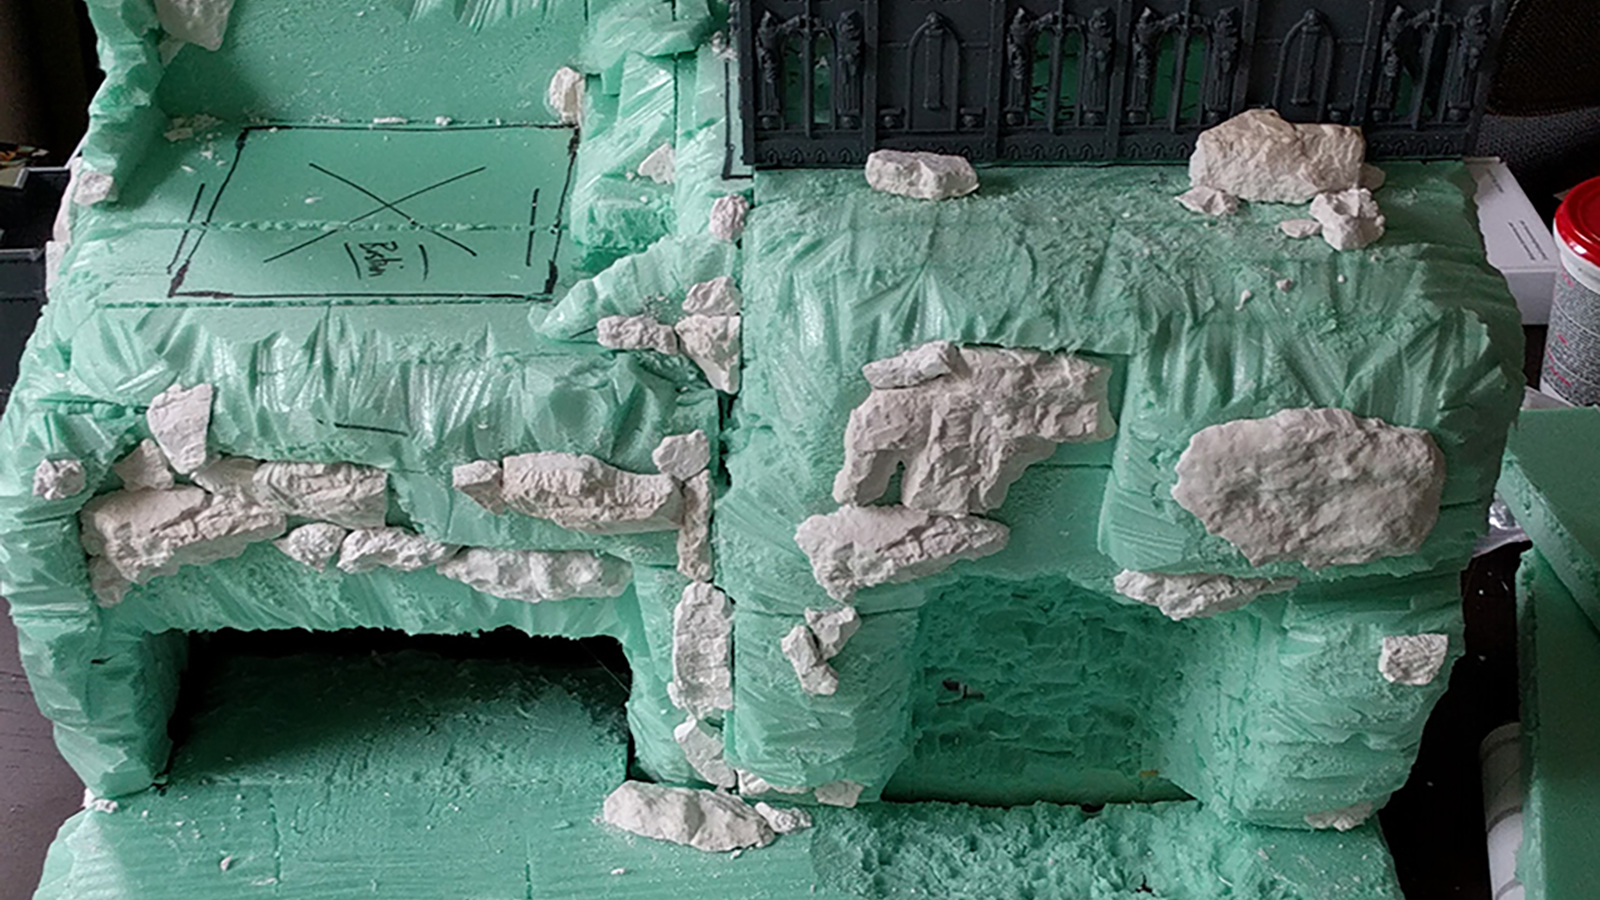
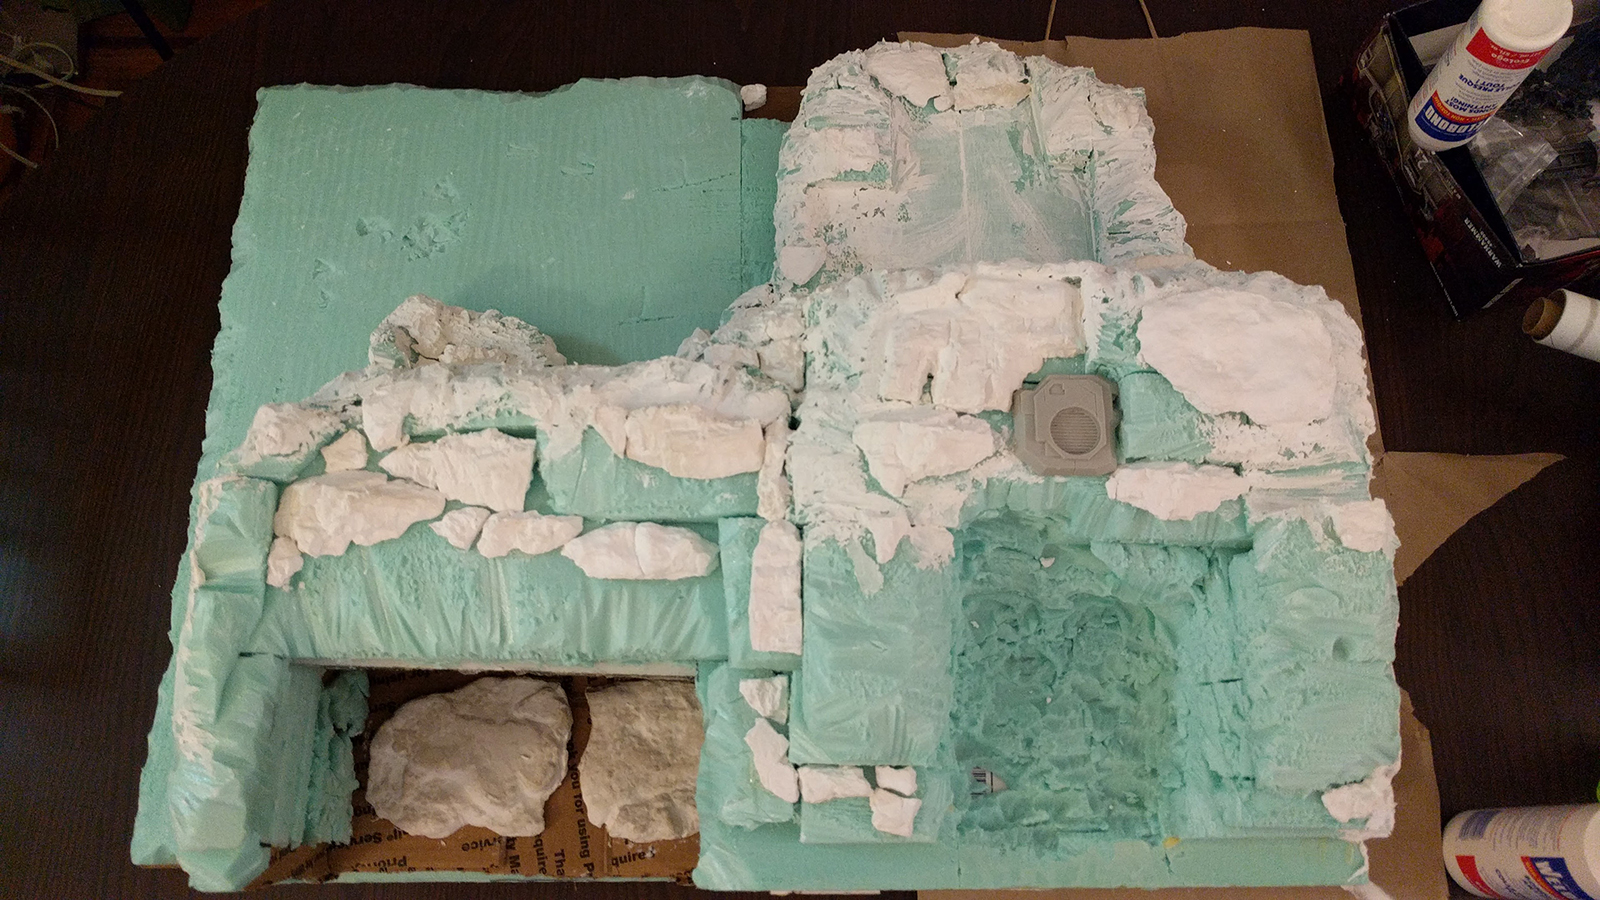
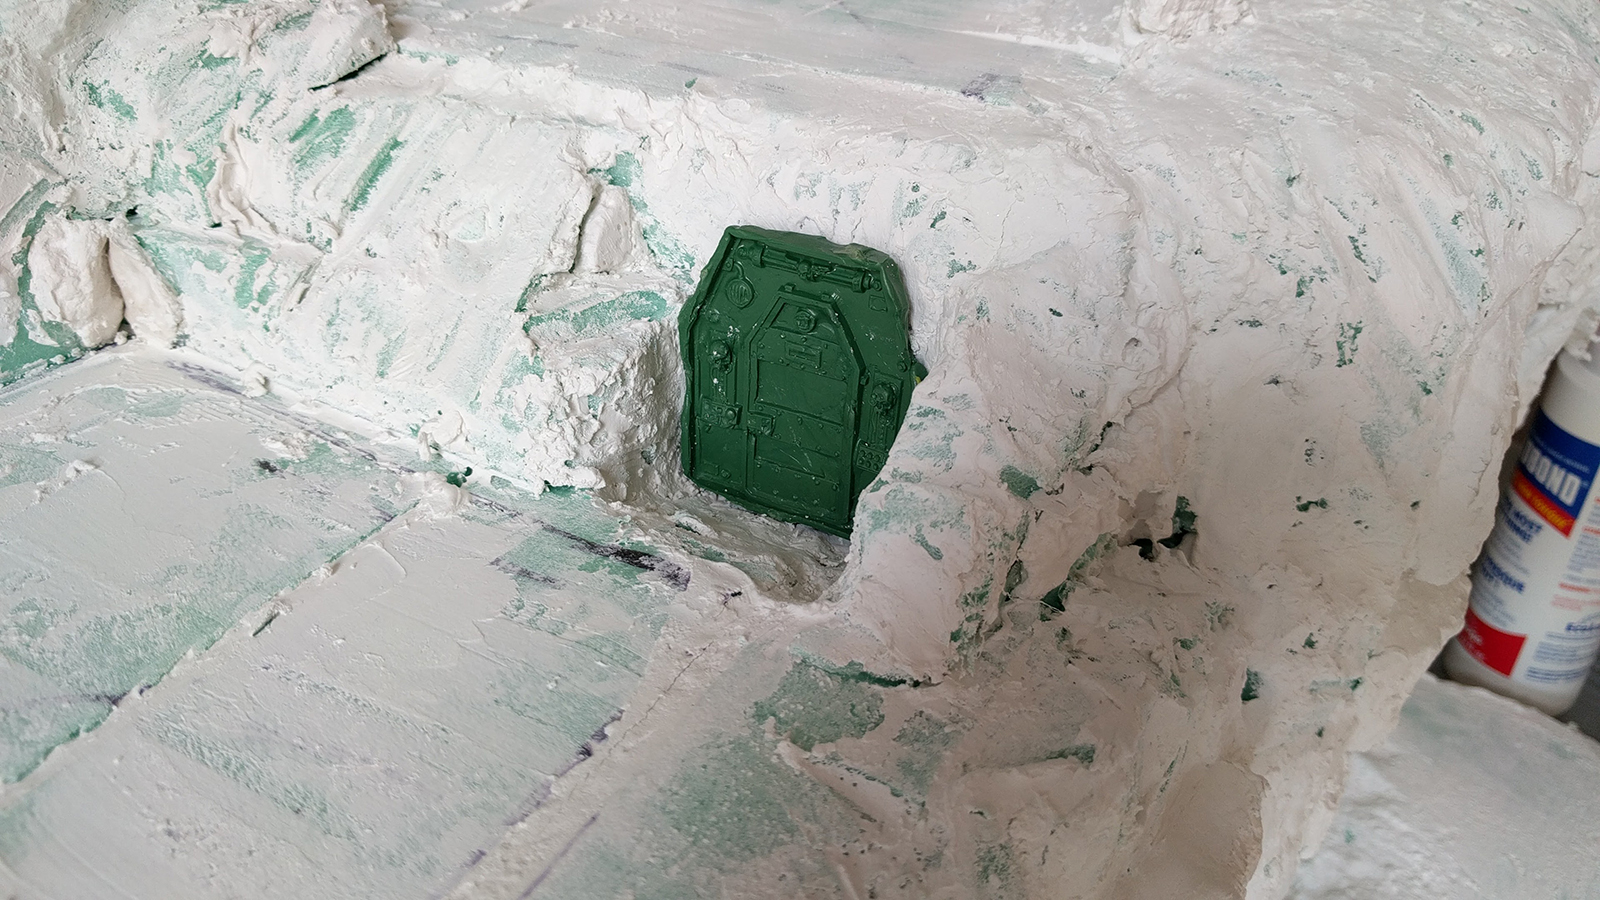
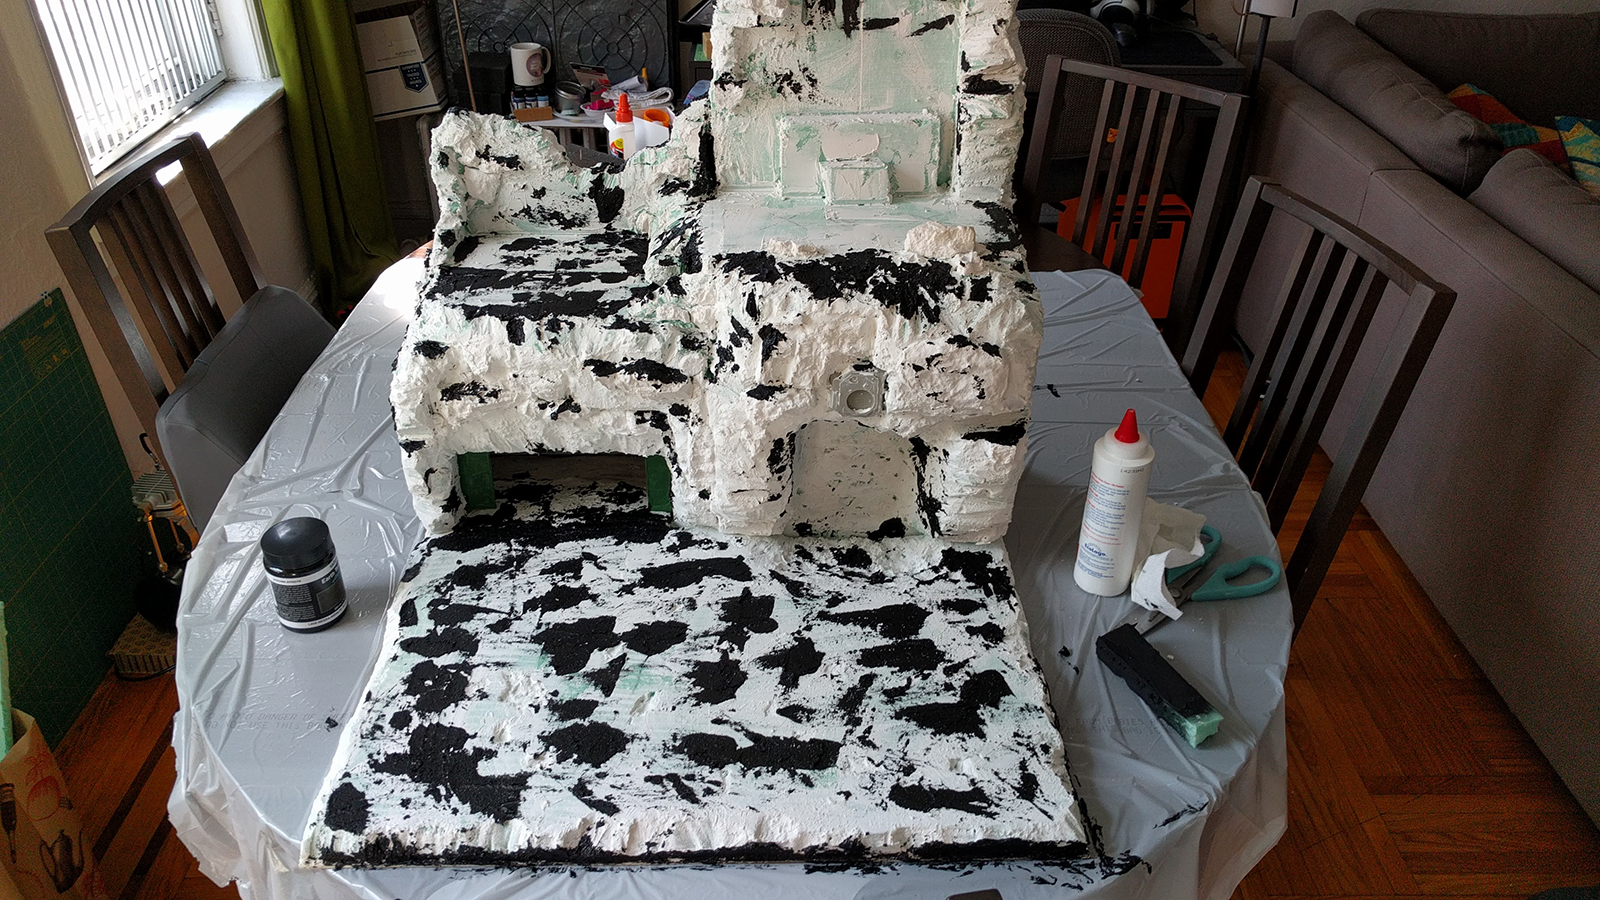
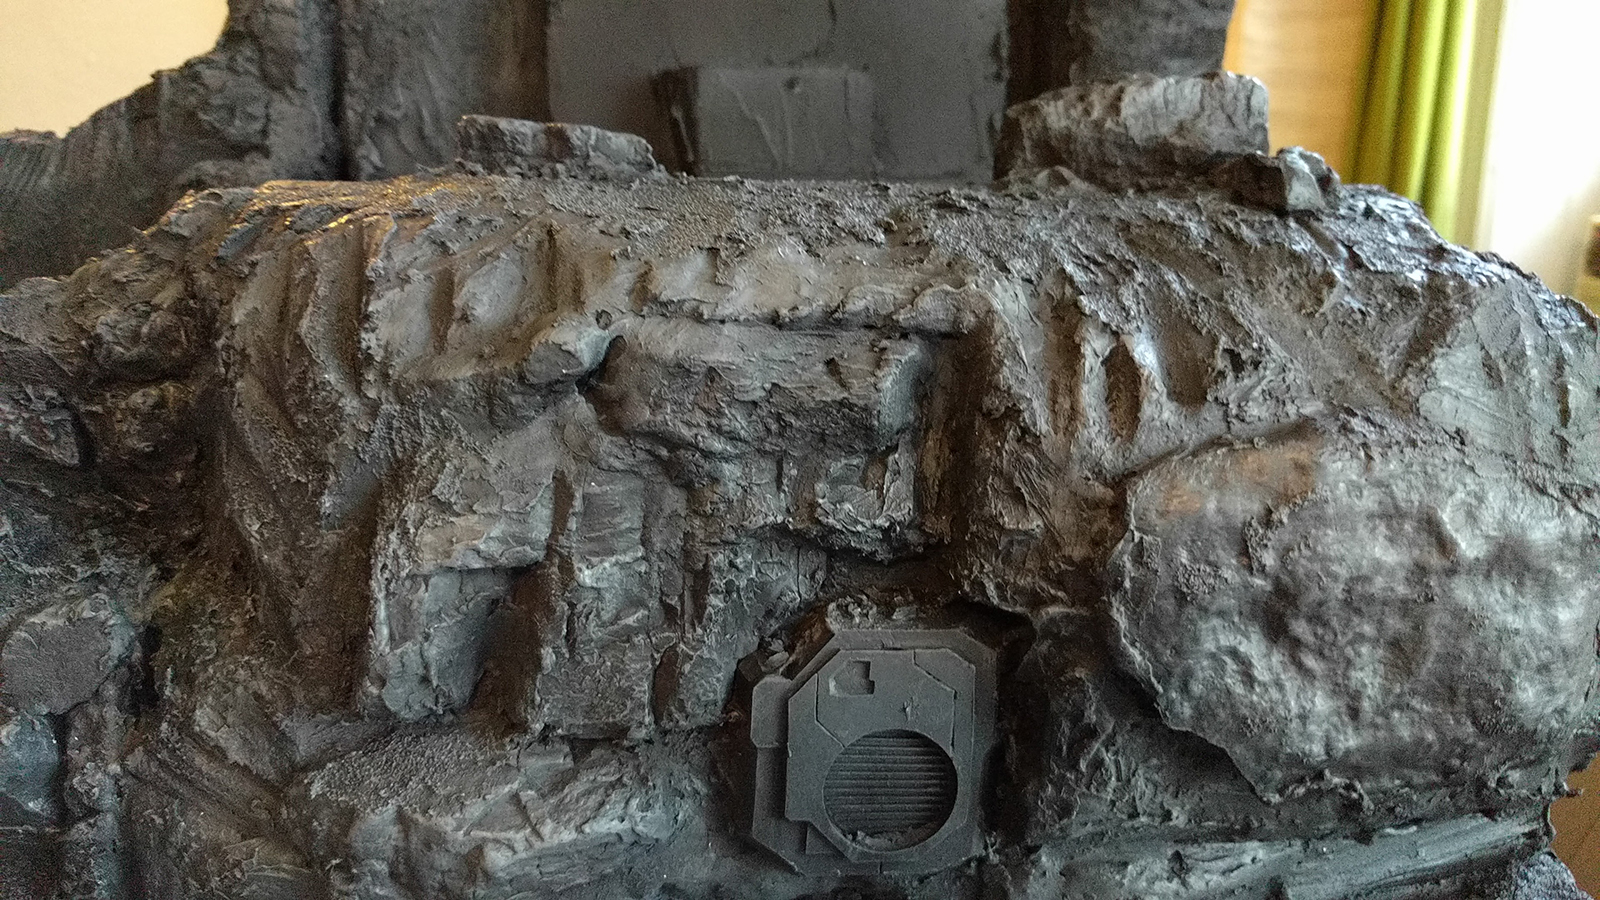
I then used some re-usable molding material to make press molds for doors. After heating it up, I pressed it onto the flooring from the Mastodon model to make doors for the garage and the door from the Bastion kit (before glueing it onto the Bastion) to make a side entrance. Once all the foam was in place I used some Woodland Scenic rock molds and some lightweight hydrocal to create some rocks to add to the display. Once those were all in place, I used some plaster drywall filler to cover the entire board to fill gaps in the foam and to help the rocks look more incorporated. Glued in the access door and then covered a lot of areas with Vallejo Black Lava texture paint.
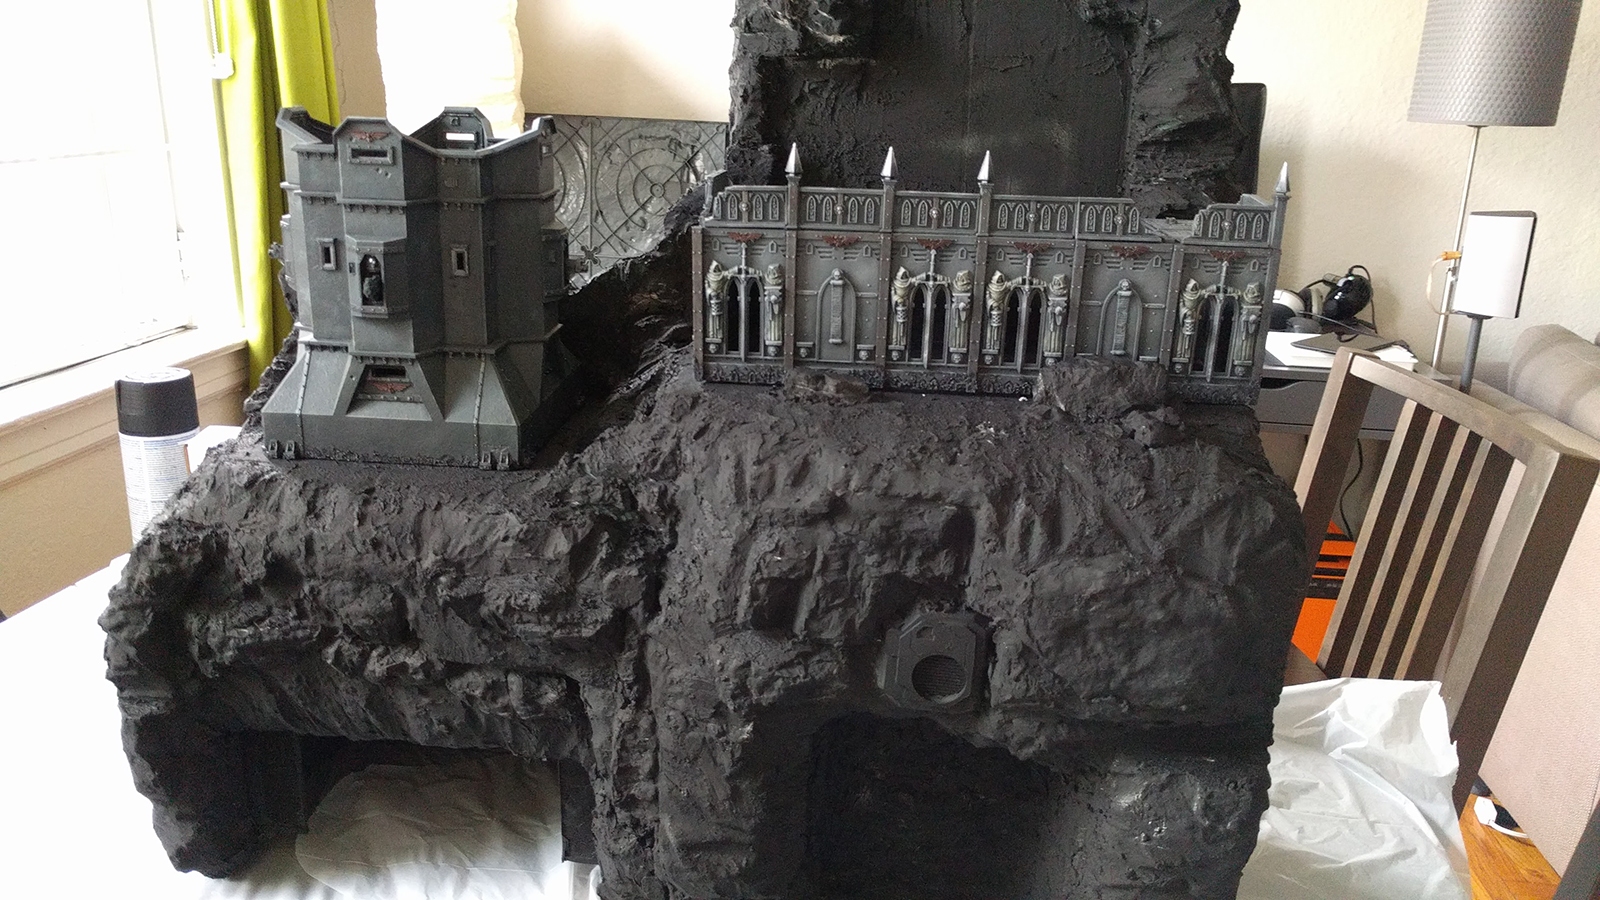
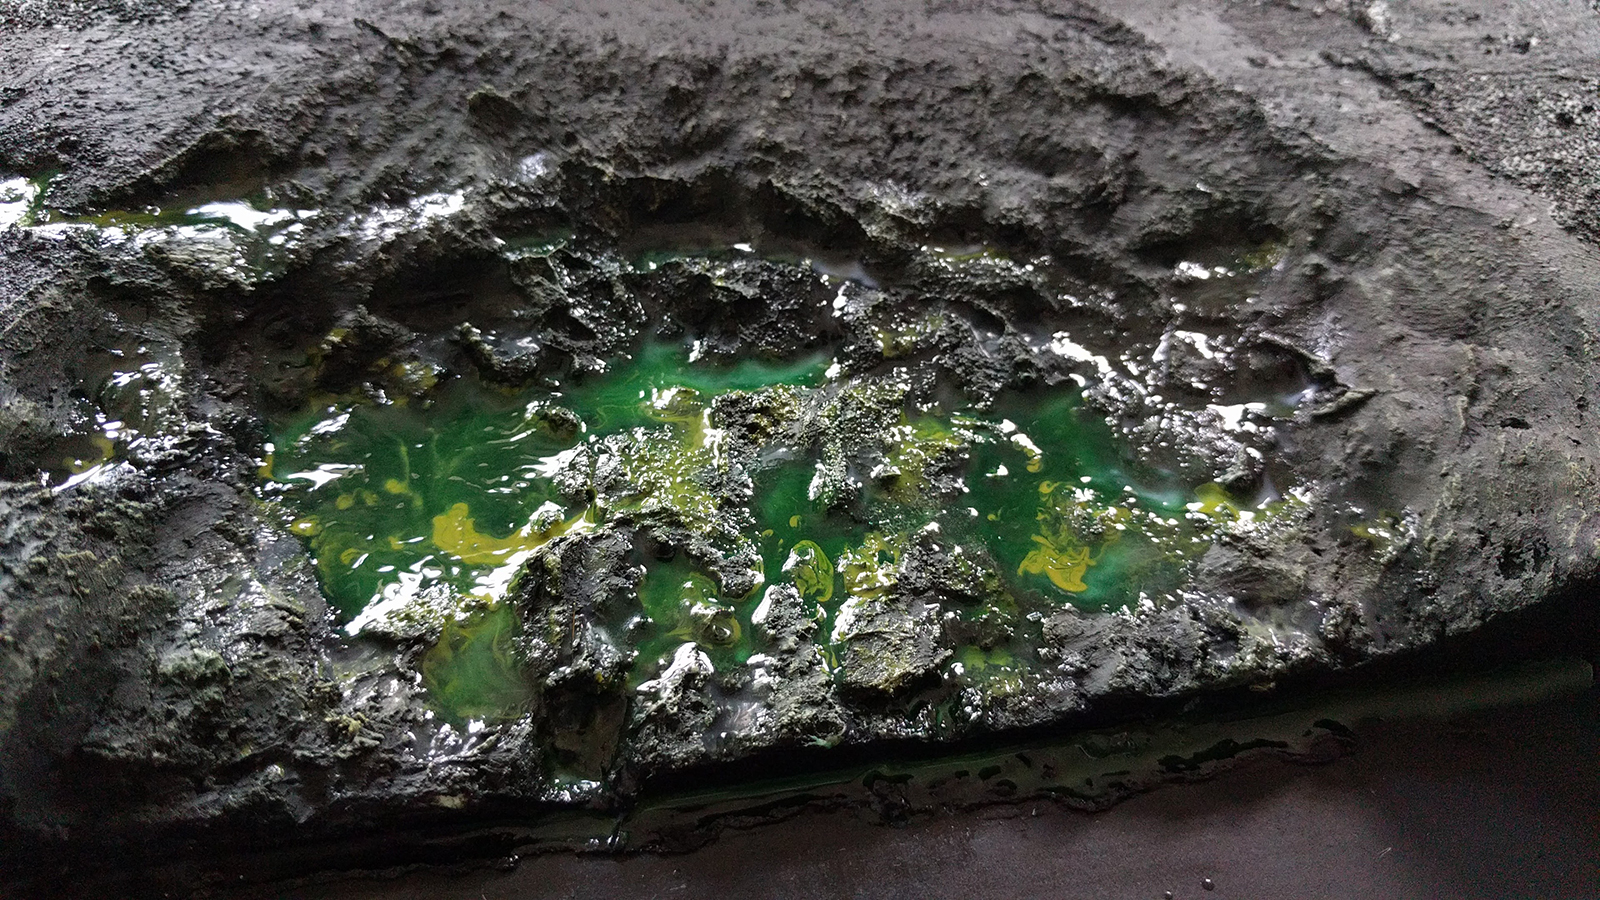
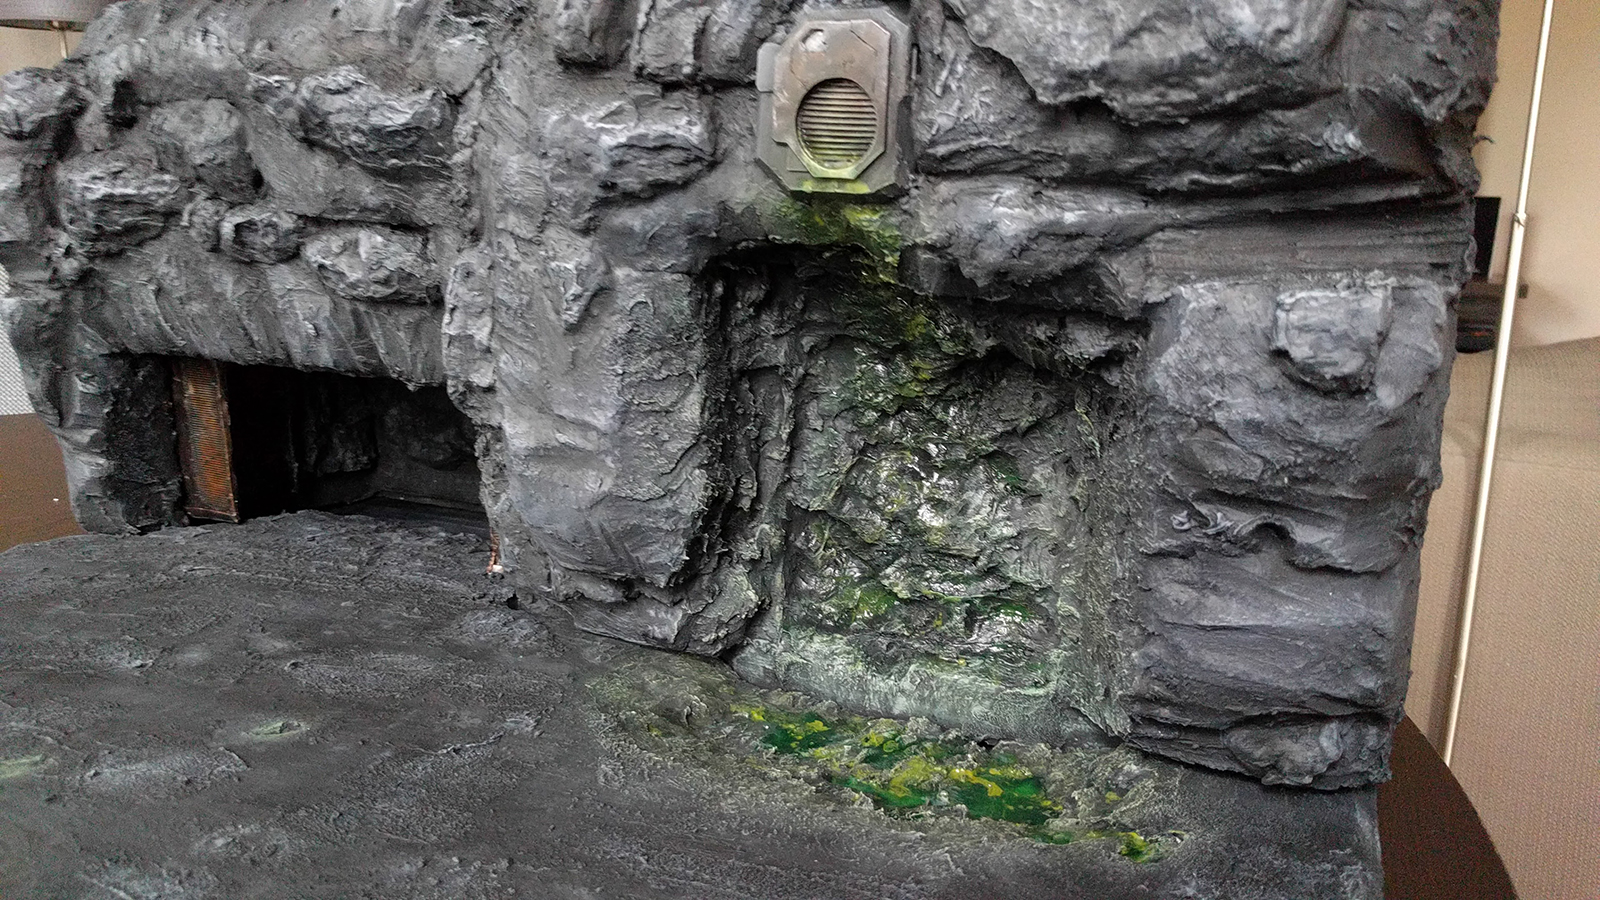
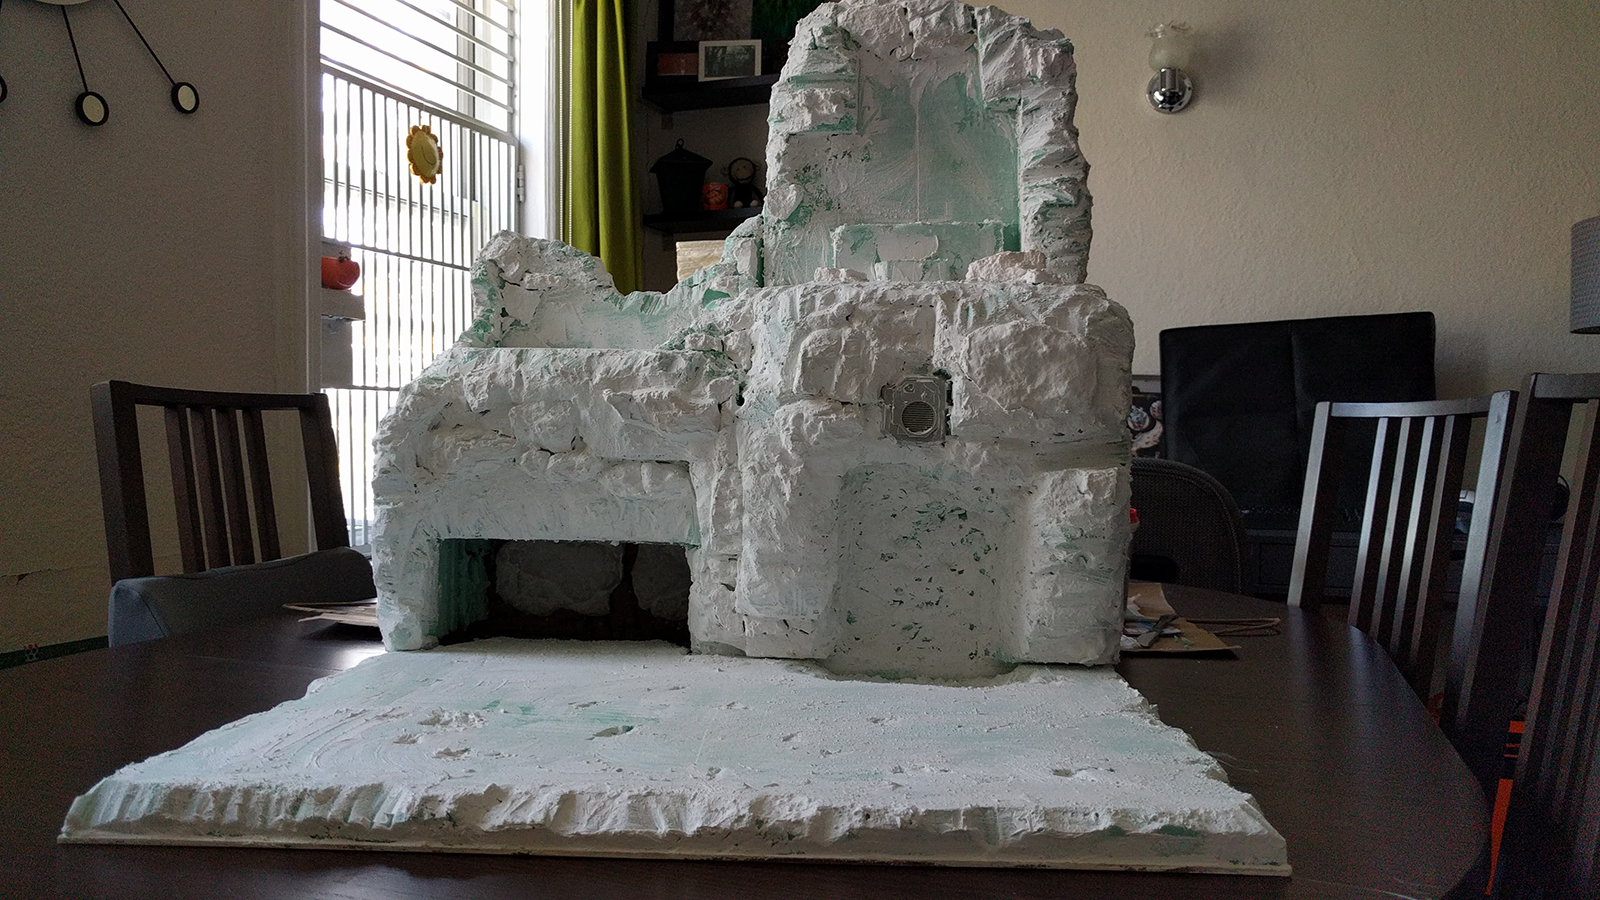
After all the plaster and texture was in place, it was time to prime the entire display. I used a Rustoleum black spray primer to make quick work of the priming. After that, I then sprayed various greys with an airbrush to give it some depth. A quick coat of a 50/50 brown and black wash mix using some Vallejo washes with gloss varnish was then sprayed all over with the airbrush. Followed that up with lots of drybrushing with more greys. I then got to work on making Nurgle’s cave where the Great Unclean One would live. Base greens were drybrushed before I used Vallejo Still Water in multiple layers to create the pool of filth. I’d mix in some various green washes and GW Nurgle’s Rot texture paint to give it some depth. Some Nurgle’s Rot + Still Water was mixed to run down the waste pipe and down the back of the cave.
The core of the board is set!
Building & Terrain Features
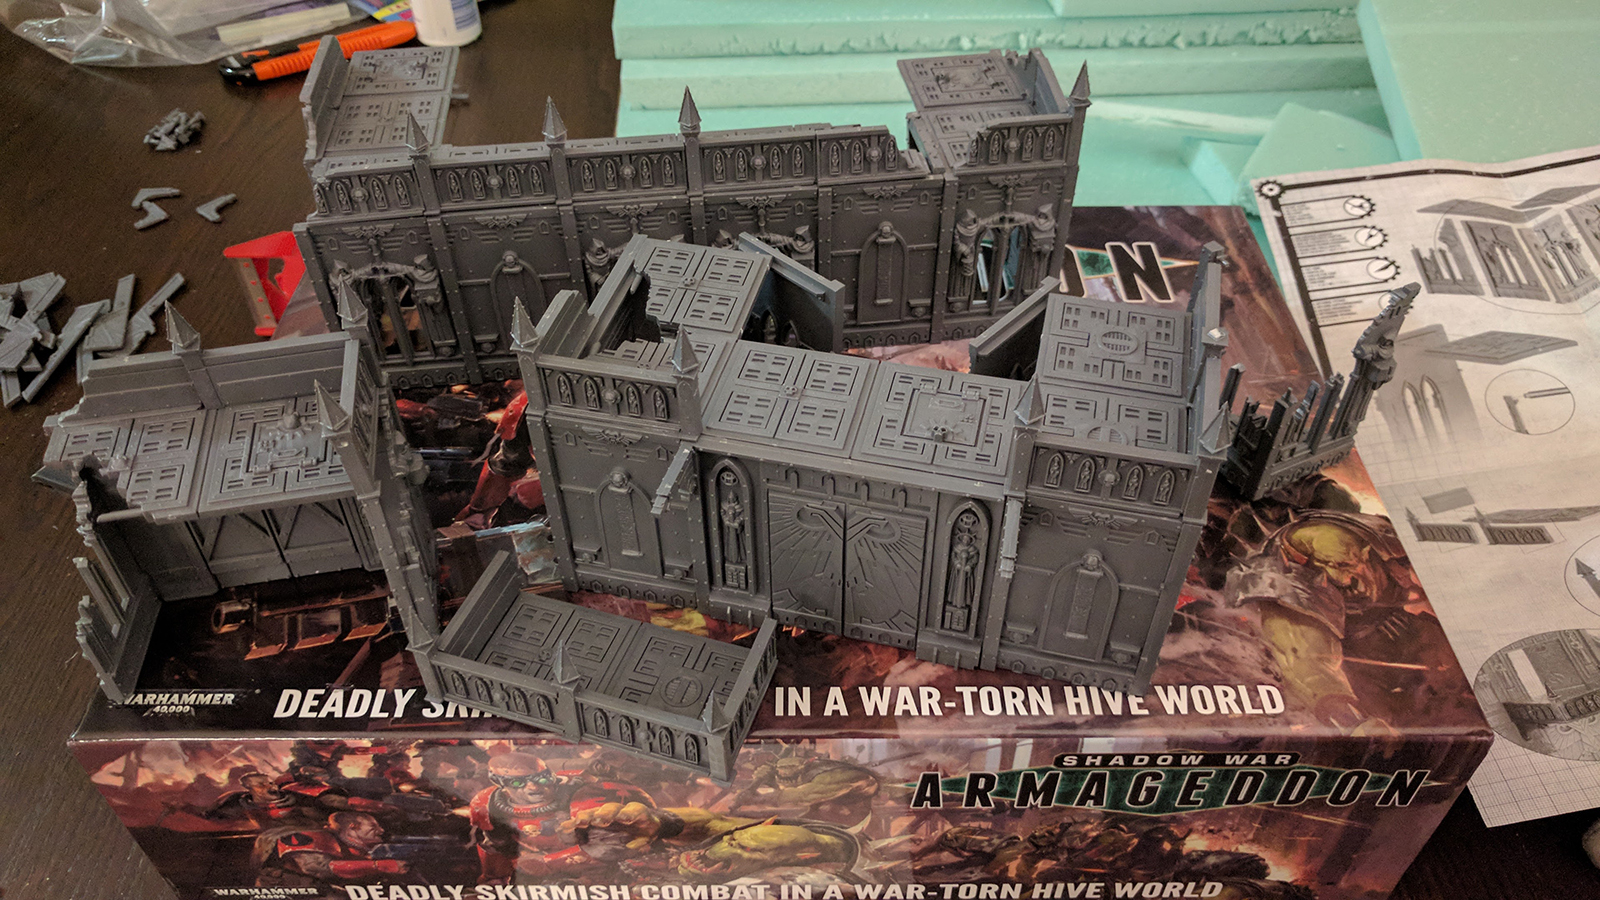
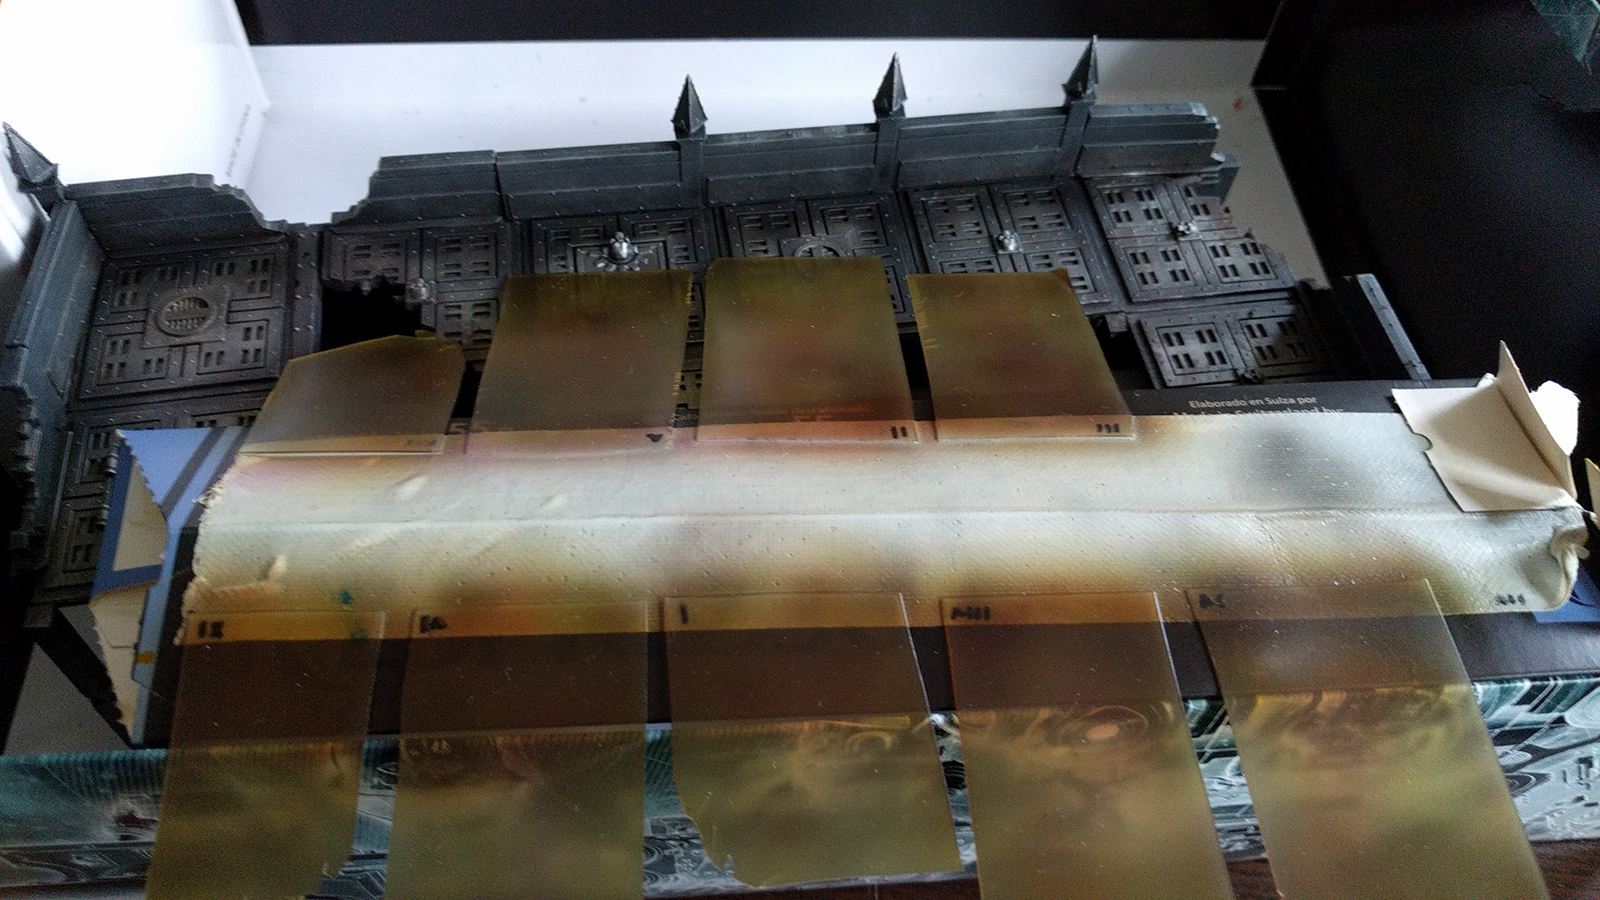
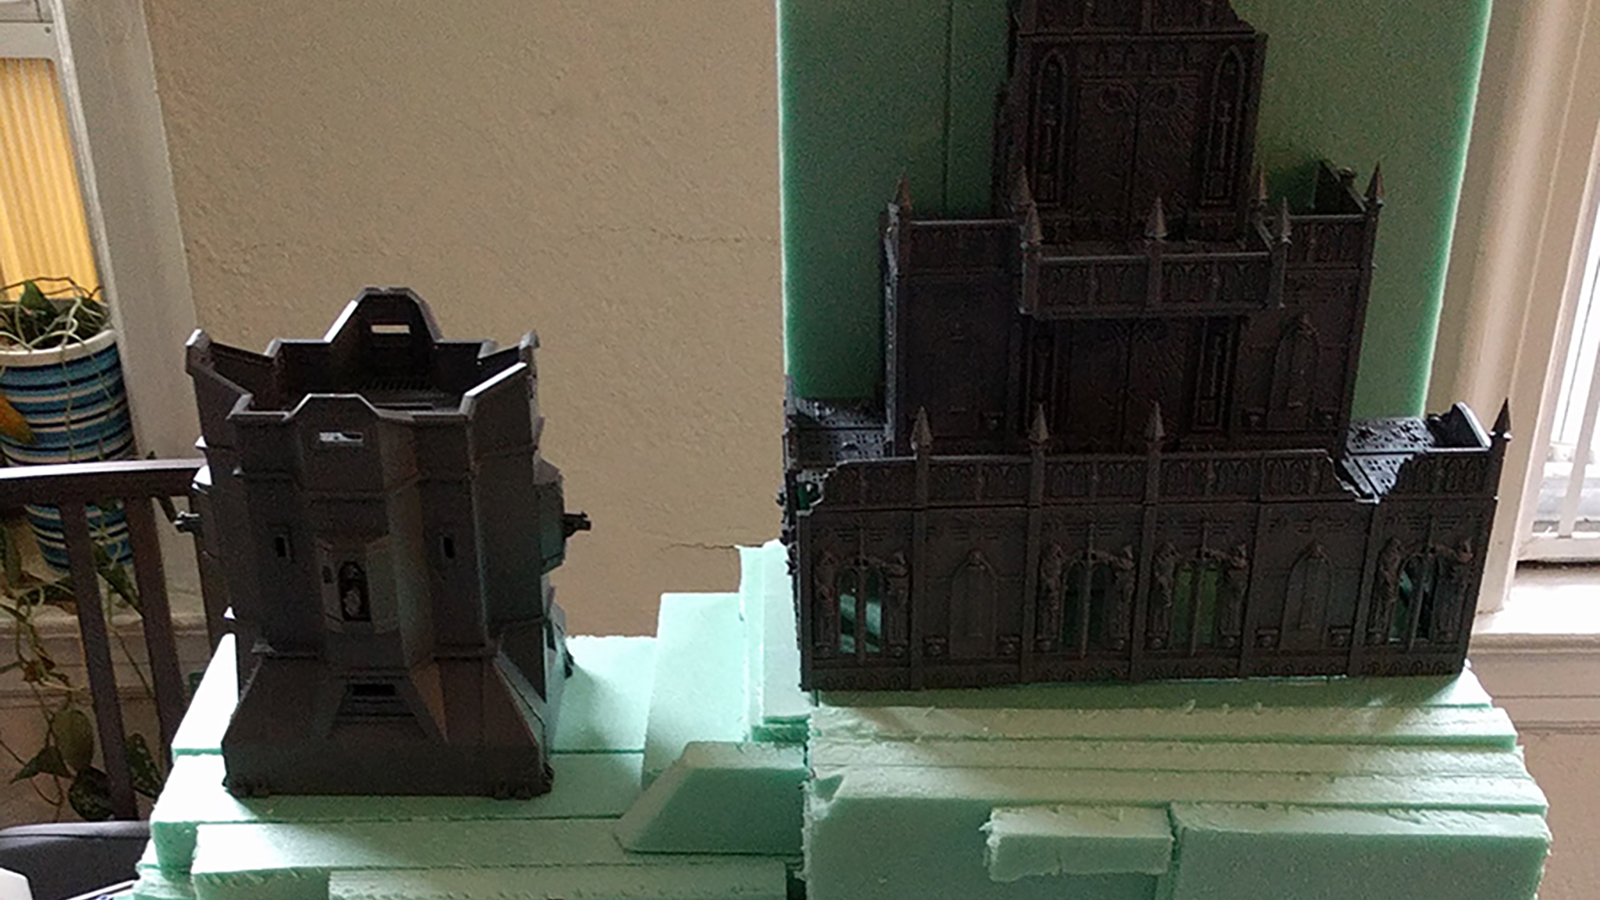
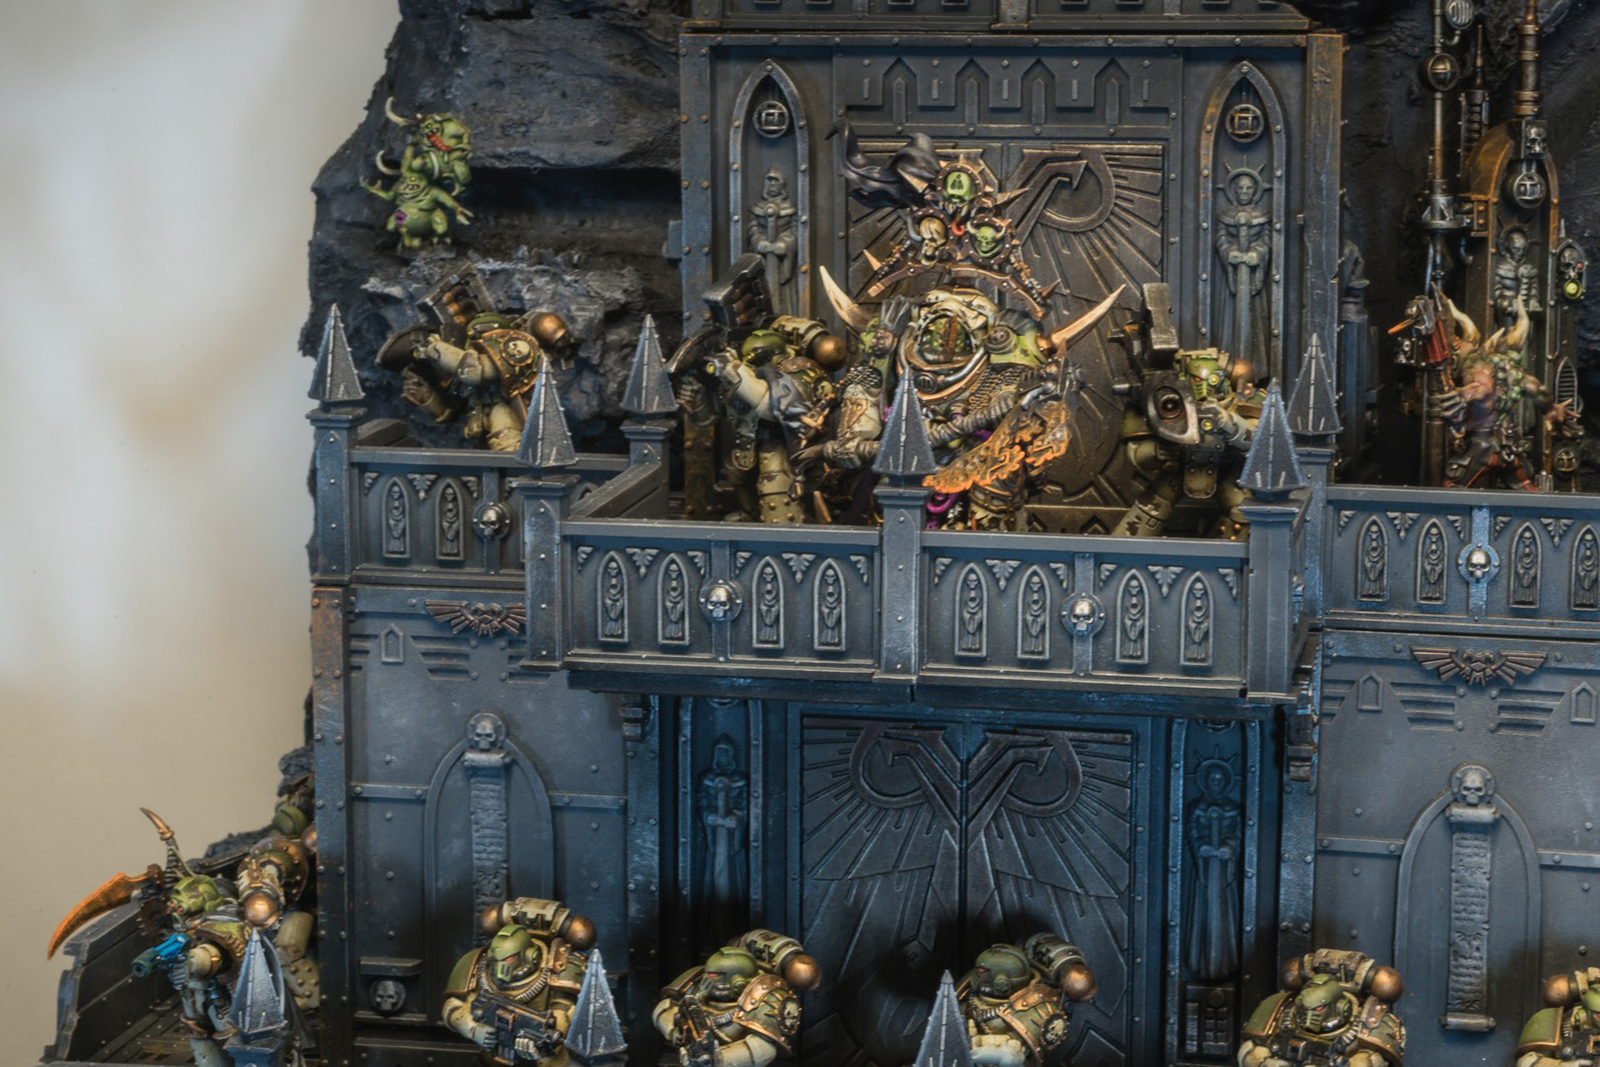
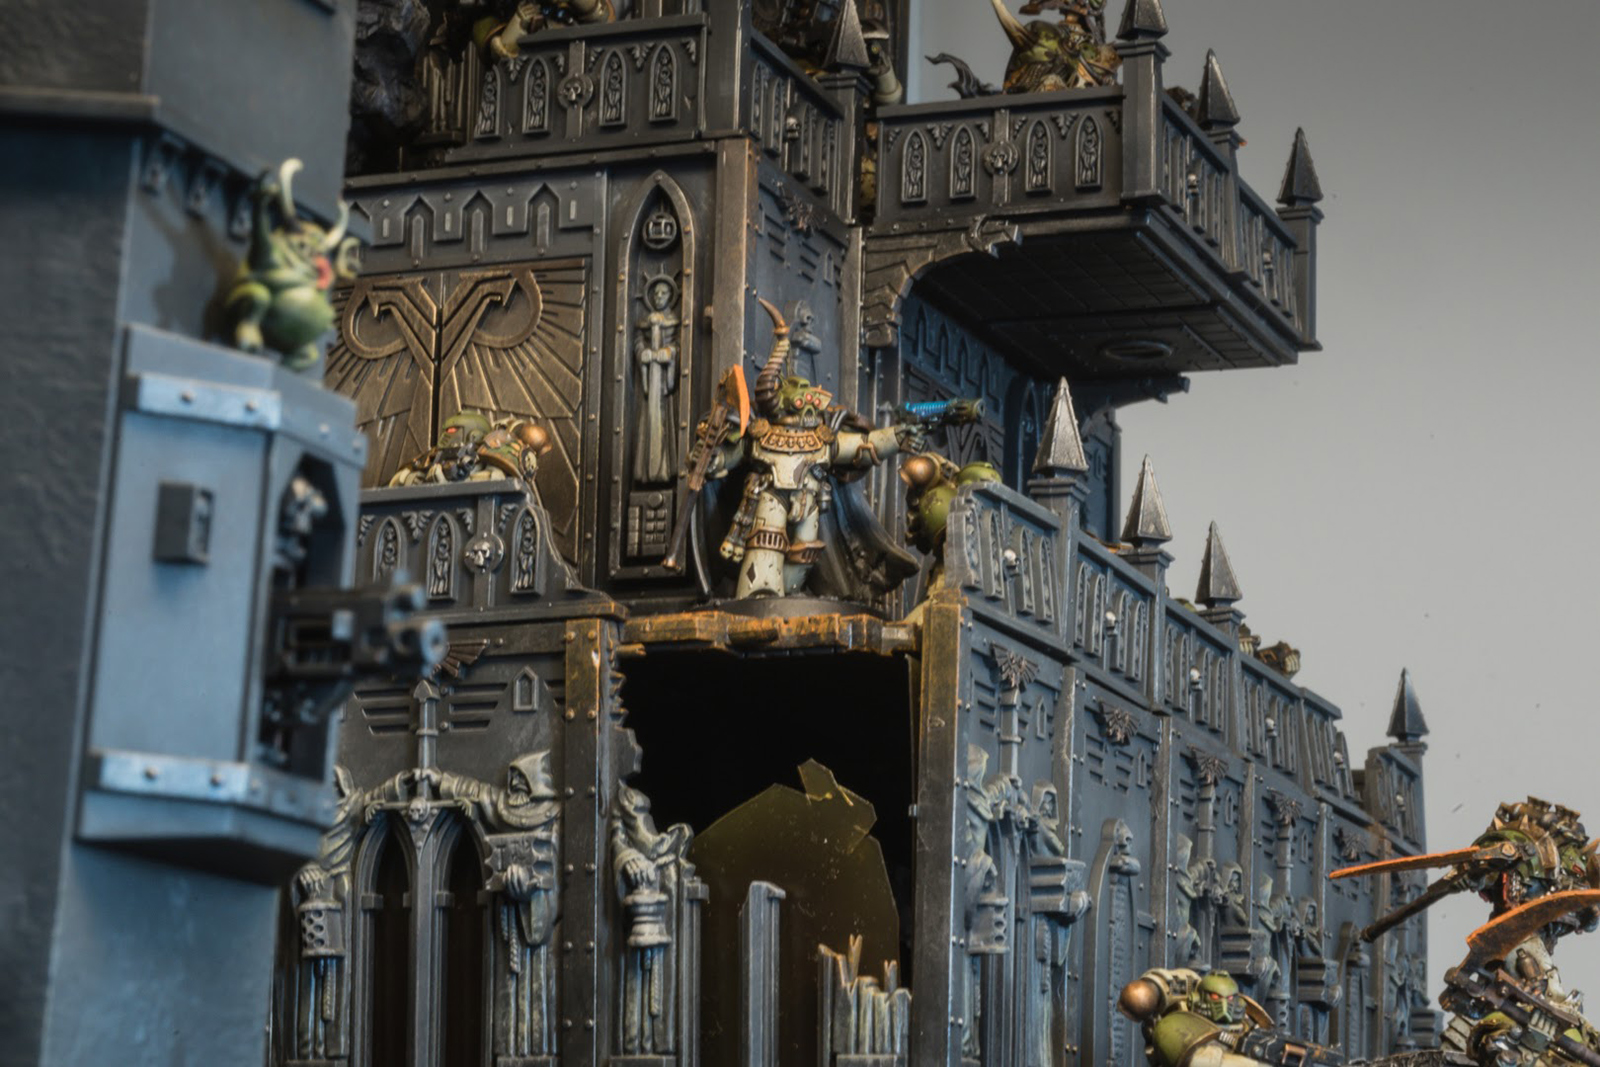
I wanted any piece of scenery added to the display to work later on other boards for our weekend games. To start, I had two sets of buildings from the Imperial Knight Renegades boxes that have been sitting, waiting to be built. I made it into three separate pieces that would stack for the display but could be used as individual pieces in future games. Not pictured is a Imperial Bastion I picked up just for the board (originally I wanted to use it in halves for a different setup). I’d be using flickering LED candle lights inside the building but wanted to hide that from people viewing the display so I cut out rectangles of plastic from take-out container lids and used Badger Ghost Tints to cloud over the windows with a yellow/orange tint.
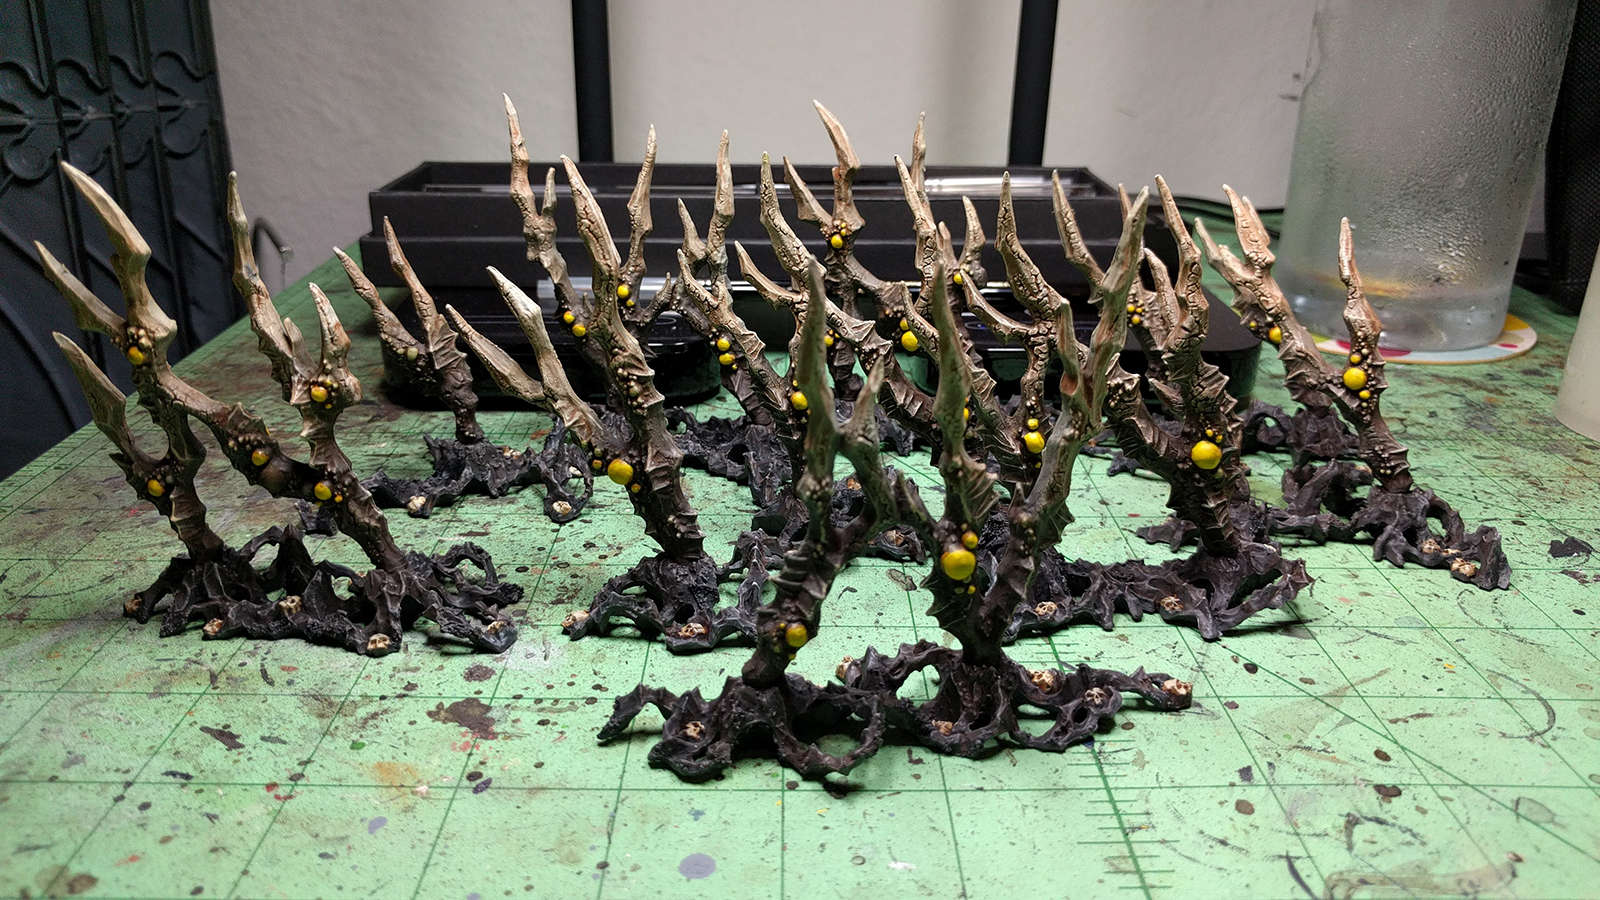
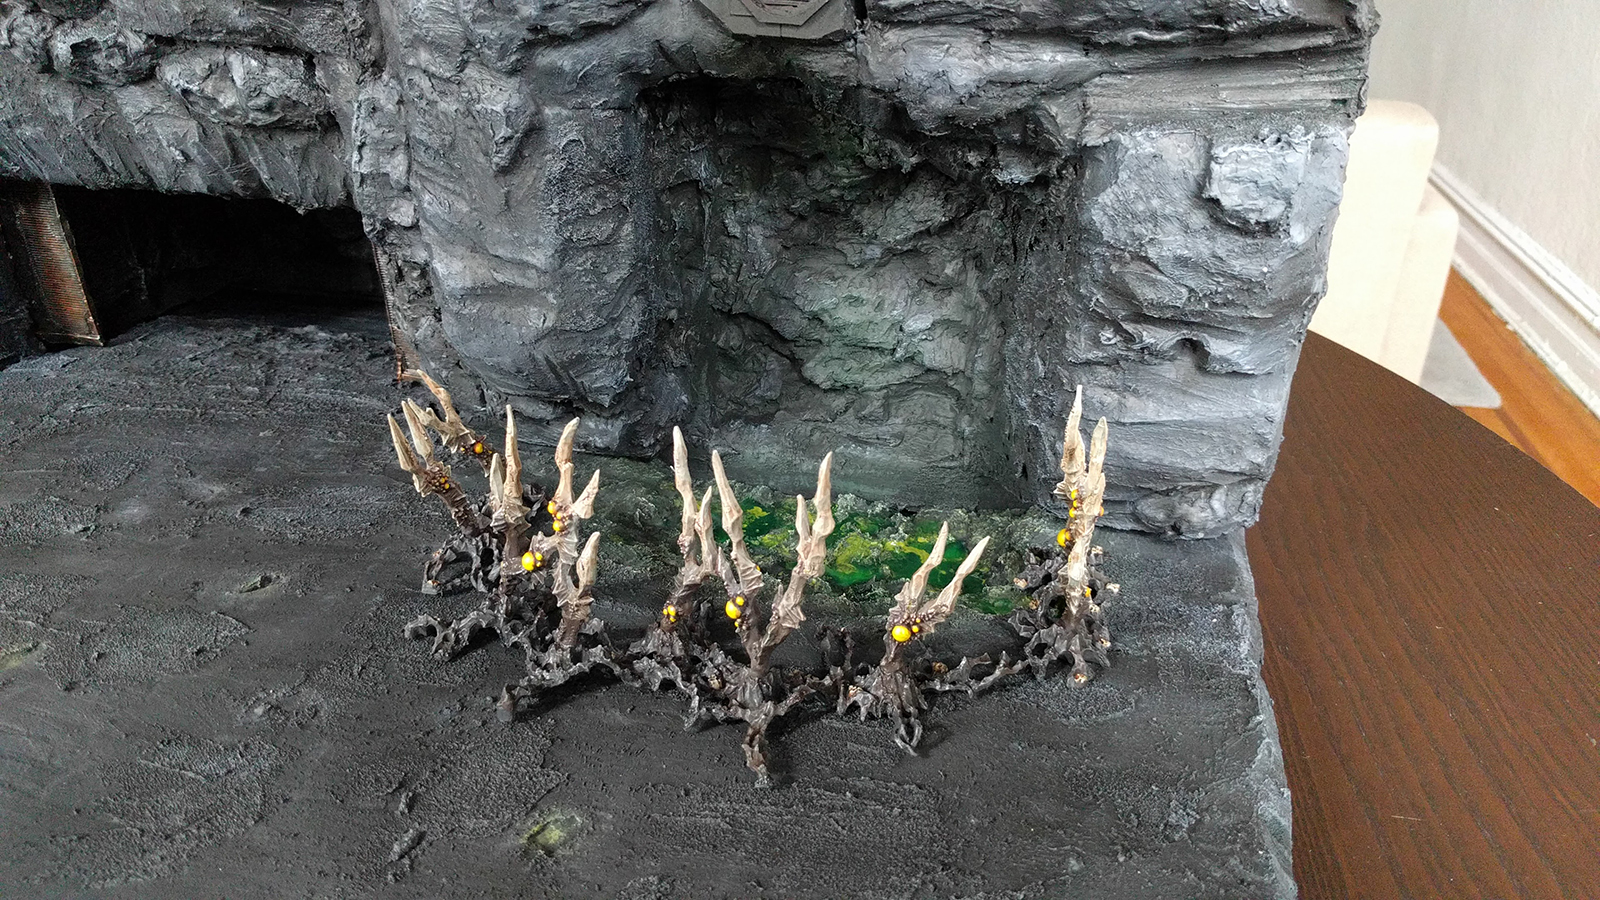
When I saw that GW was going to release the Shardwrack Spines as a seperate kit, I figured why not get them for the display. They always had a Nurgle-y look to them when I saw them. So I mimicked the look of the bone I do on my Death Guard models and the orbs with the pus like yellow orbs seen on my units. Once done, I used them to surround the Great Unclean One’s cave.
Giving the Display a Name
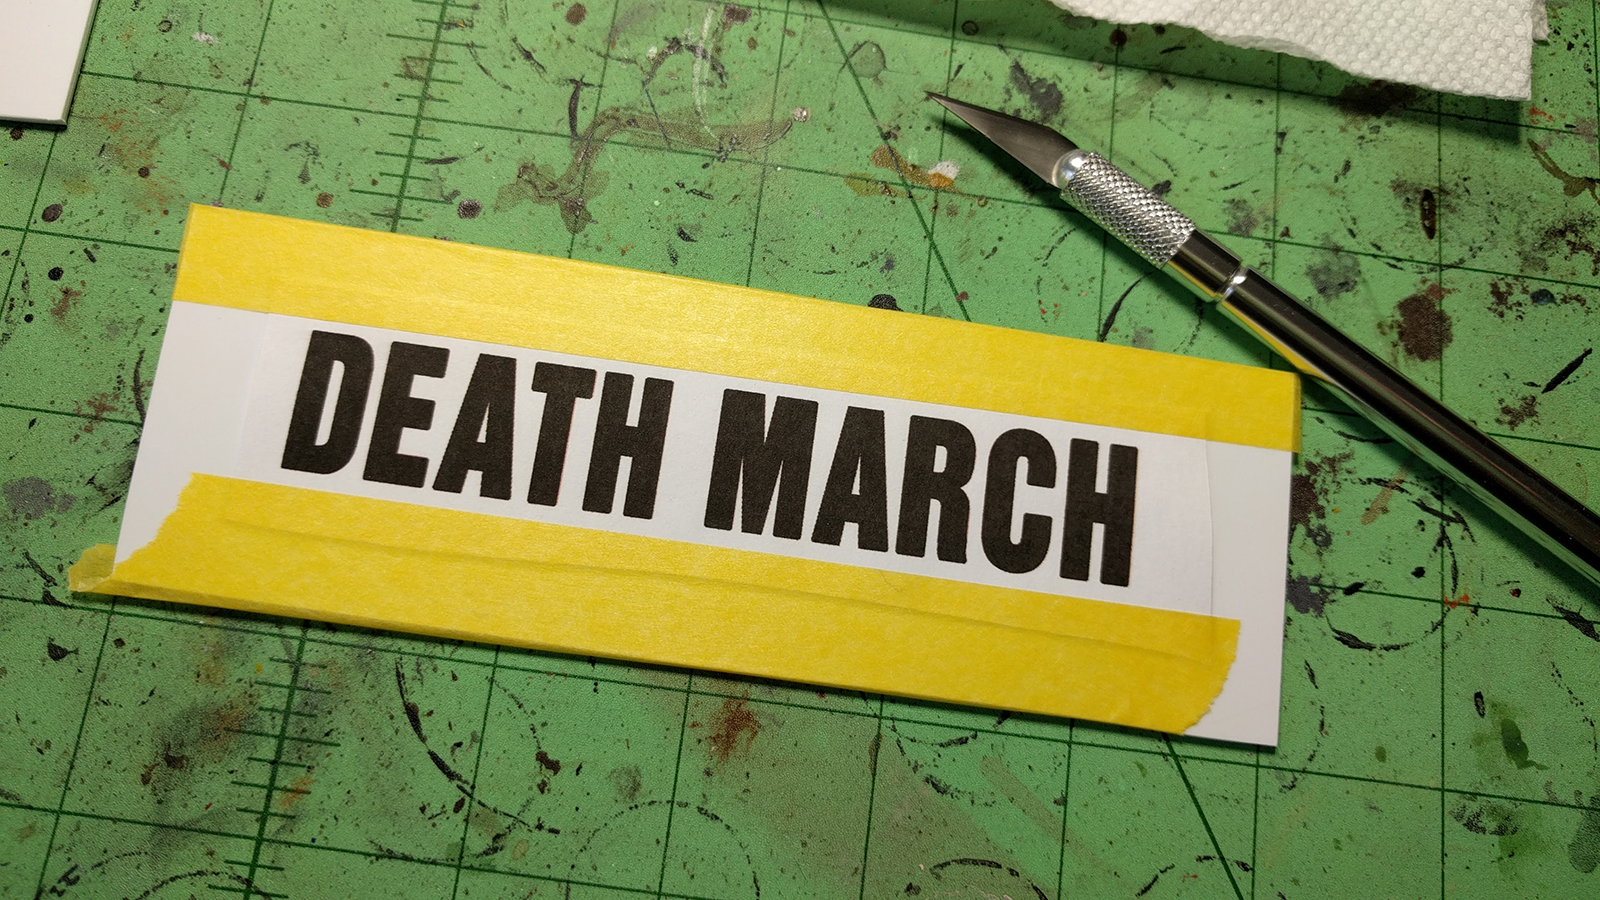
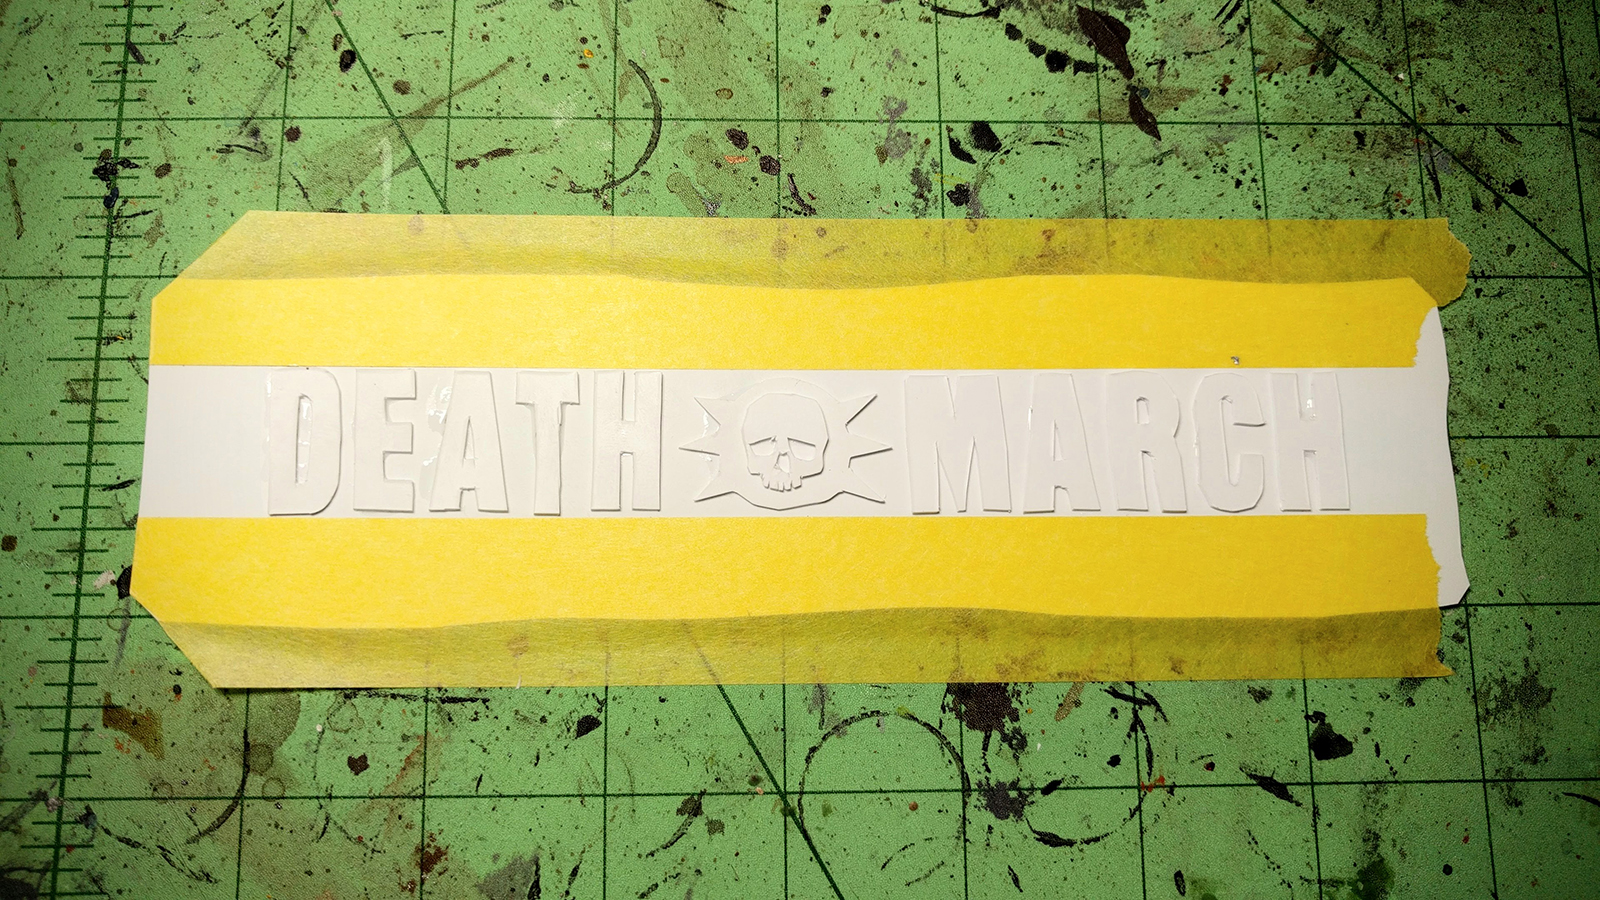
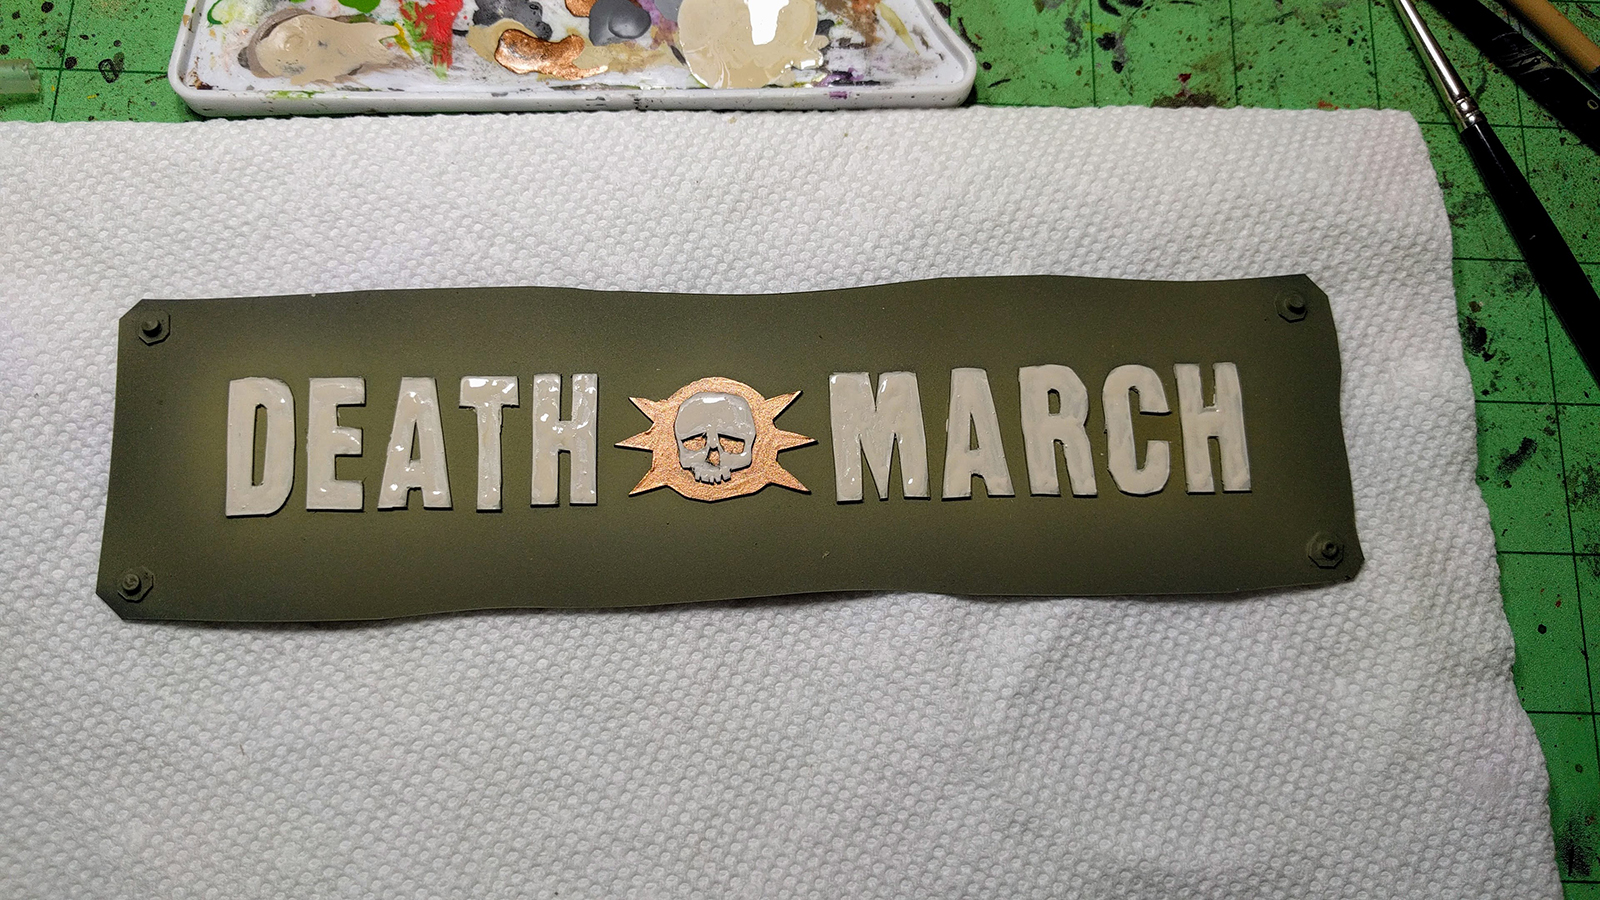
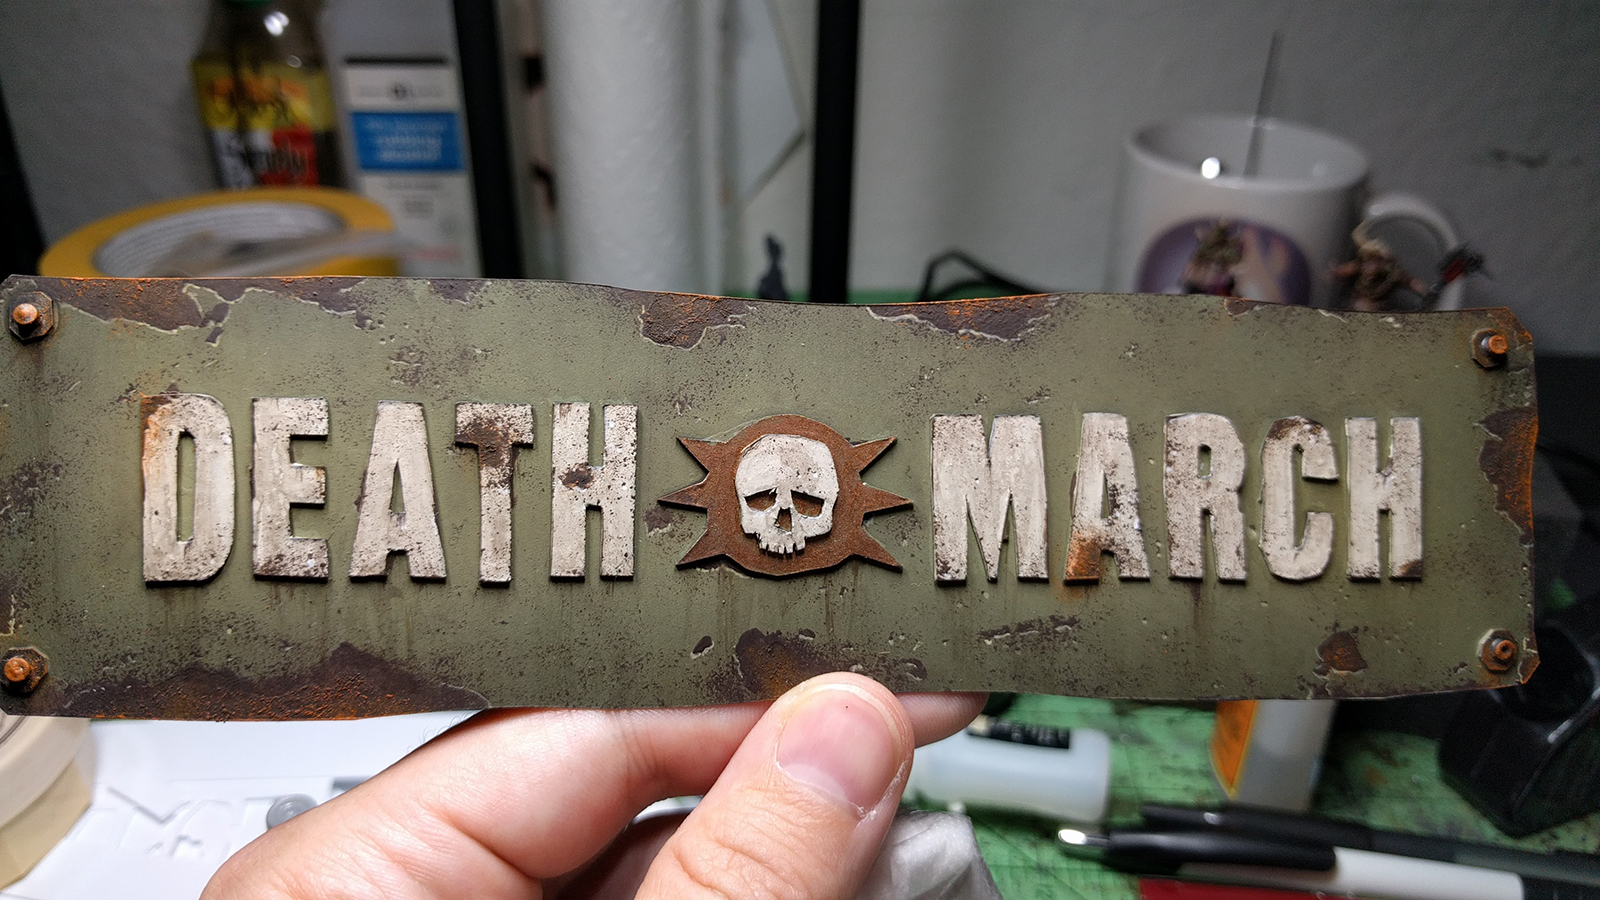
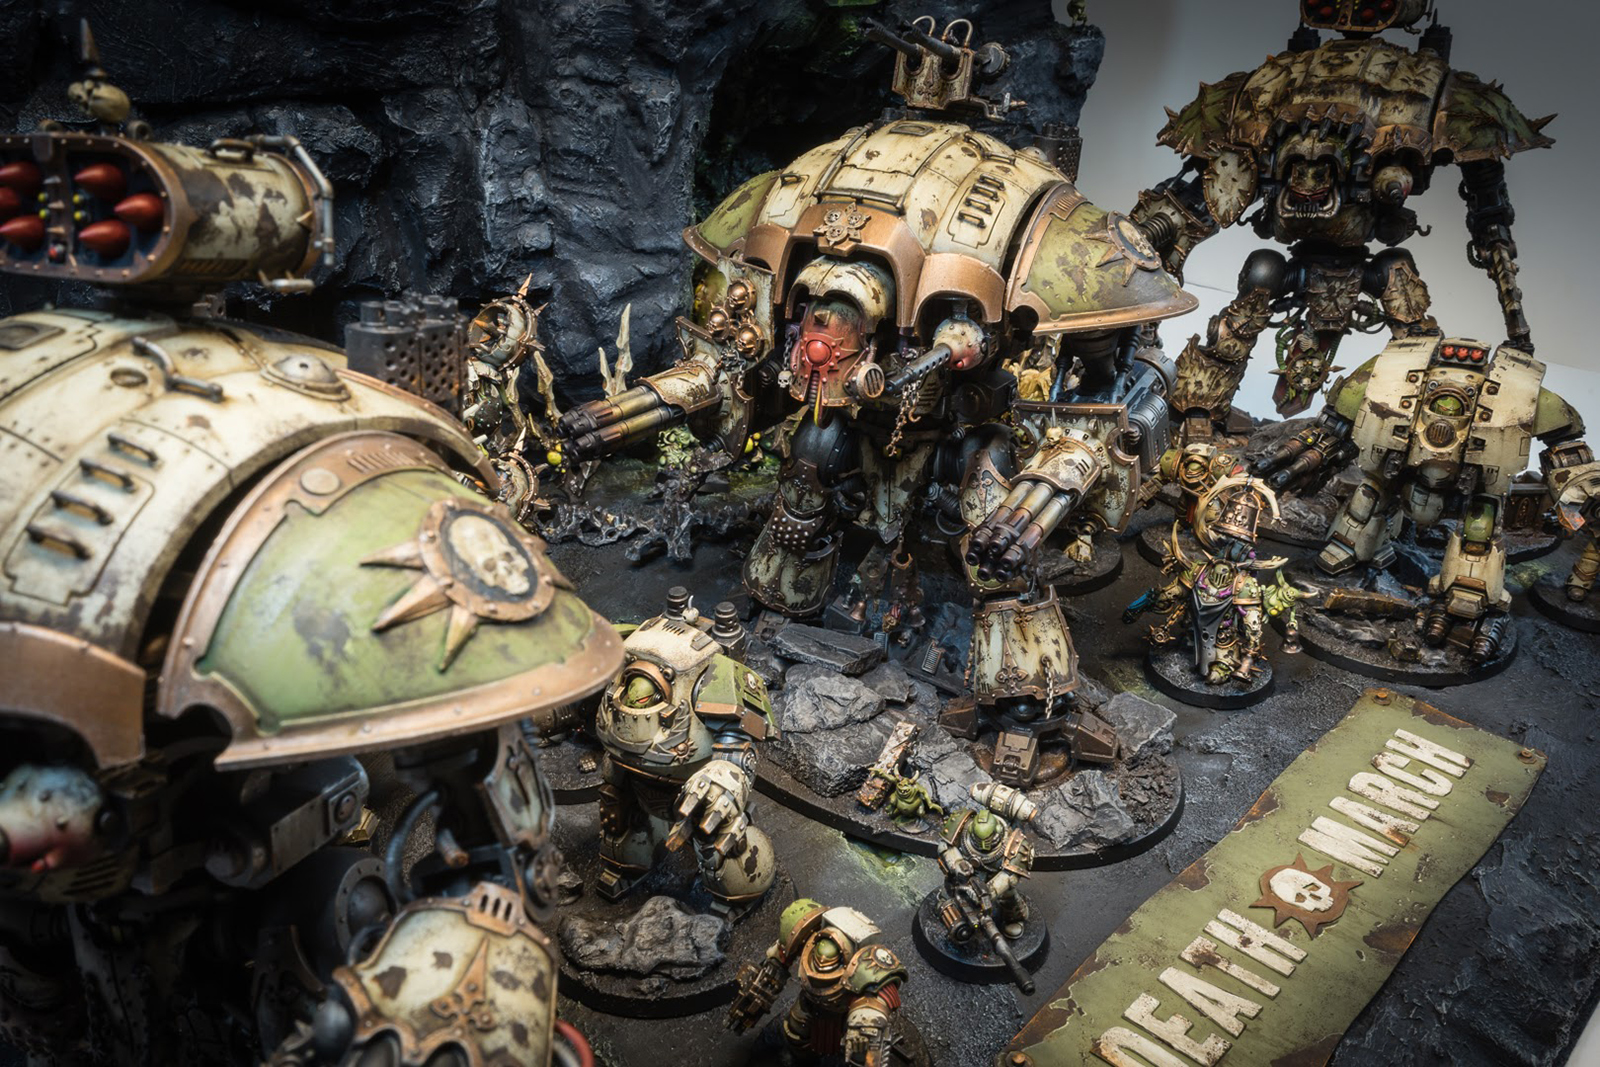
The final icing on the cake was to make a sign for my board. I’ve always seen cool name plaques online and wanted to make one for mine. I thought “Death March” was a fun play on words (Death Guard.. Marching… Get it!?). I started by creating the text and DG logo in Photoshop and printing them on paper. Once printed, I taped them to a really thing piece of plasticard and cut out each letter and then glued them onto a big piece, using some masking tape to keep them lined up evenly. I sprayed the greens with an airbrush and hand painted the bone and golds. After that it was onto the rust and grime! The plan was to then cut out a piece of foam to angle the sign but when cutting the foam I also sliced my finger really good, needing 9 stitches. That nixed the idea of the angled sign and any more work on my display.
To finish it off, I had some spare nurglings that I glued randomly around the display. A small treat for viewers to see if they could find them all.
The Final Display
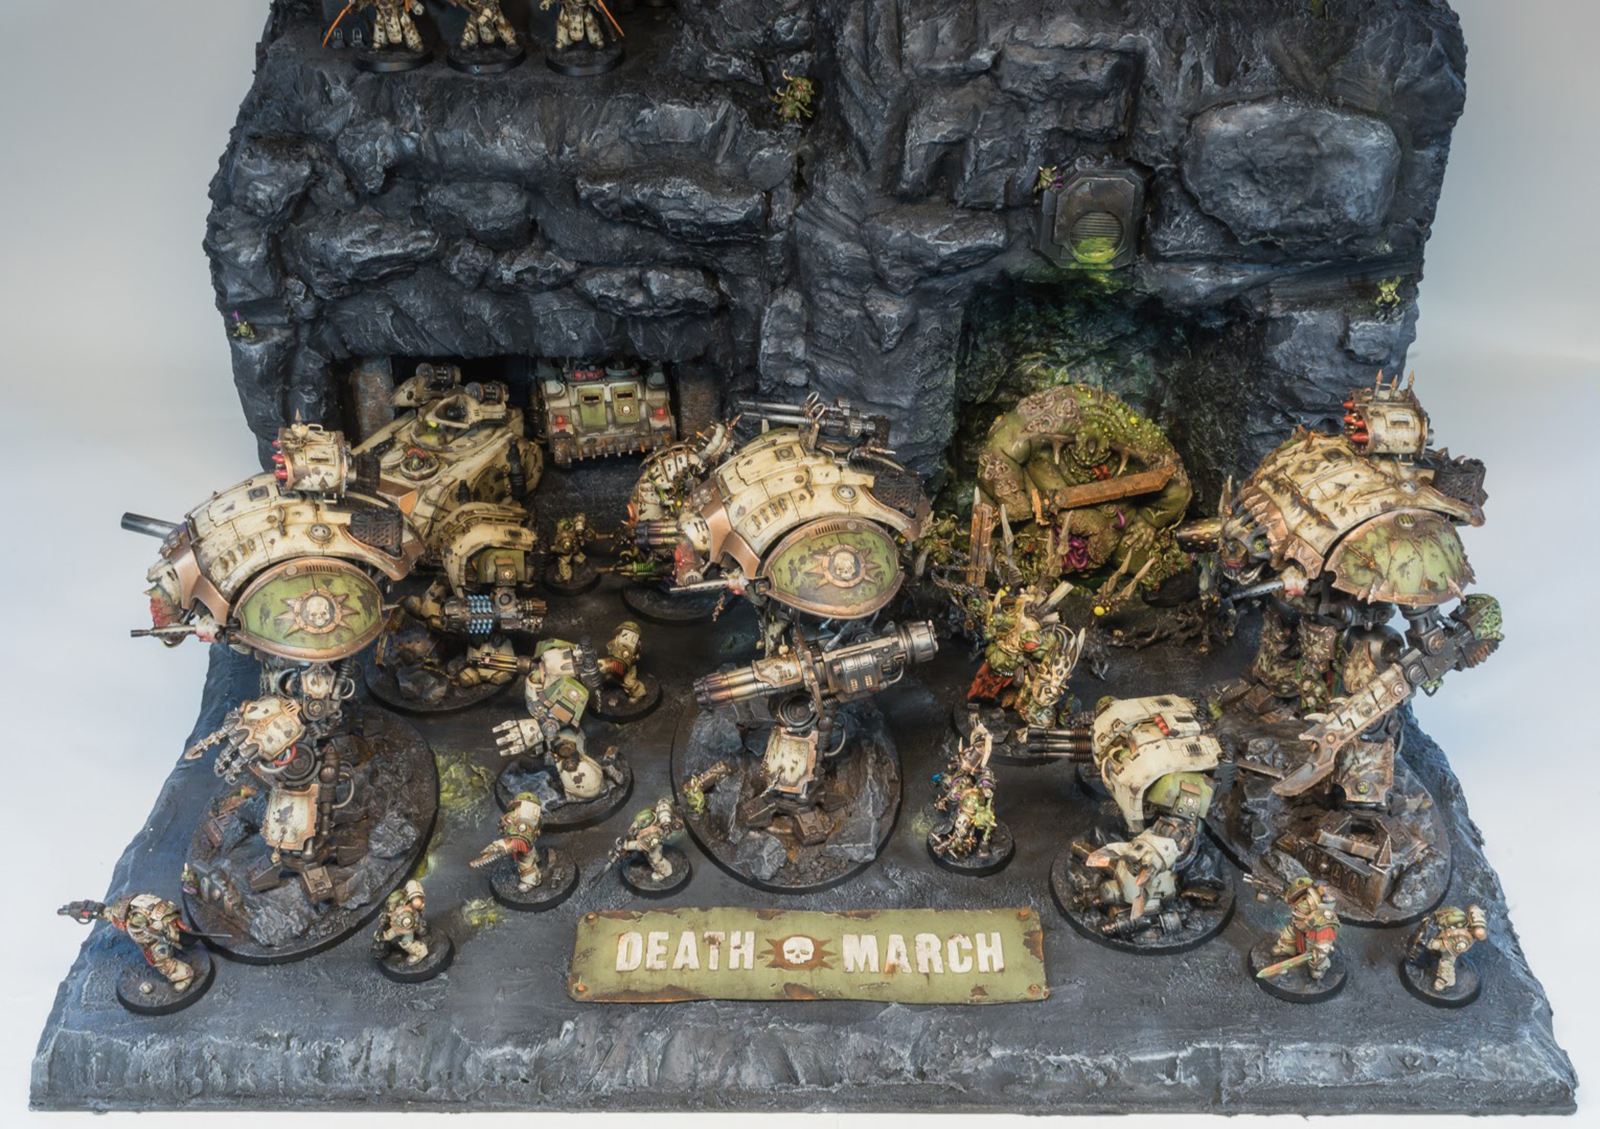
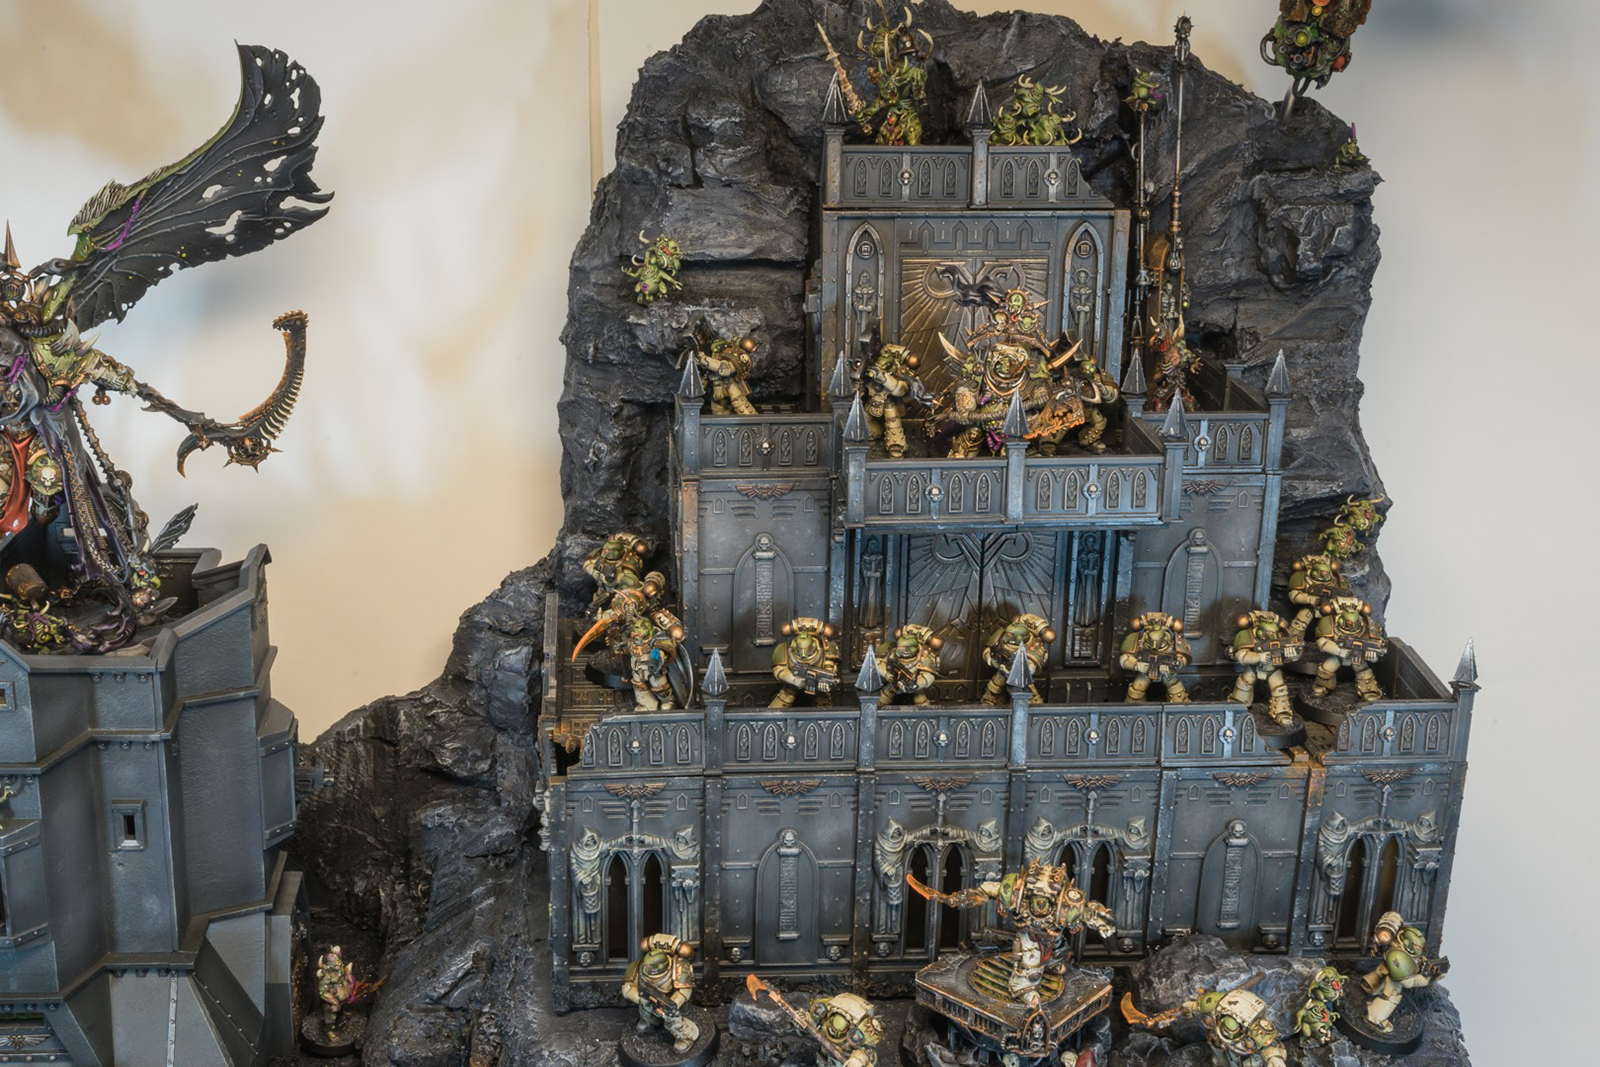
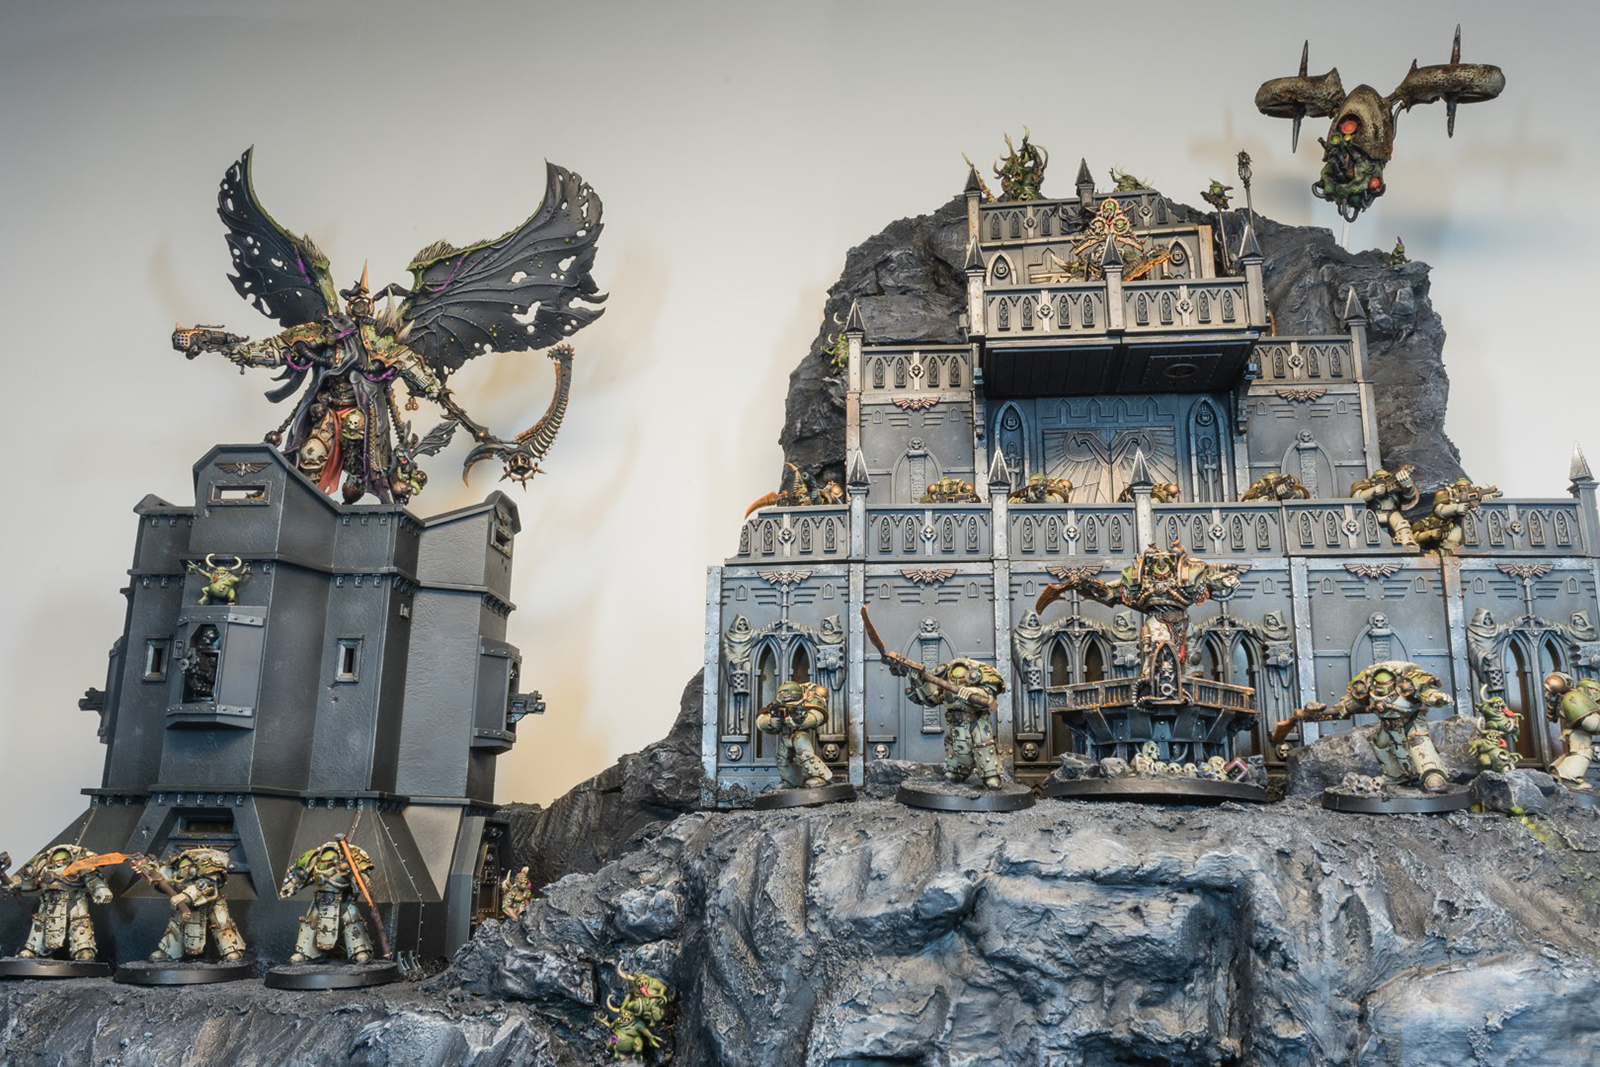
And here it is! 2×2 and a bit over 2 feet tall. I also used the Parade as the place to unveil my finished Mortarion too (no one in the group or online had seen him previously). It just felt great to see it all come together!
So how’d I do . . .

All that planning and hard work over a few months paid off! I took home gold in 4 out of the 5 categories that visitors to the NYC Warhammer store could vote on! (and just a note, “First Army” was changed by our manager to mean Favorite Army).
I can’t thank the people who stopped by and voted enough, same with this amazing Brookhammer crew who just continue to motivate me to get better and better at this hobby.
Now, onto planning for next year’s competition (and I really hope GW brings back the medals, the pins are nice and all but not the same) . . .
3 thoughts on “Making of: Death Guard Display”