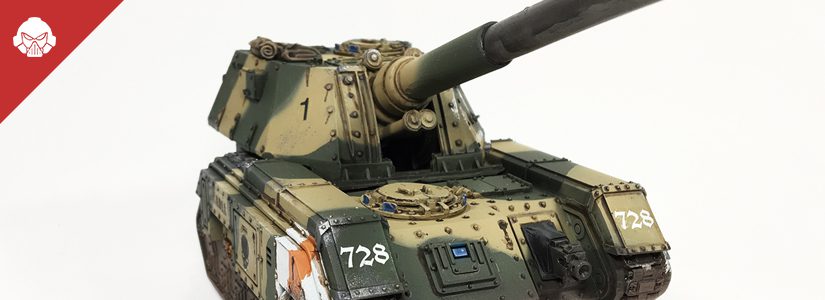
Big guns never tire and Alejandro is back with one of the bigger guns for his Astra Militarum forces: the Armageddon Basilisk! Read on to check out more photos and his tricks and tips for building and painting one.
Besides washing the resin with a soapy bath and cleaning the sprues, this tank was a blast to complete. There was very little warping and the assembly was fair. It was the first time working on a resin kit of this size, so a lot of super glue was involved.
Painting Process
The entire model was primed using Vallejo’s Black surface primer and an airbrush. There were many sub assemblies before putting it all together. It was sub assembled to make sure that some areas were primed and later base coated without missing hidden areas that may need to be painted manually.
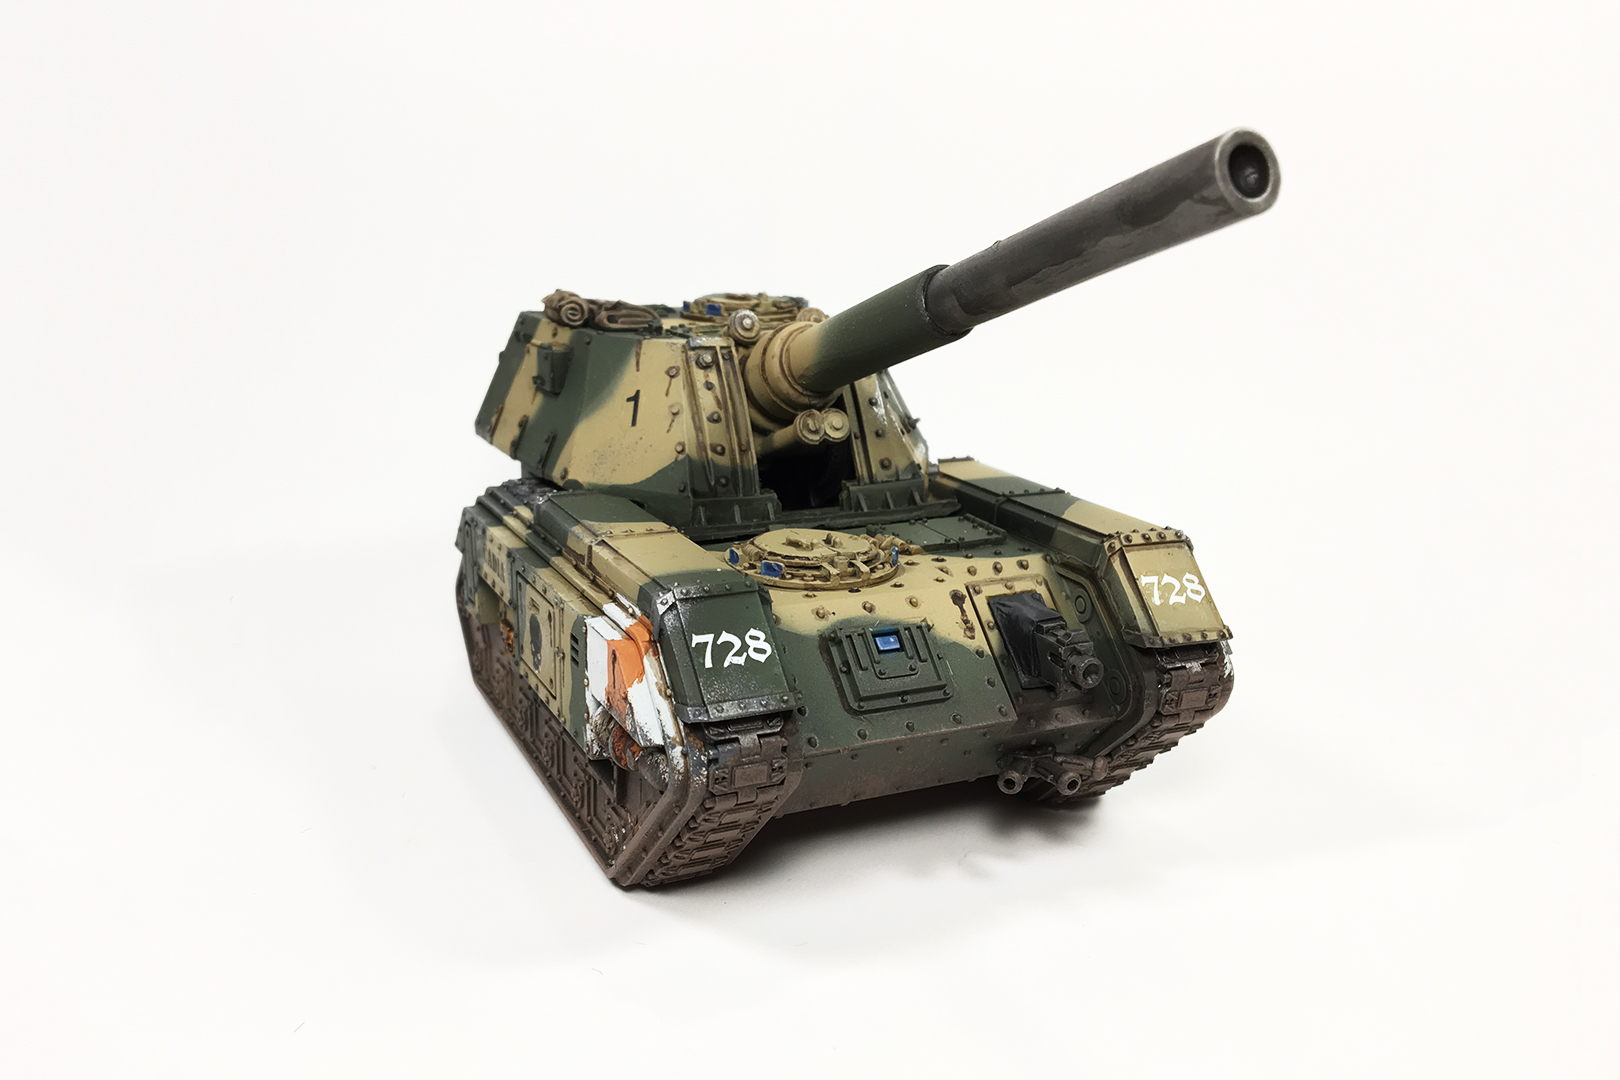
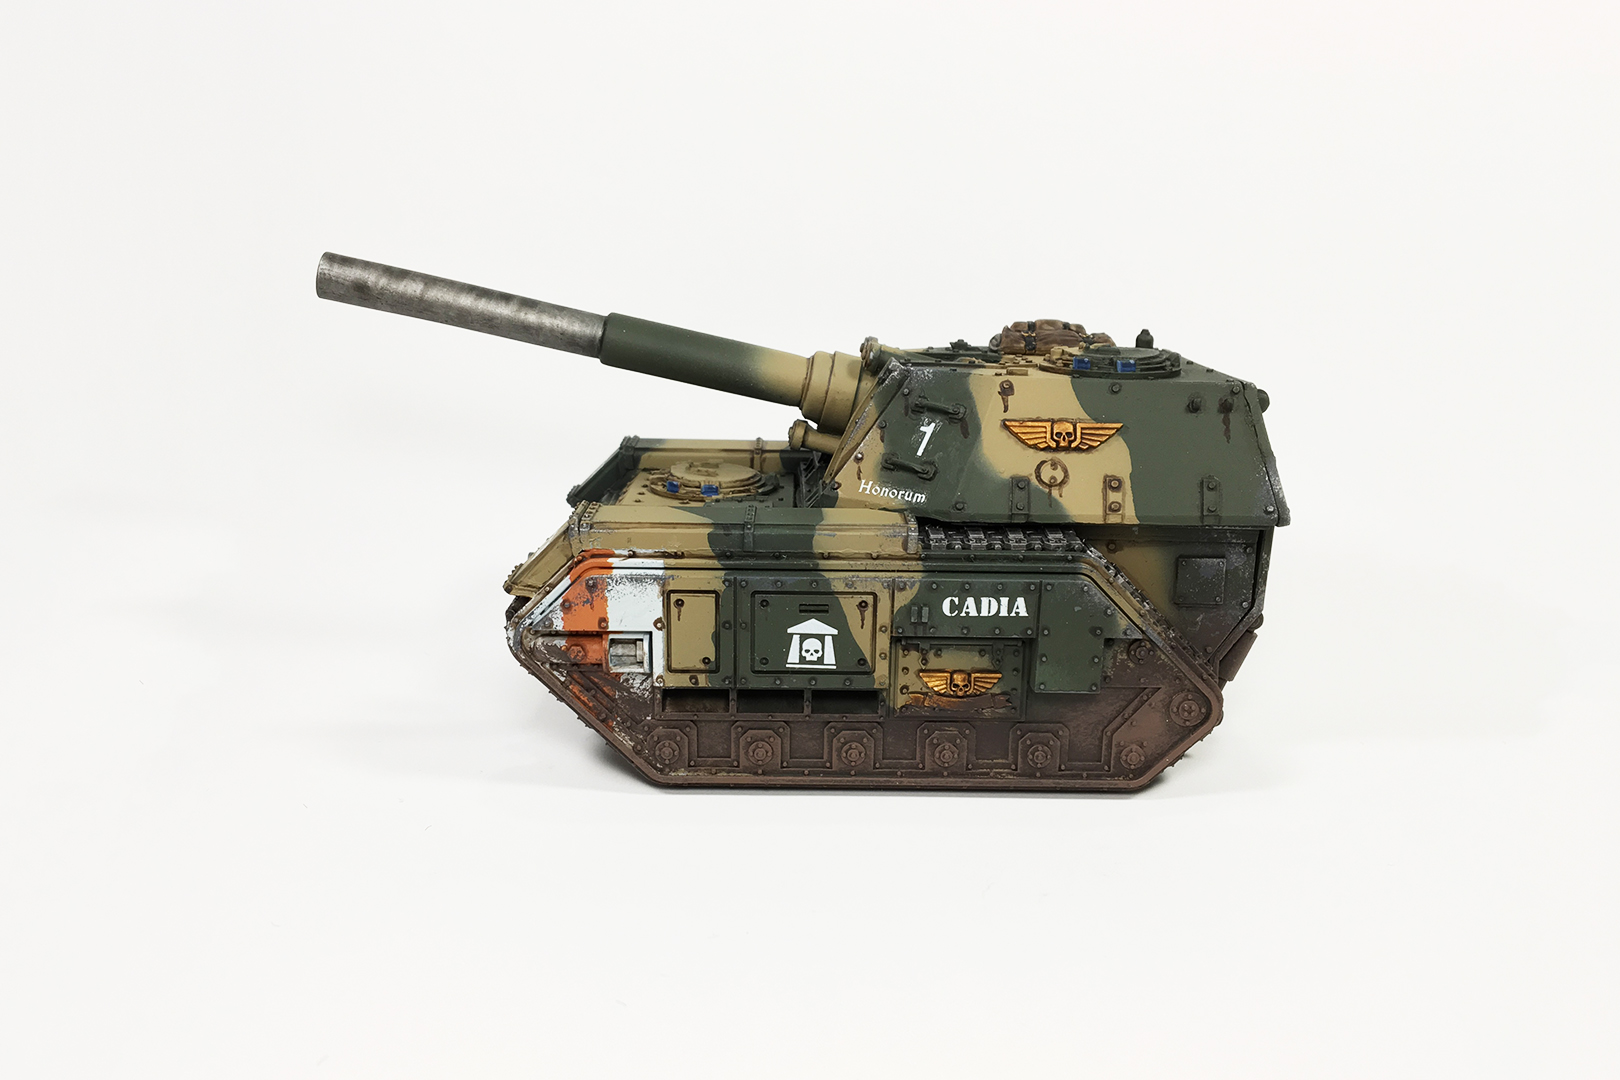
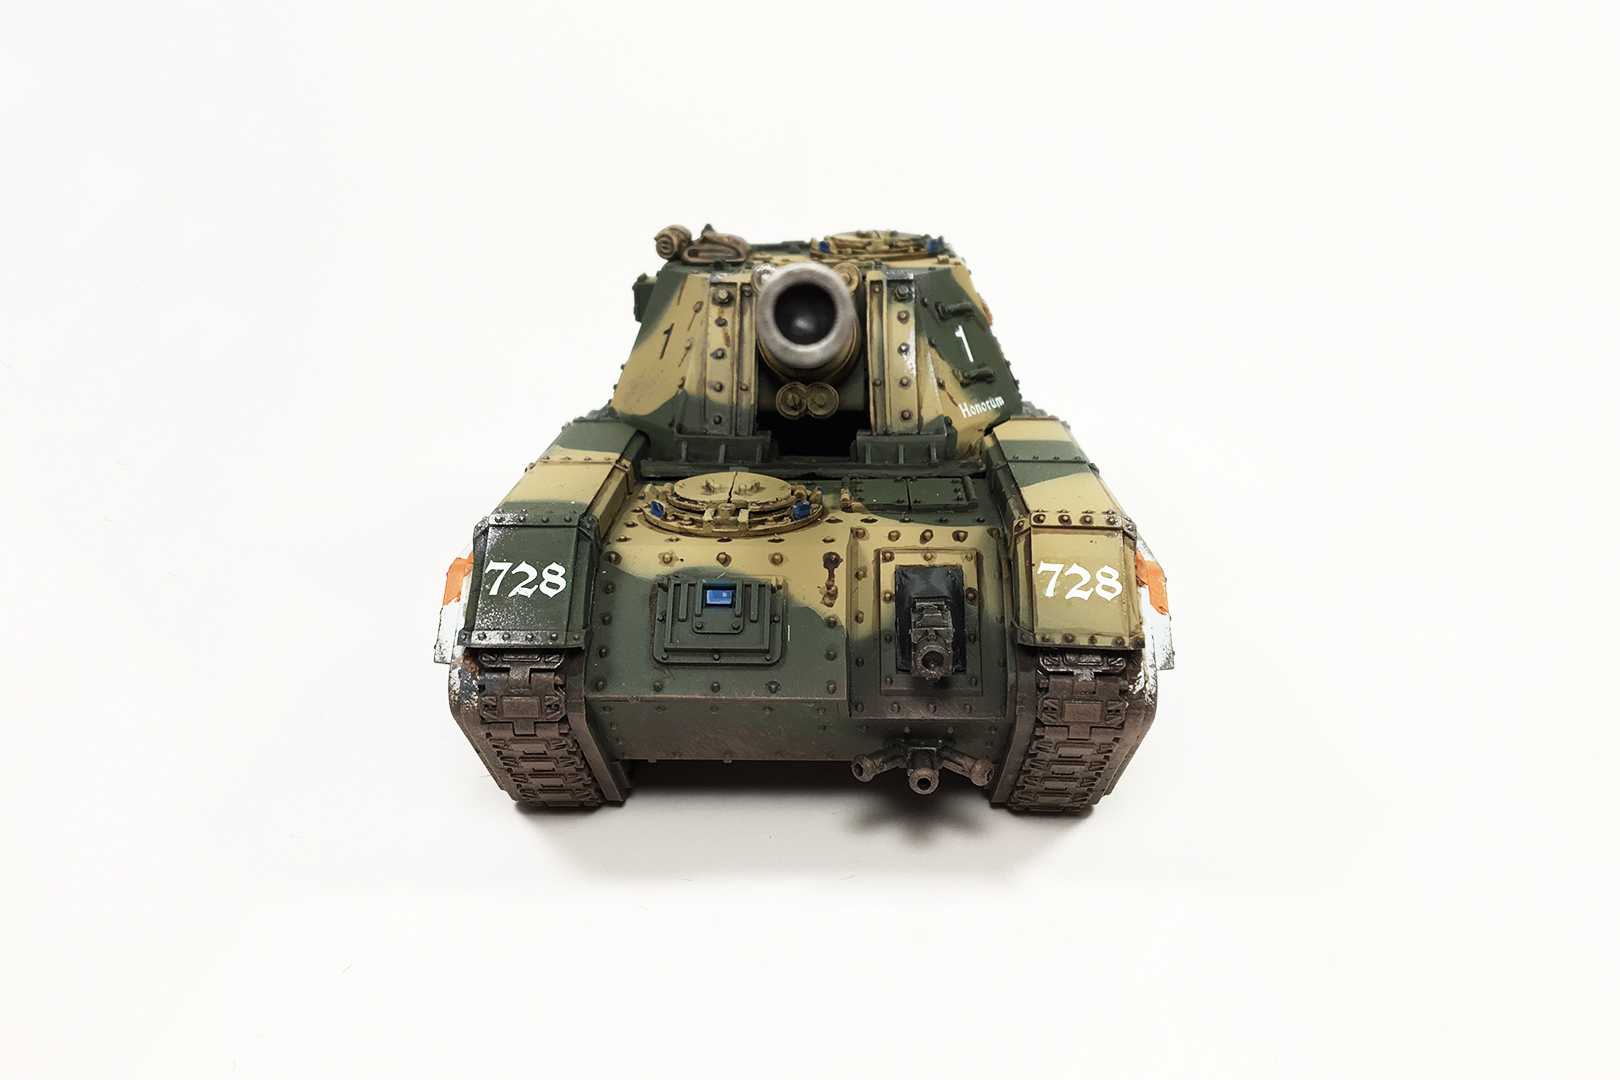
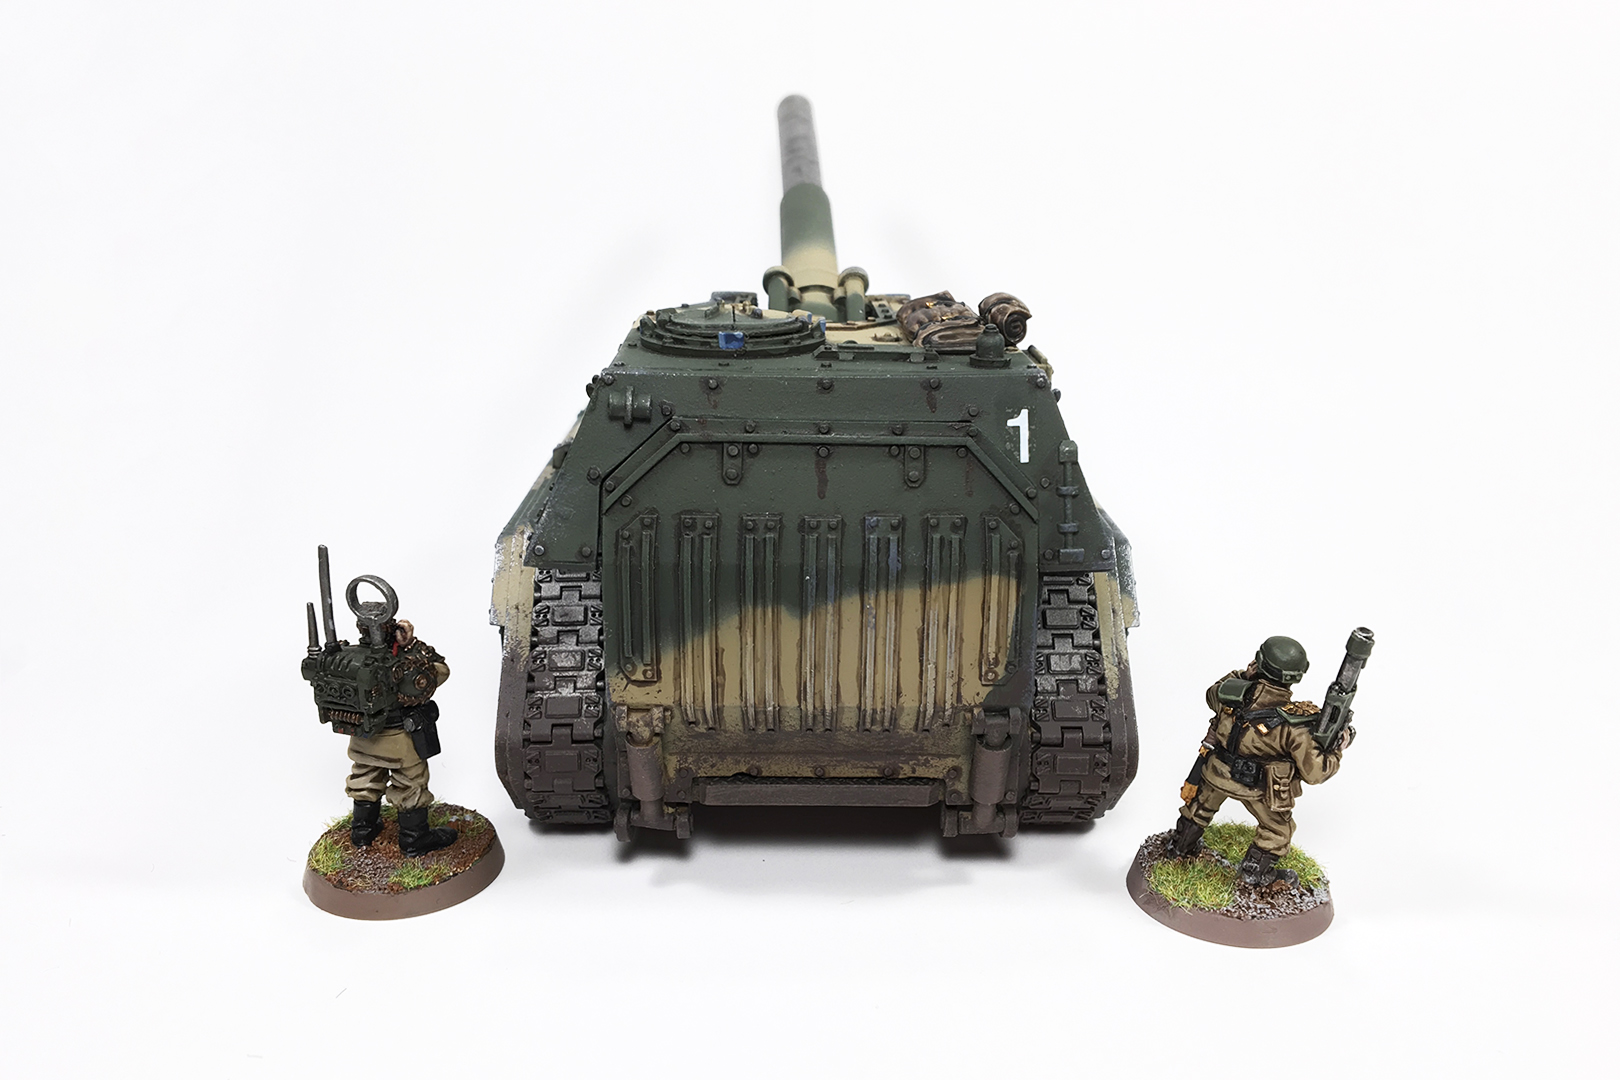
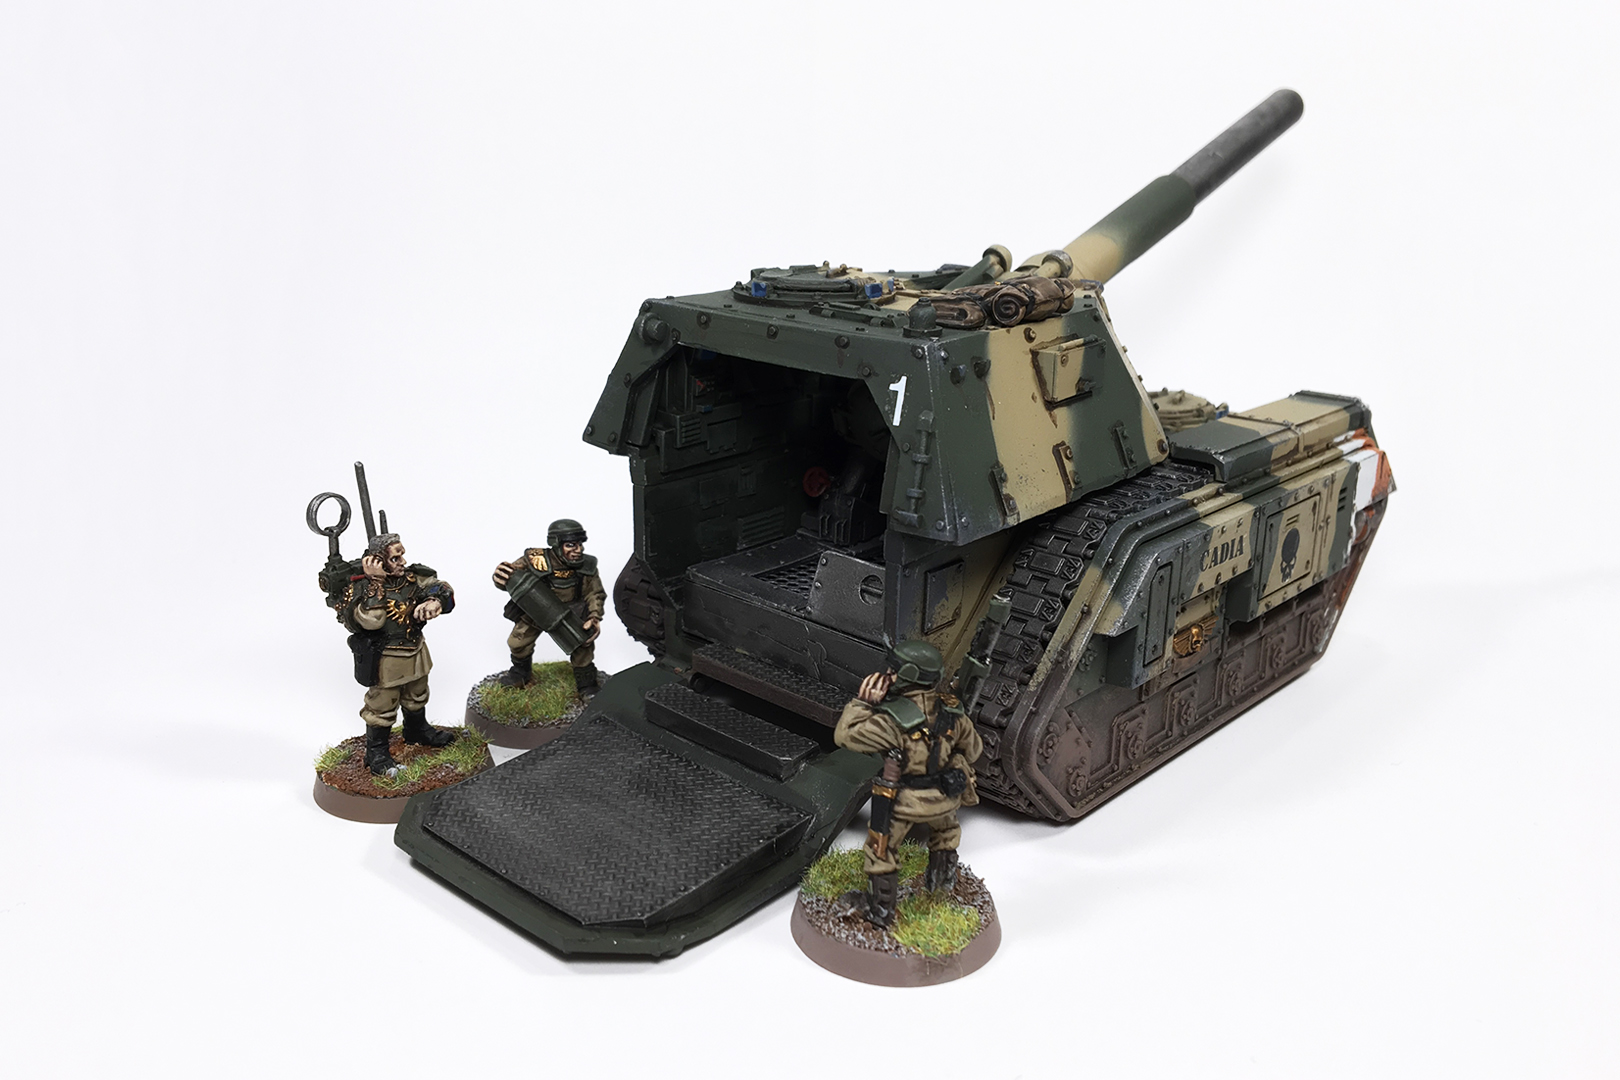
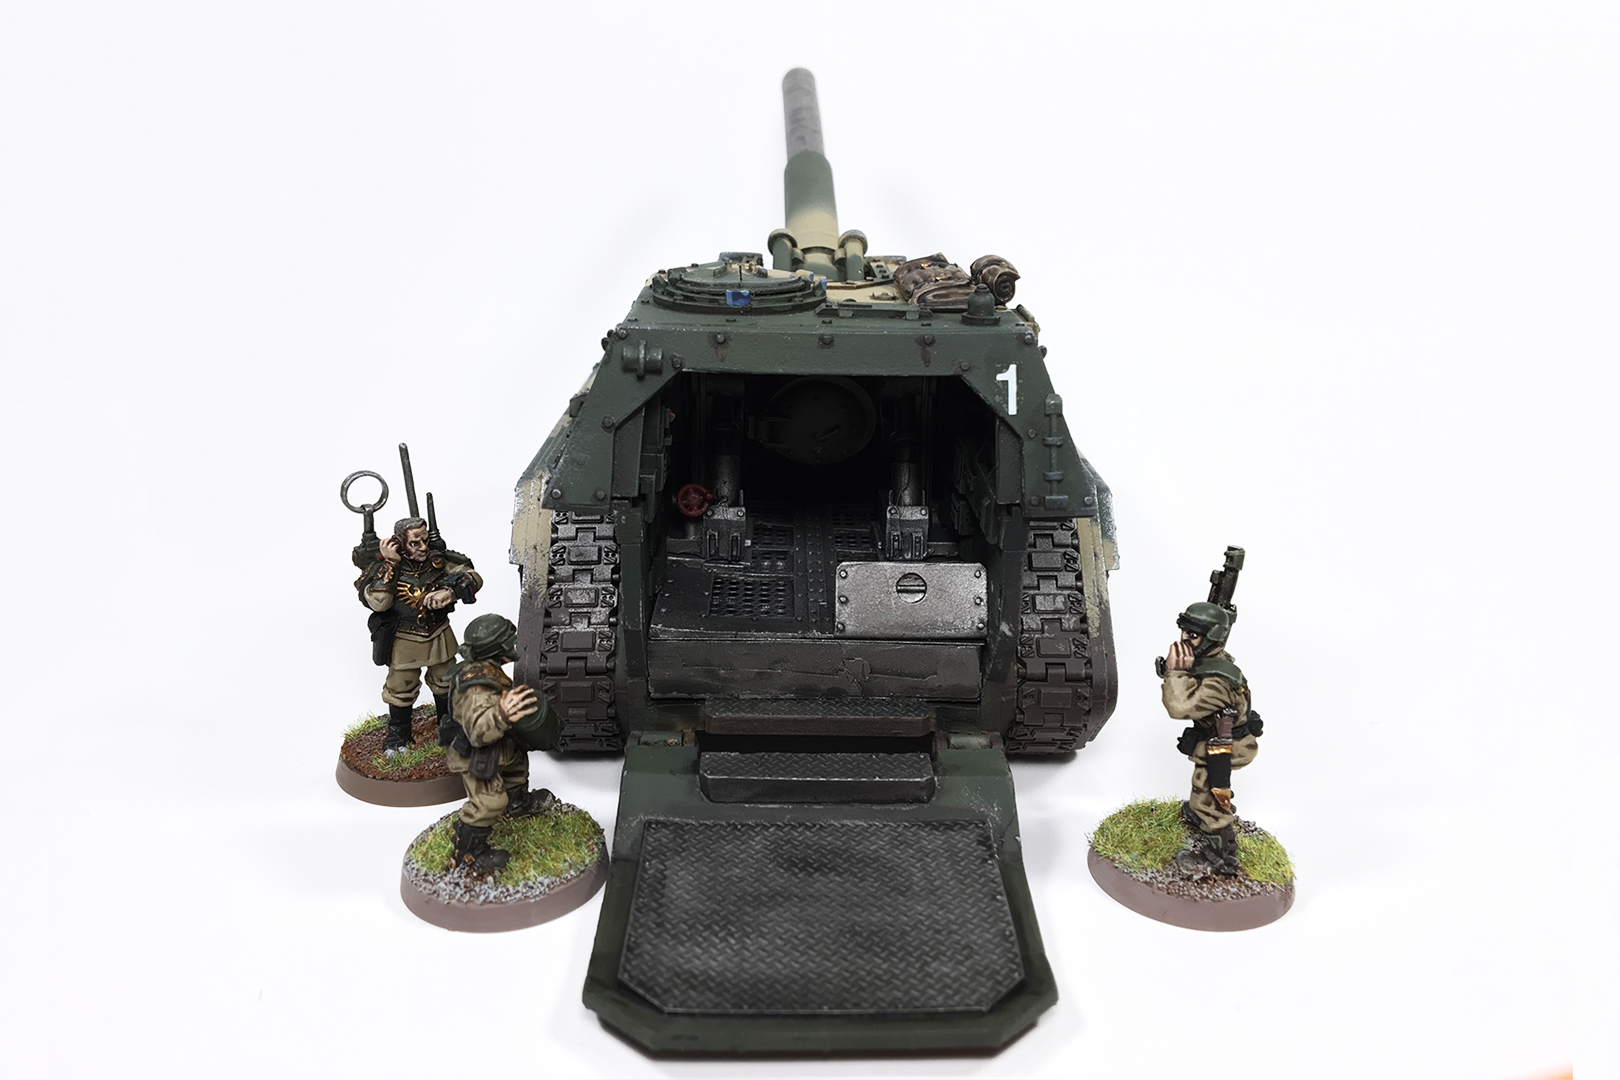
It was airbrushed using citadel’s Castellan Green as a base coat and a piece of paper was cut as a stencil to create the camo effect using Zandri Dust. The tracks were painted separately using Leadbelcher, and then washed with Null Oil. The front white/orange lines were done using a regular brush, starting with Celestra Gray, the Ulthuan Gray. The white areas were masked and Jokaero Orange was used for the line.
After the other base coats were applied, a wash was applied to the rivets using a Agrax Earthshade. Afterwards, a light highlight of Straken Green on the green surfaces, and Ushabti Bone on the Khaki areas.
Decals were added next, followed by the mud effect on the area of the lower tracks, using Dryad Bark as a base and Gorthor Brown as a highlight (dry mud). finally, to create a chipping effect, Mechanicus Standard Grey and Leadbelcher were applied using a sponge. Typhus Corrosion as added last to create a weathered effect.
Leave a Reply