

Just this past month, the Brookhammer crew was awesome enough to gift me Magnus the Red (how awesome is that?!). Since I do travel a bit in the city to get our games in I wanted to make sure I could easily transport Magnus without taking up a lot of foam space with his massive scale.
I tried to do some research as I always do before building him but couldn’t find anything online for magnetizing his wings. So I thought I’d share the steps I went through to do just that…
The Wings
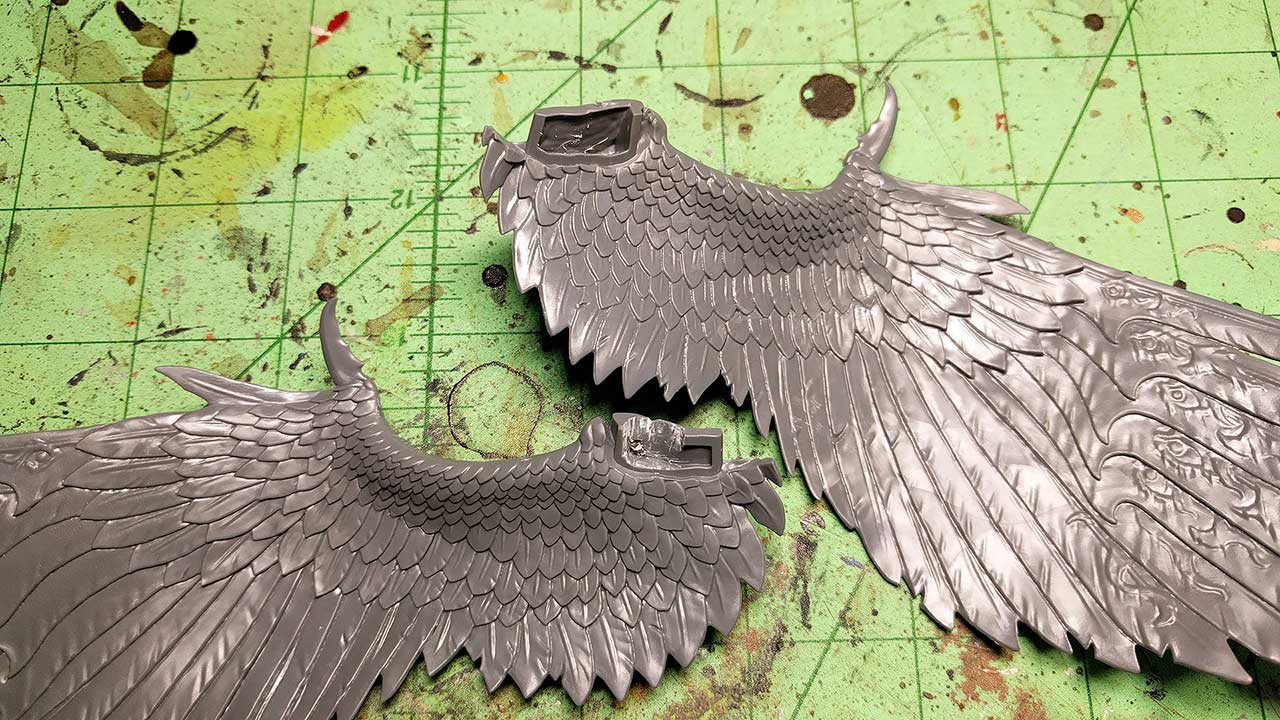
Clean up the Wing Connections: The left wing is pretty much good to go as is but I couldn’t quite fit the magnet into the right wing. So I took my X-acto and cleaned it up so it’d sit flush inside the opening on the connection piece.
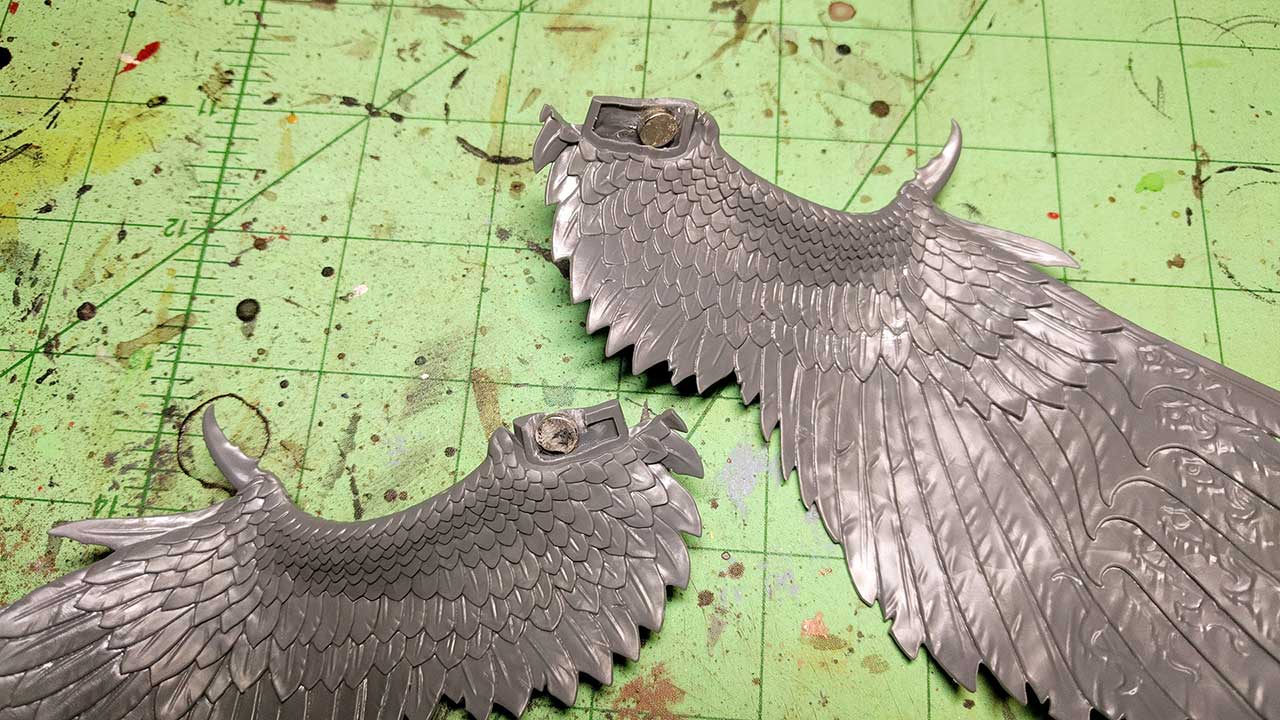
Adding the Magnets: After cleaning out the connectors, I added some 1/4 x 1/16 sized magnets. They should rest inside and not get in the way when connecting to the body.
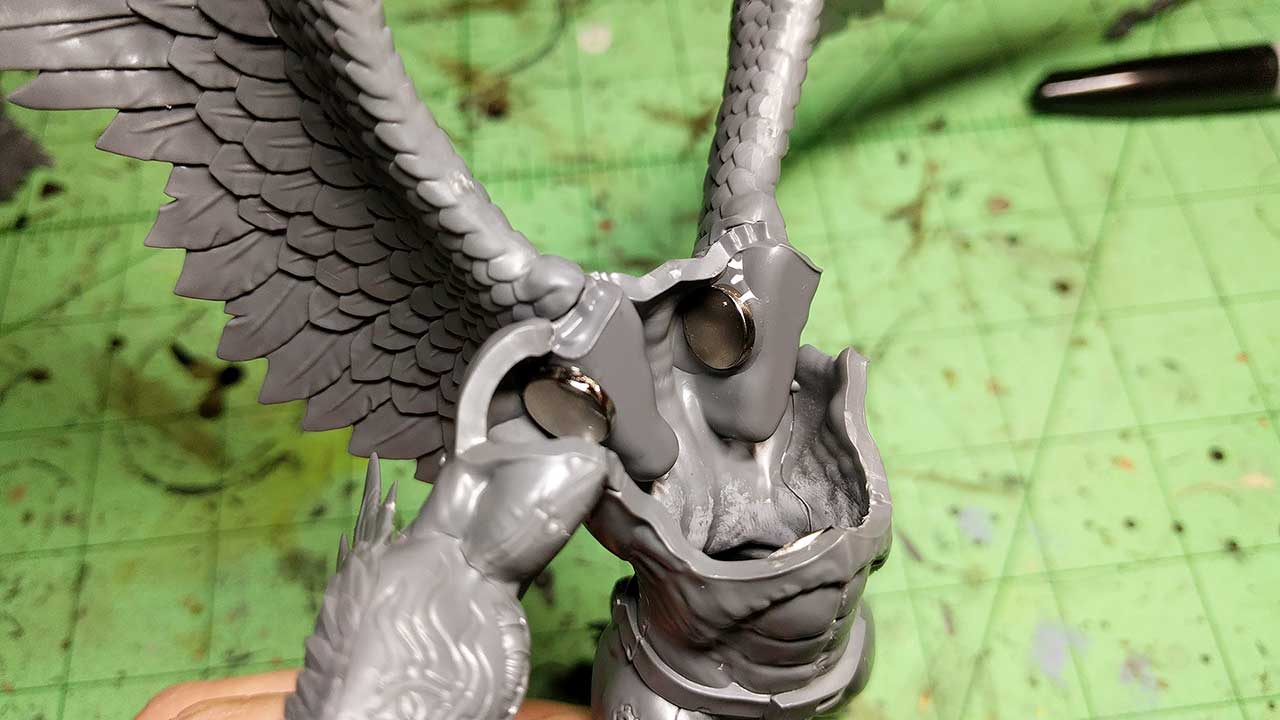
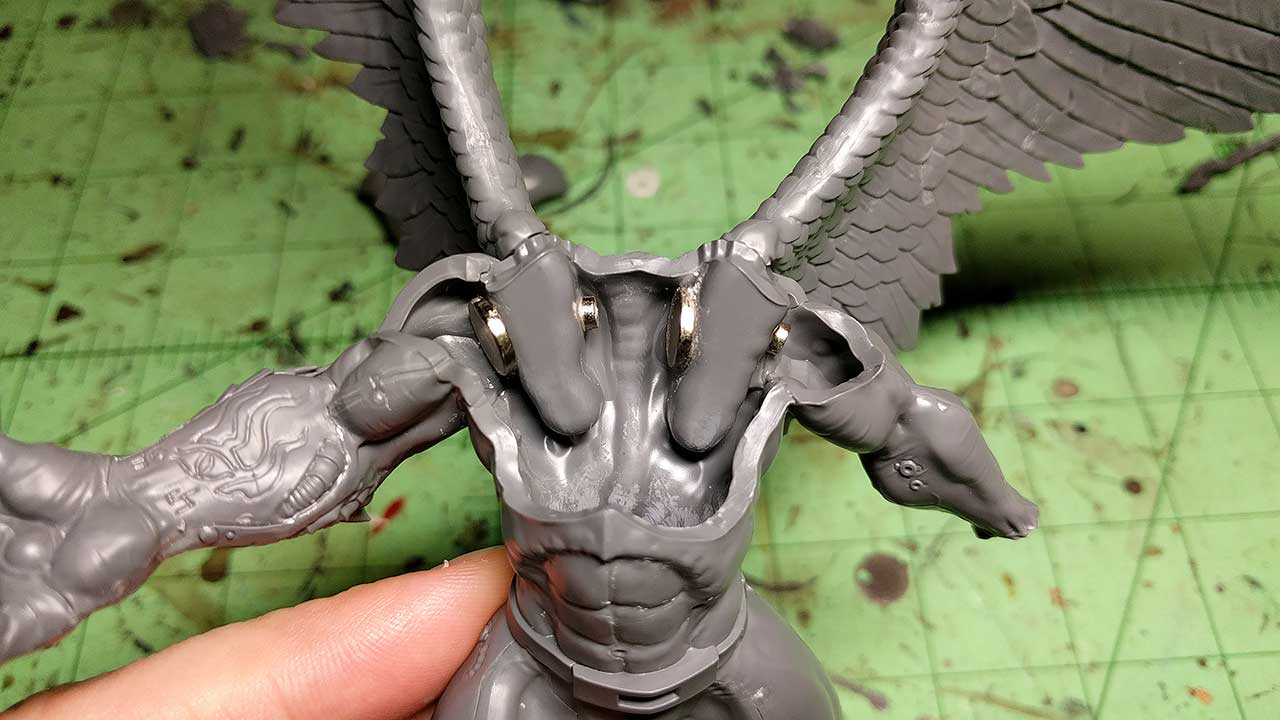
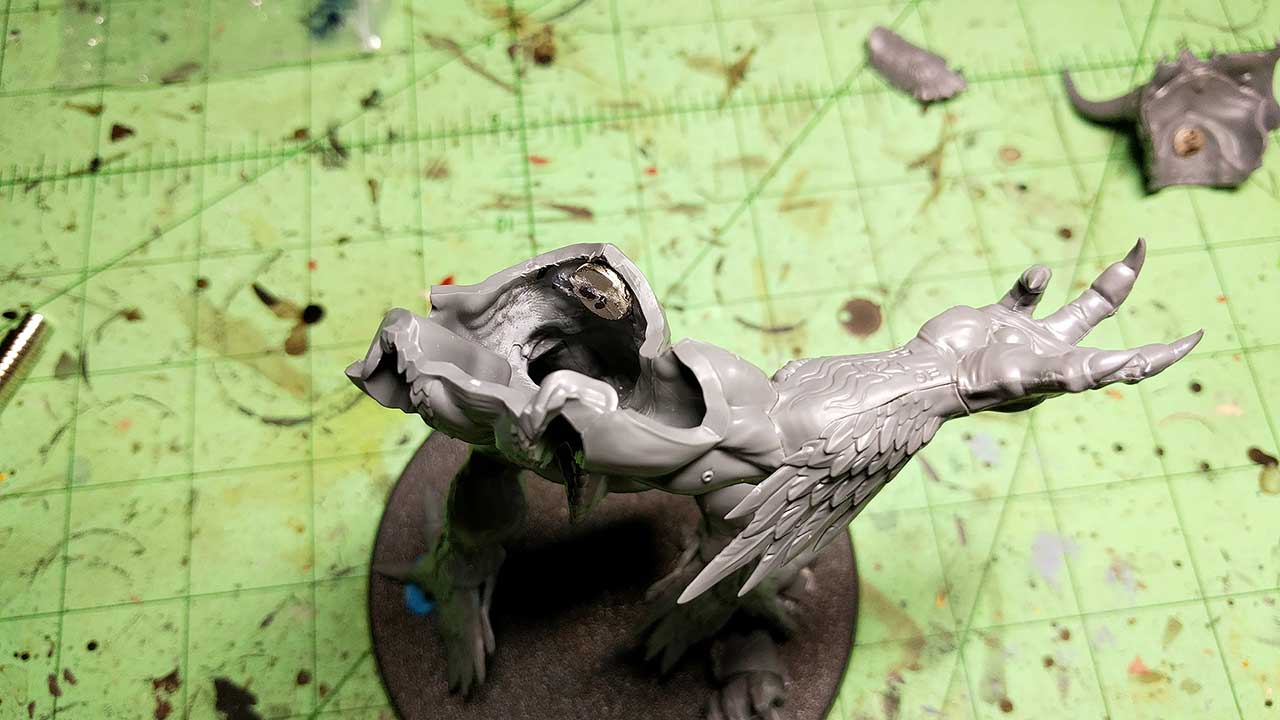
Adding the Magnets to the Body Cavity: After the super glue has dried on the magnets in the wings, I inserted them into the body and used some more powerful 5/16 x 1/16 sized magnets inside. Put some glue and let the magnet find where it best connects to the ones inside the wings.
Additional Support: I had some spare 1/8 x 1/16 sized magnets lying around and thought I’d use them on the opposite sides of the body cavity to strengthen the bond.
But that’s not all!
I really love the look of Magnus both with and without the chest armor. So I decided to magnetize that as well!…
Chest Armor
The Armor: After putting the chest armor together, I put a 1/4 x 1/16 sized magnet in the location seen above. There should be just enough gap in here to fit snug against the body without pushing the armor off of it.
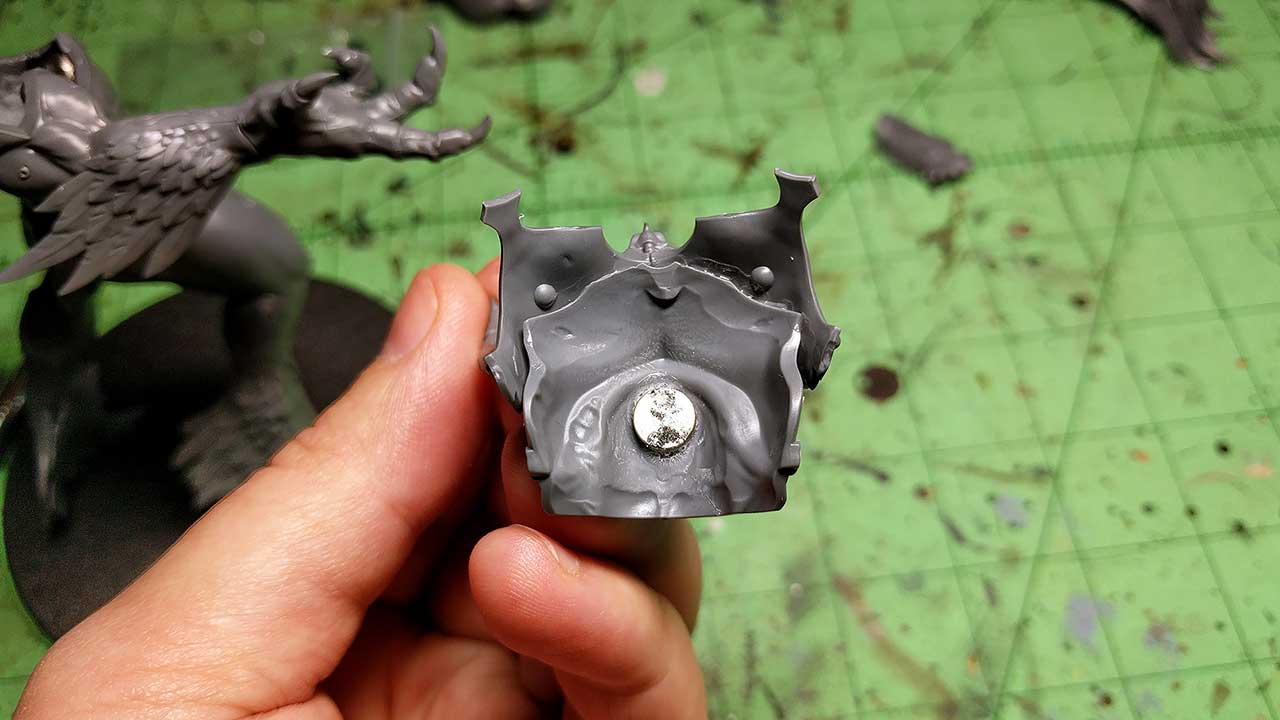
The Body Cavity: I built the body without the top of the chest on. This allowed me to not only get to the wings but to the front of the chest as well. I put a 5/16 x 1/16 sized magnet on the abs. To better find the fit, put the chest piece against the body to see where the magnet best lines up.
Hope this helps and gives you ideas on how to better this process. I’m debating adding some pins to the wings for added support but it may not be needed. Also debating magnetizing the staff wrist to the left arm, but haven’t made up my mind yet. I’ll update this tutorial if I do!
Next up, finish putting the body together and filling in all the gaps with Vallejo Plastic Putty (there are A LOT of gaps).
One thought on “Magnetizing Magnus the Red”