

With Chaos having the option to now take Renegade Imperial Knights, I thought it would be the perfect tool to expand on my Chaos forces. Over the last couple of weeks I’ve been working on magnetizing the Knights for both ease of transport but also for ease of sharing weapons (and future proofing it a bit in case more goodies get announced later). Here’s a break down of how I’m going about it…..
Torso Connections
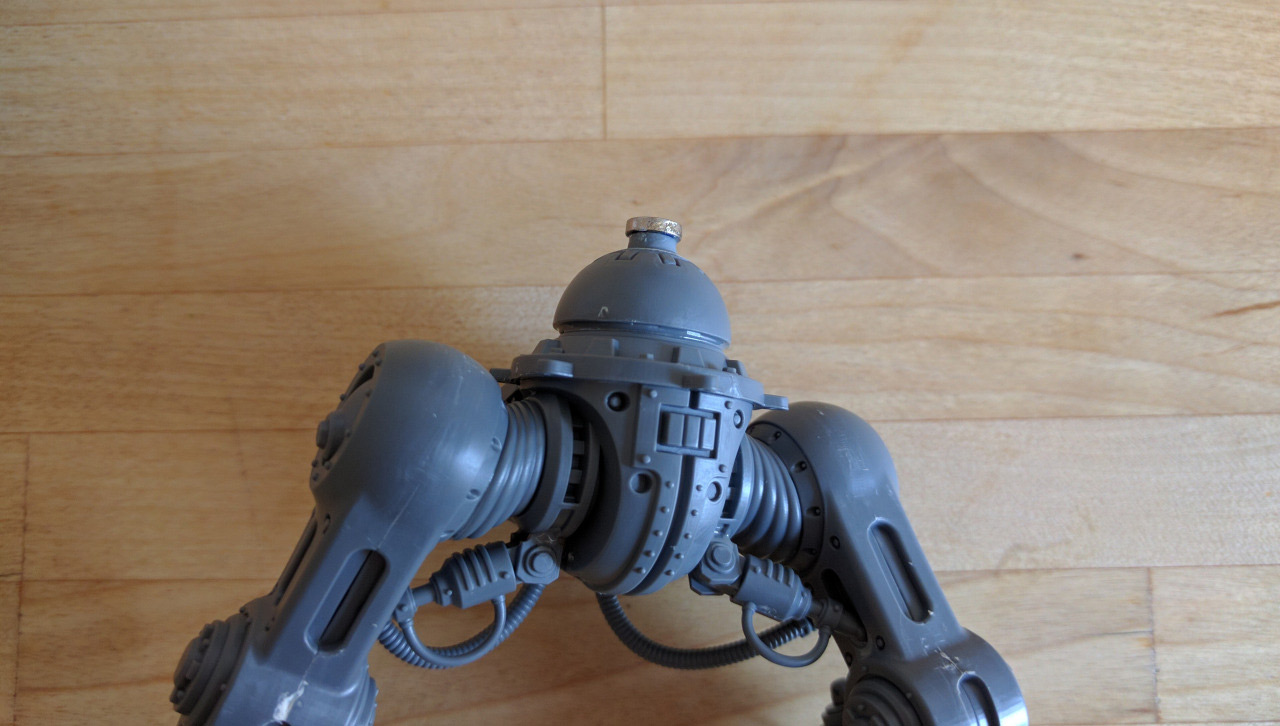
Magnets: 1/4 x 1/16
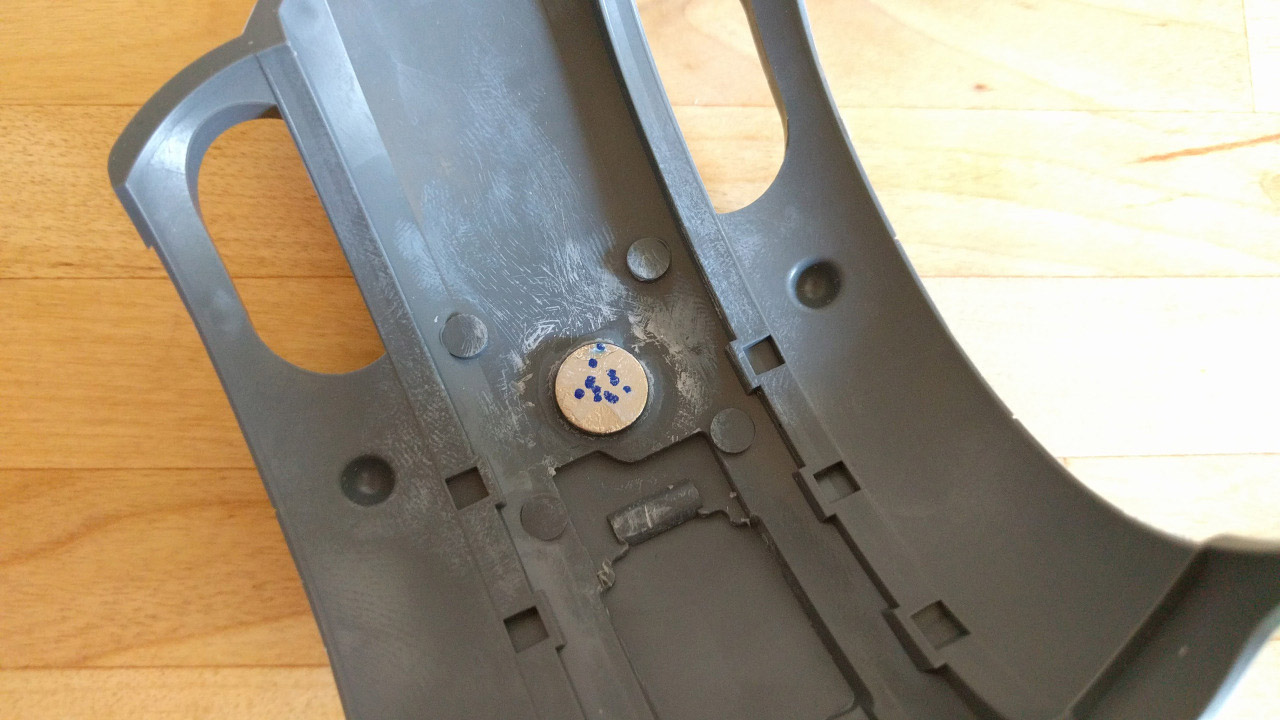
On the bottom torso, I kept the nob on the bottom half intact and glued the magnet directly to it. Making sure it would still fit in the opening under the upper body component
Magnets: 1/4 x 1/16
On the inside of the upper torso, I took a piece of sprue and cut it to fit within the bottom of the Knight (about 1 ¾ long piece). Glued it in with some plastic glue and then after that dried, added some super glue for more support. I then attached the magnet to the bottom torso with some glue added. Put the top piece on the bottom piece so I could have the magnet touch the sprue bit.
Arms-to-Weapons Connection
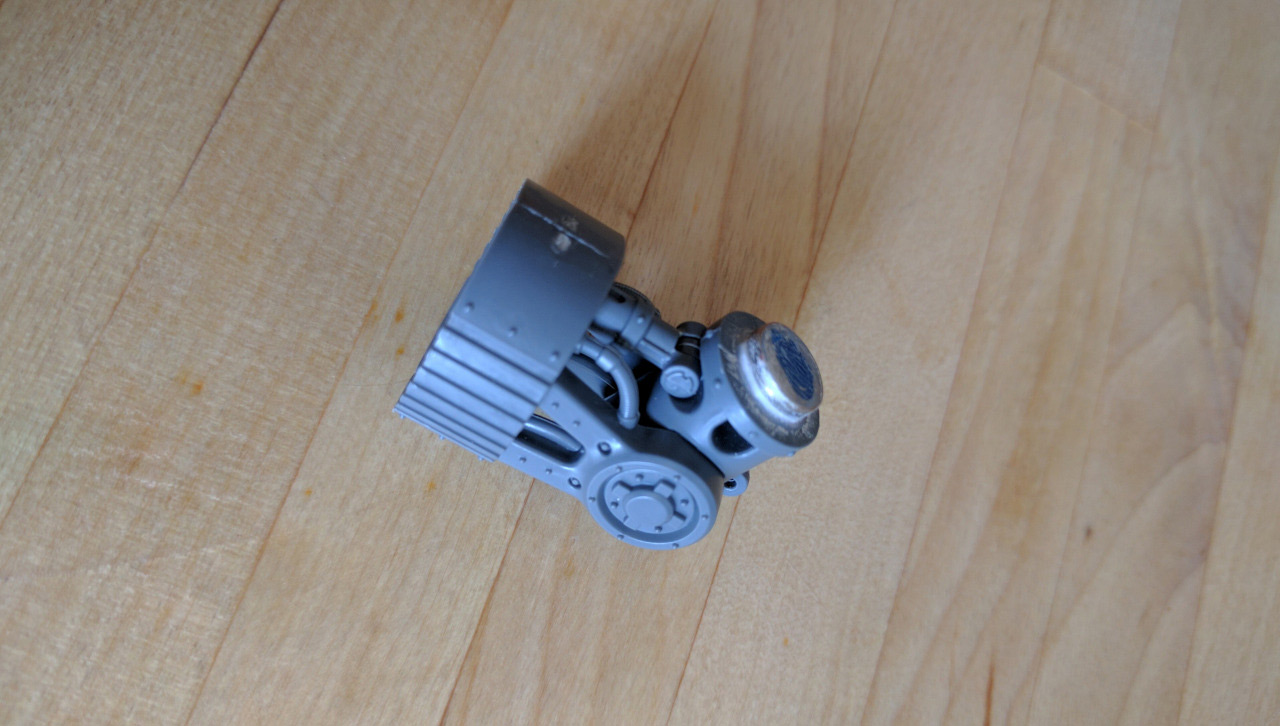
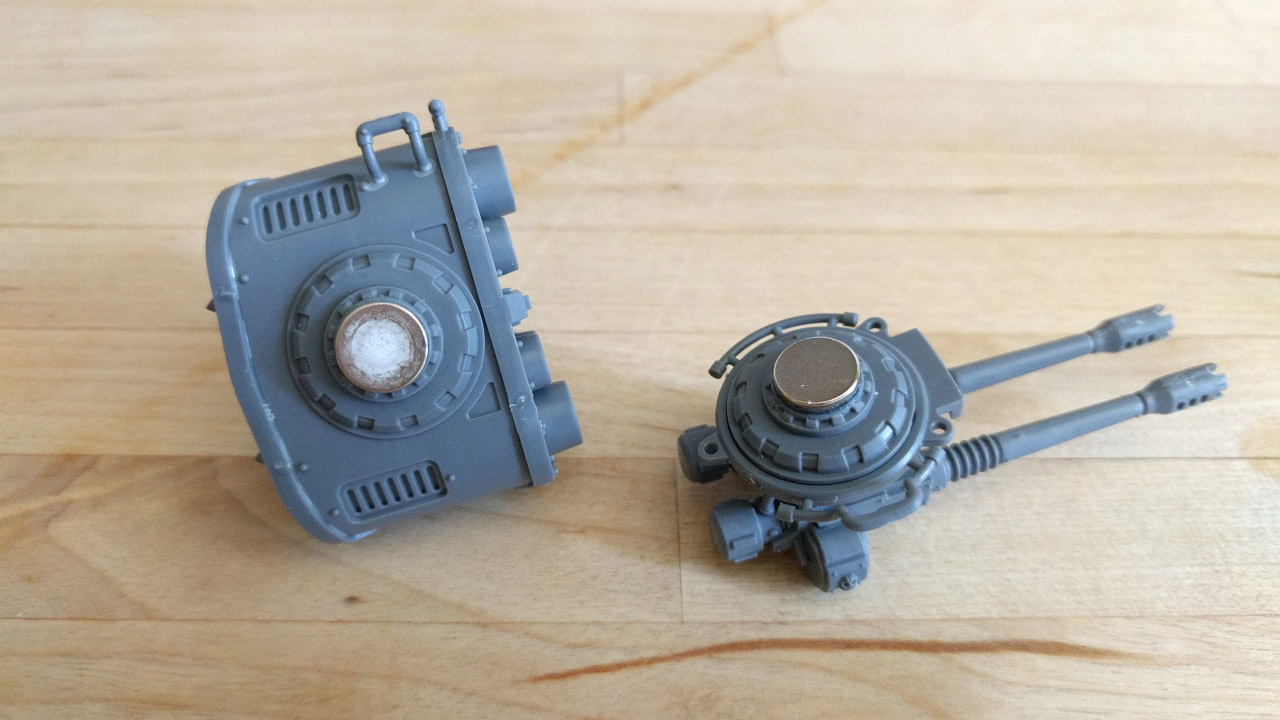
Magnets: 5/16 x 1/16
After glueing the arm components together, I cut the knob off using a hobby saw. I realized after doing some dry-fitting of the magnets that I needed just a little bit of space under the magnet to have a better connection so I cut a piece of plastic card and put it between the magnet and the model (that’s the white part in the photo)
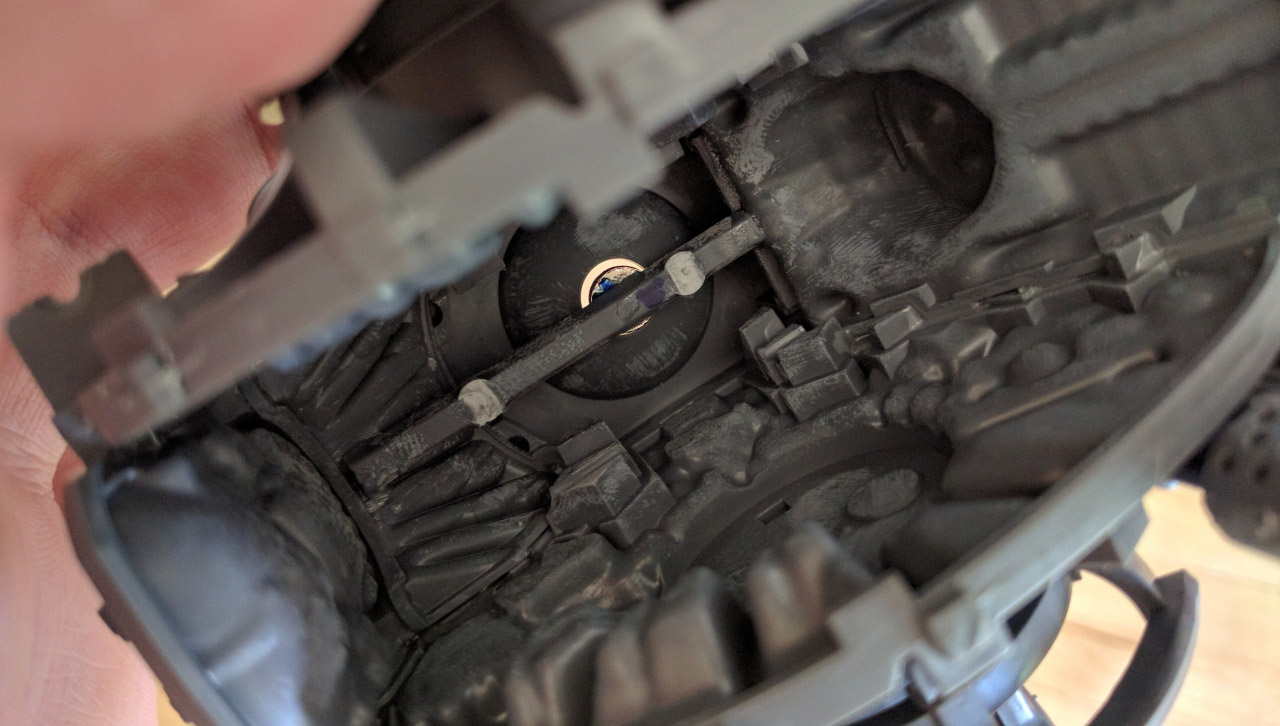
Magnets: 3/8 x 1/16
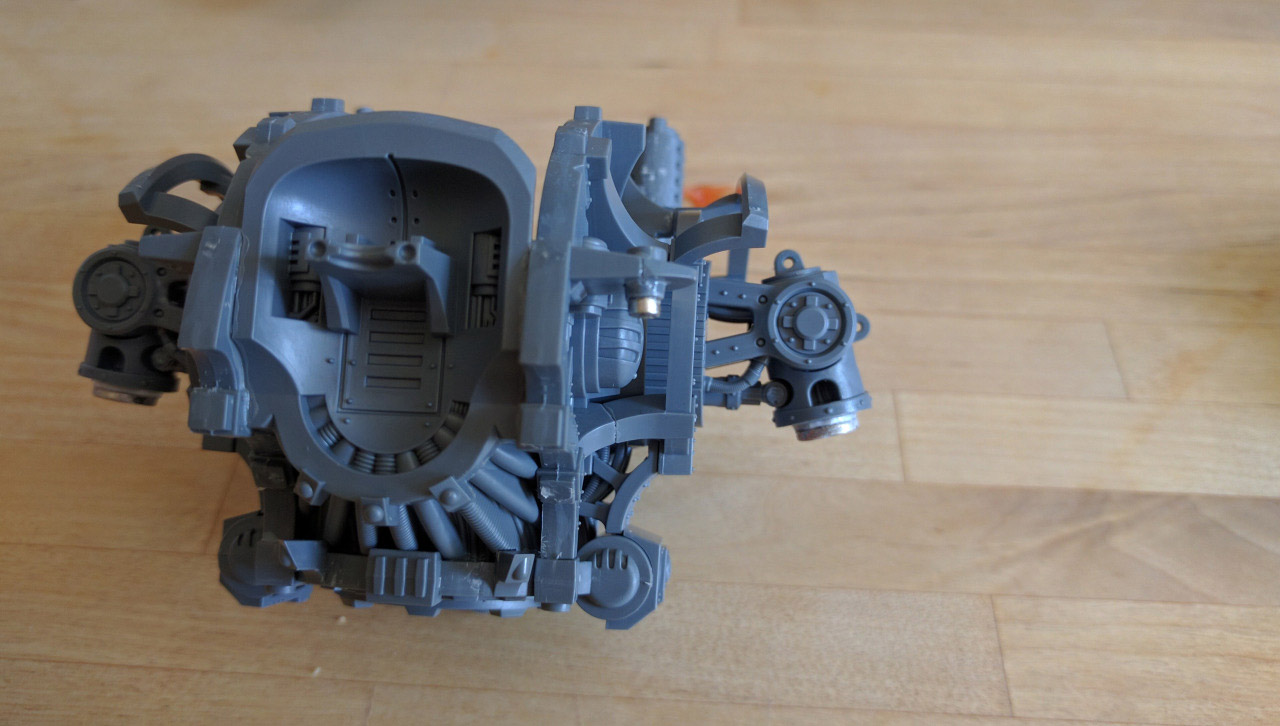
Before glueing together the top parts (pieces #20 and #21), you can fit a magnet in the top. No need to use a sprue or anything else to hold a magnet. Now this is a TIGHT fit, so using a hobby knife and file to smooth out the insides will help a lot for a tighter fit. But it will work!
Carapace Weapons
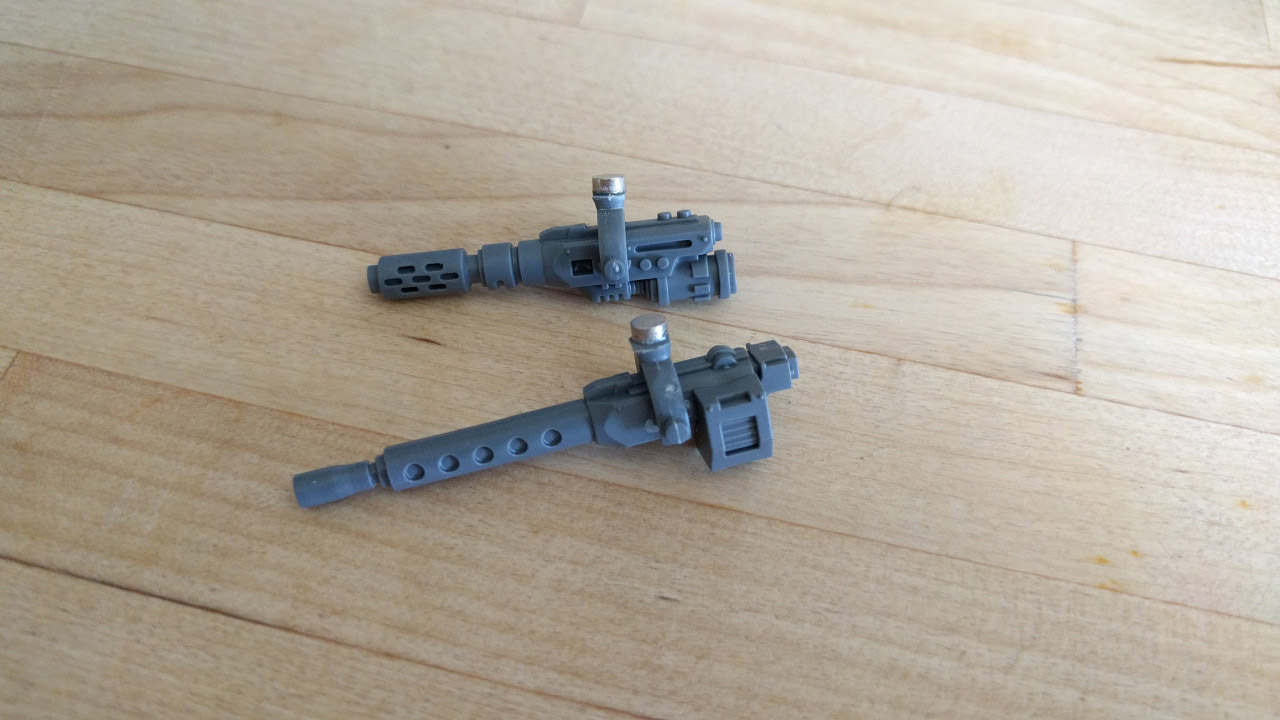
Magnets: 3/8 x 1/16
Smooth out the bit of plastic on the underside of the carapace and attach a larger magnet here. Since I was using the 3/8 size on the guns, they worked here as well.
Magnets: 5/16 x 1/16
I smoothed out the bottom of the connecting pieces and glued on a 5/16th size magnet for both the missile launcher and autocannon Perfect fit and sits nicely on the top of the knight.
Chest Weapons
Magnets: 1/8 x 1/16
For part 99 (the U shaped bit with a straight end), I cut it off where the straight part starts to connect to the U shape. I attached a 1/8th size magnet to the straight end and glued in the piece like normal to the body
Magnets: 1/8 x 1/16
I glued on the U shape portion of part 99 to the guns and then put another 1/8 size magnet on top.
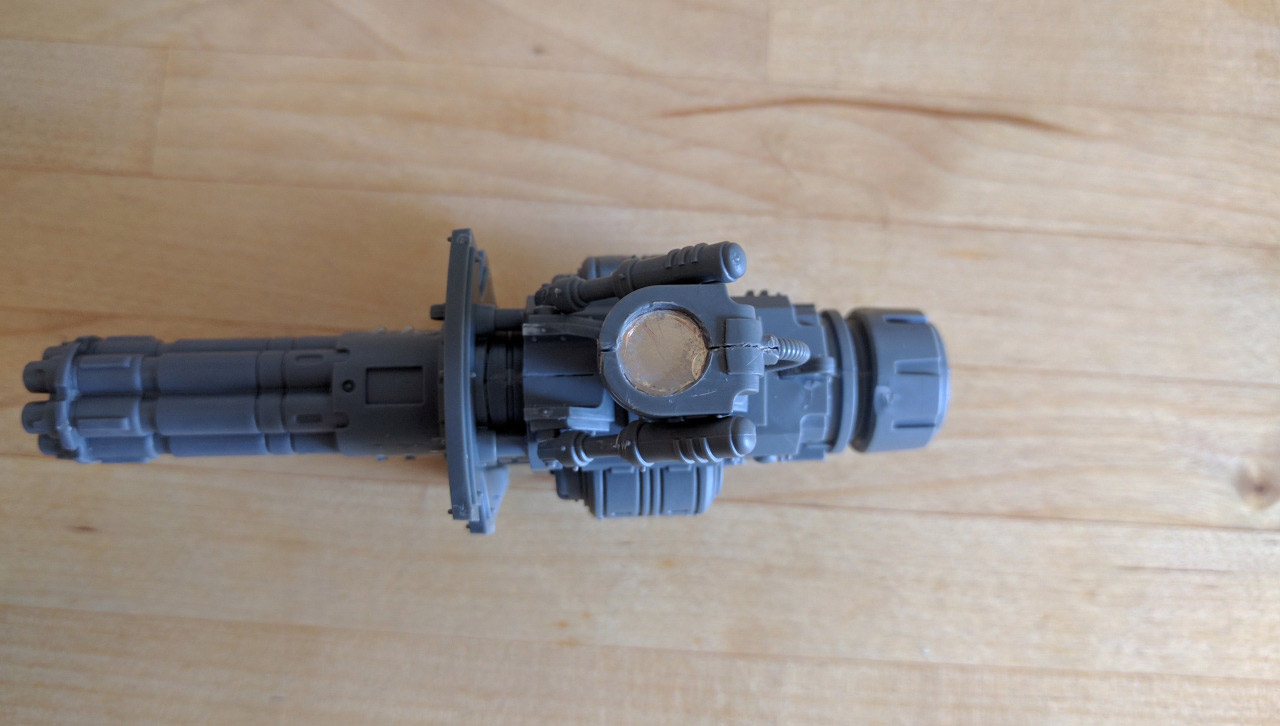
Battle Cannon / Thermal Cannon
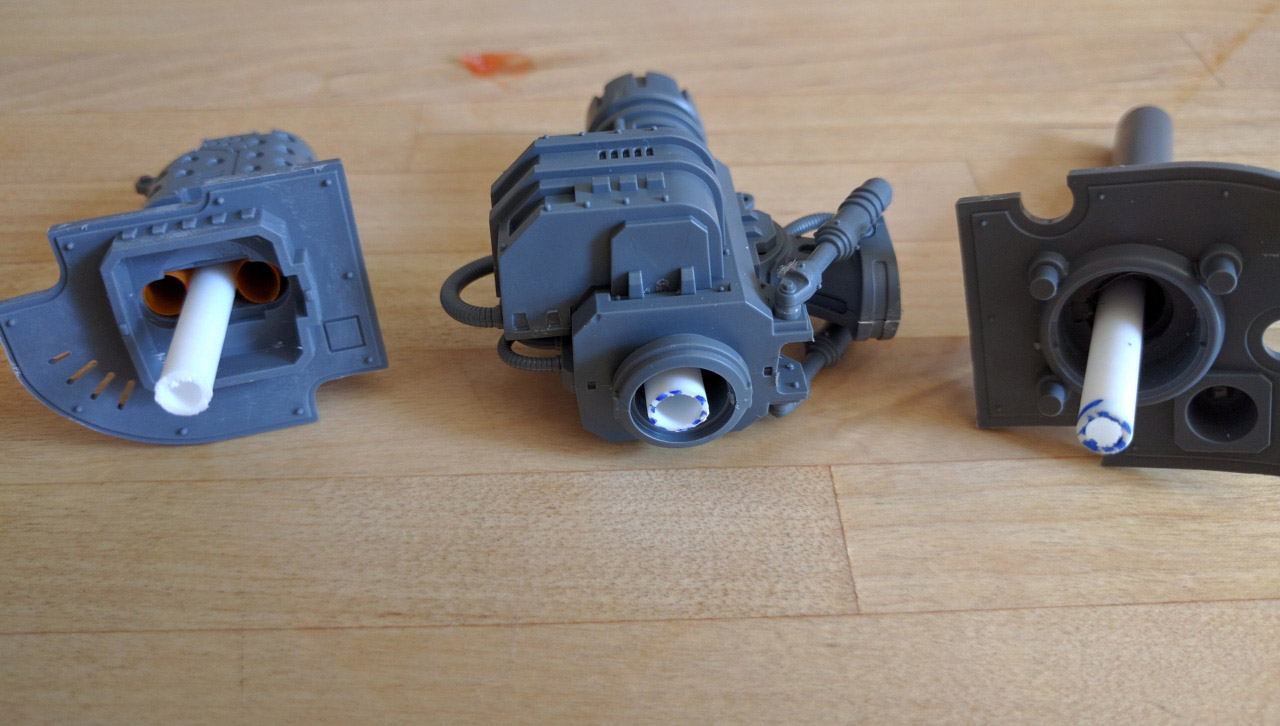
Magnets: NONE!
I’ve seen quite a few tutorials working with magnets on the Battle / Thermal cannons. But instead, I came across this trick using telescoping plasticard tubing instead. So much less headache and works great!
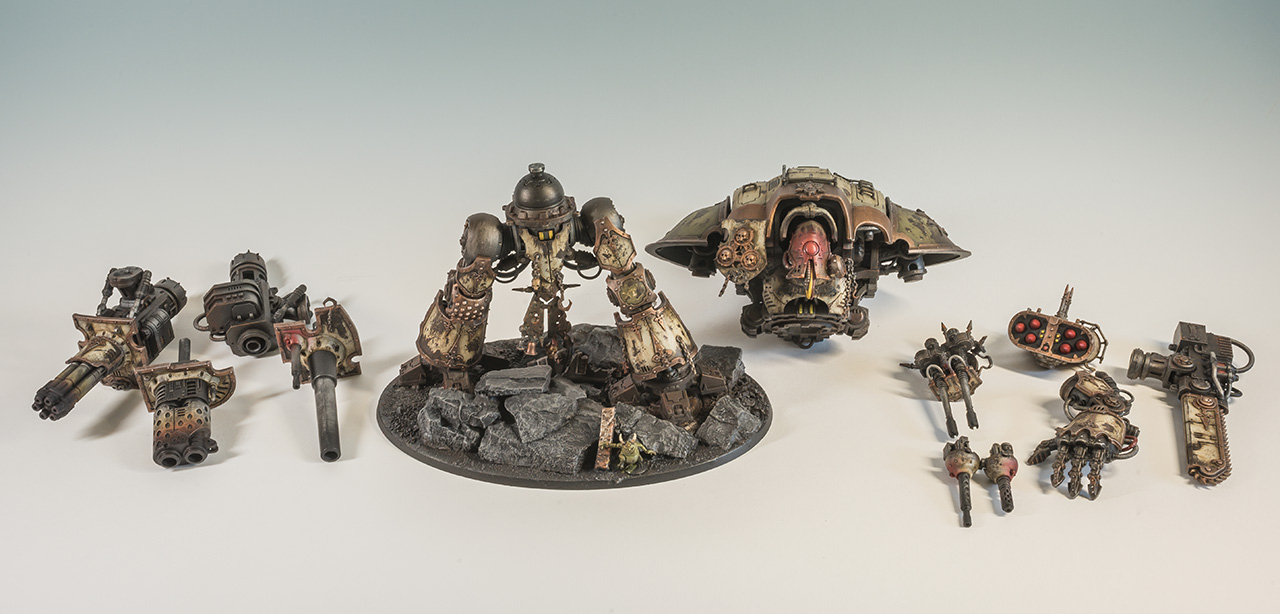
Hope you find some of this useful for your next Imperial Knight build (even if it isn’t devoted to the Gods of Chaos). Here’s a look at how one of mine turned out:
4 thoughts on “Magnetizing an Imperial Knight”