Have you been wanting to add some extra detail to your miniatures? Jason’s here to share how you can add blood, gore, slime and saliva effects to your minis! Read on to see how…
When I was finished with my World Eaters Dreadnought, I thought it was missing something . . . BLOOD! I normally don’t add blood to my minis but for the World Eaters, I felt it was pretty fitting.
After doing some research online I came across a similar technique to this and I thought I’d share as I was happy with the results.
Materials
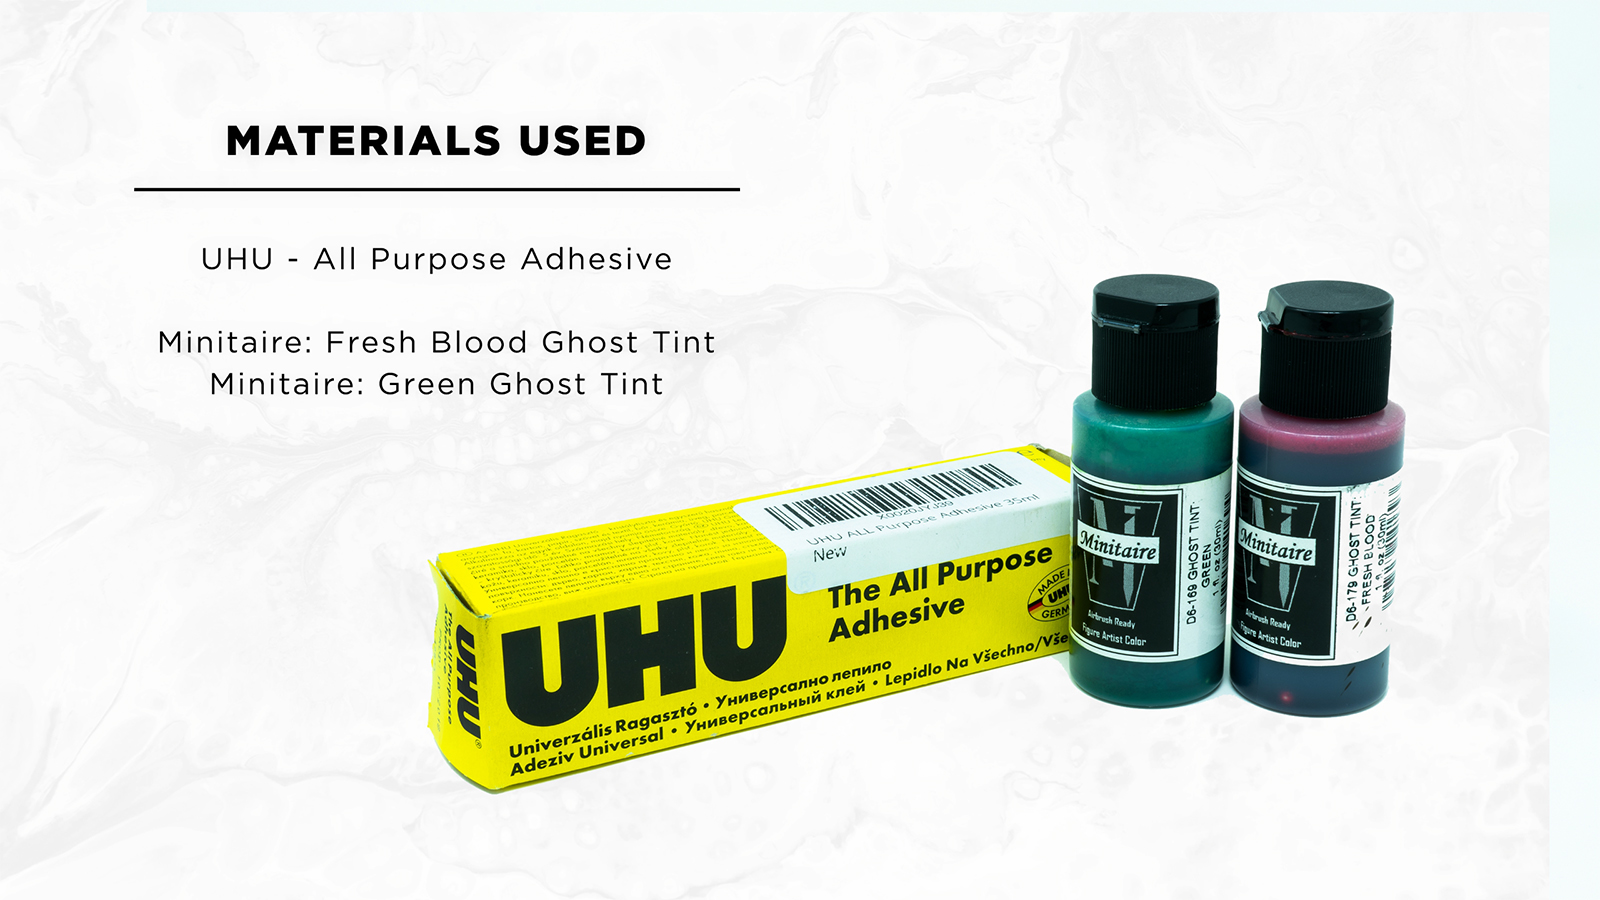
First, you’re going to need a few materials:
– Uhu – All Purpose Adhesive
– Some ghost/translucent paints – I’m using Badger Miniaire Ghost Tints.
Blood Effects
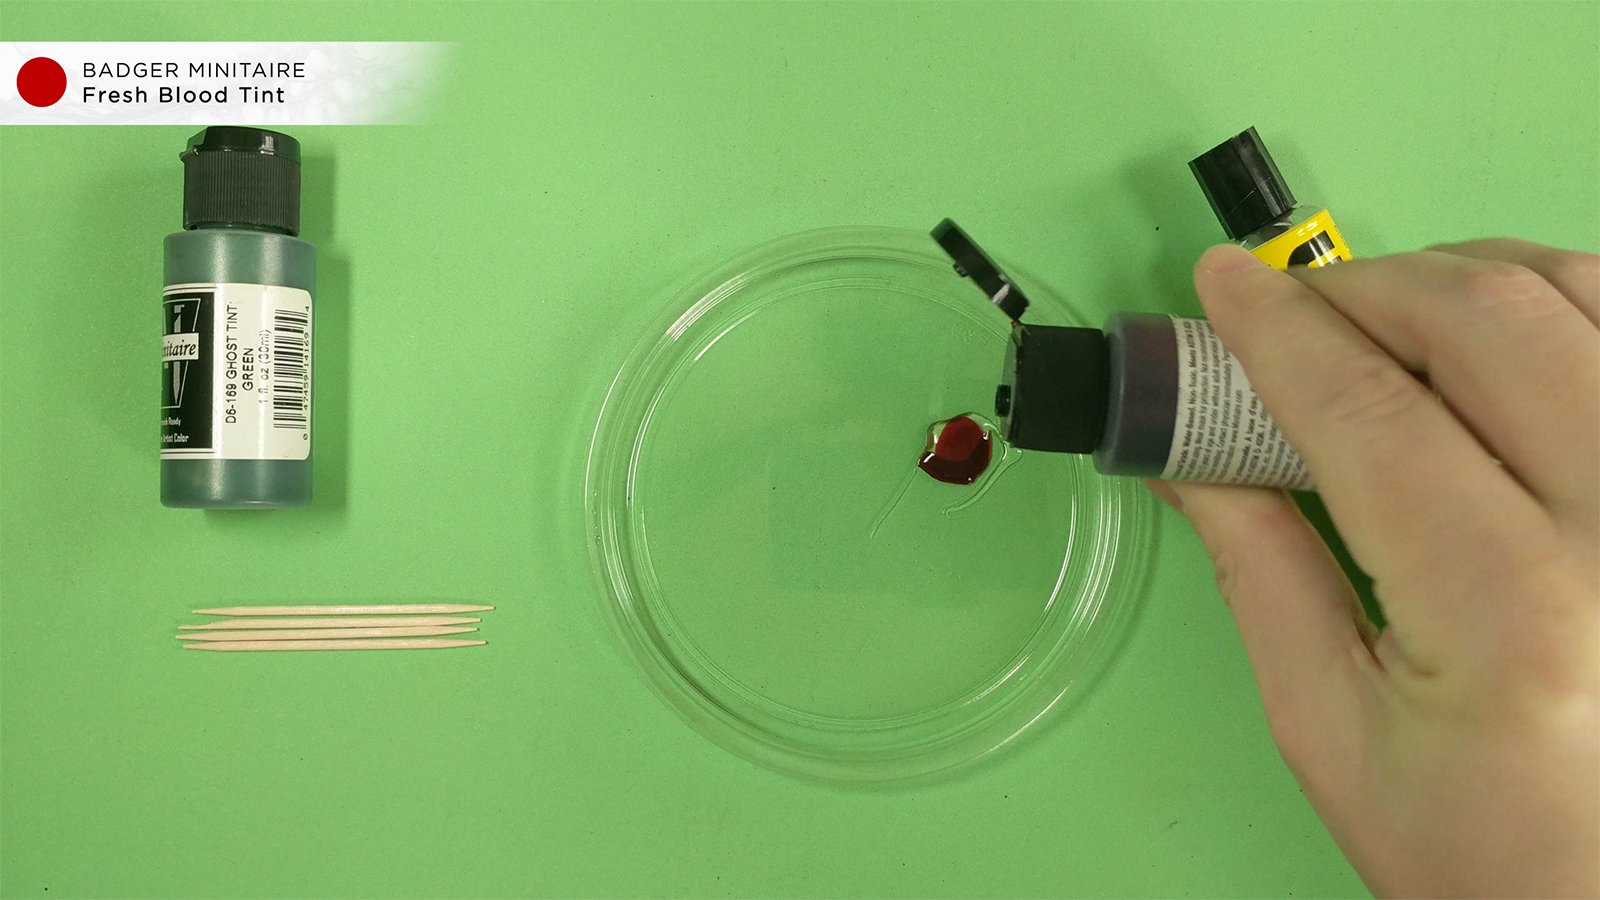
You’ll want to grab an old piece of plastic (like a lid or something) to create the mixture. First put a small dab of the Uhu Adhesive on the plastic, a little bit will go a long way. Next take your color, in this case Fresh Blood, and place a few drops into the adhesive.
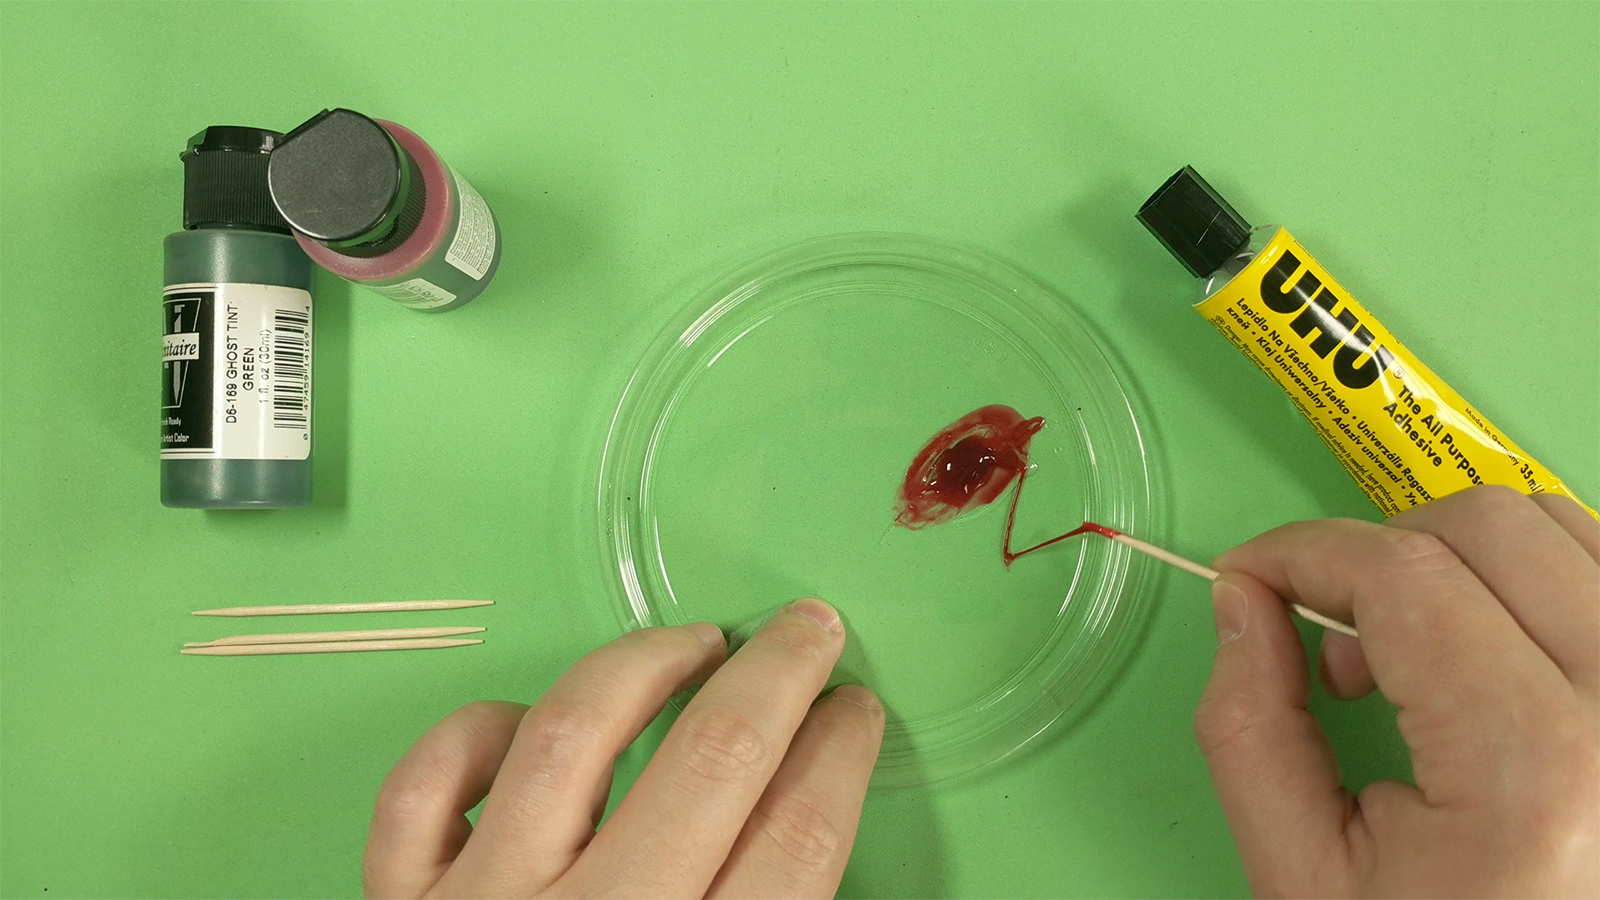
Now take a toothpick and stir the mixture together. It does have a pretty quick curing time so you’ll want to move kinda fast. Mix it until it gets nice and stringy.
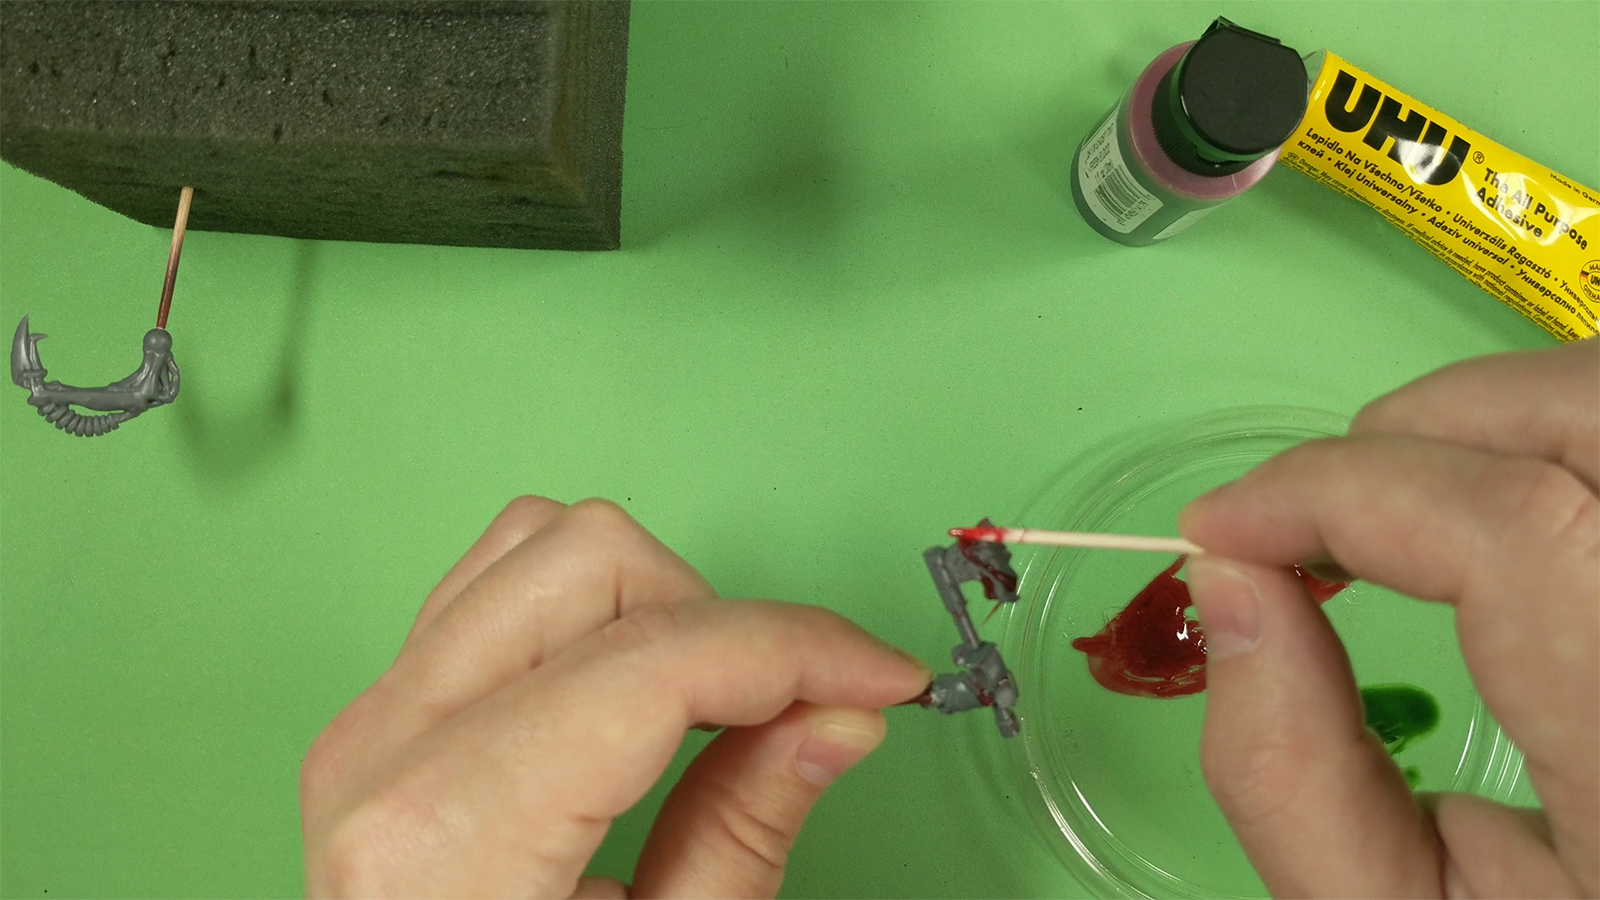
Using the toothpick, drag the mixture across your model. You’ll want to try and have it grab onto edges, spikey bits, etc and drag it along to another point on the model to create the stringy effect. Do this until you’re happy with the result!
Slime Effects
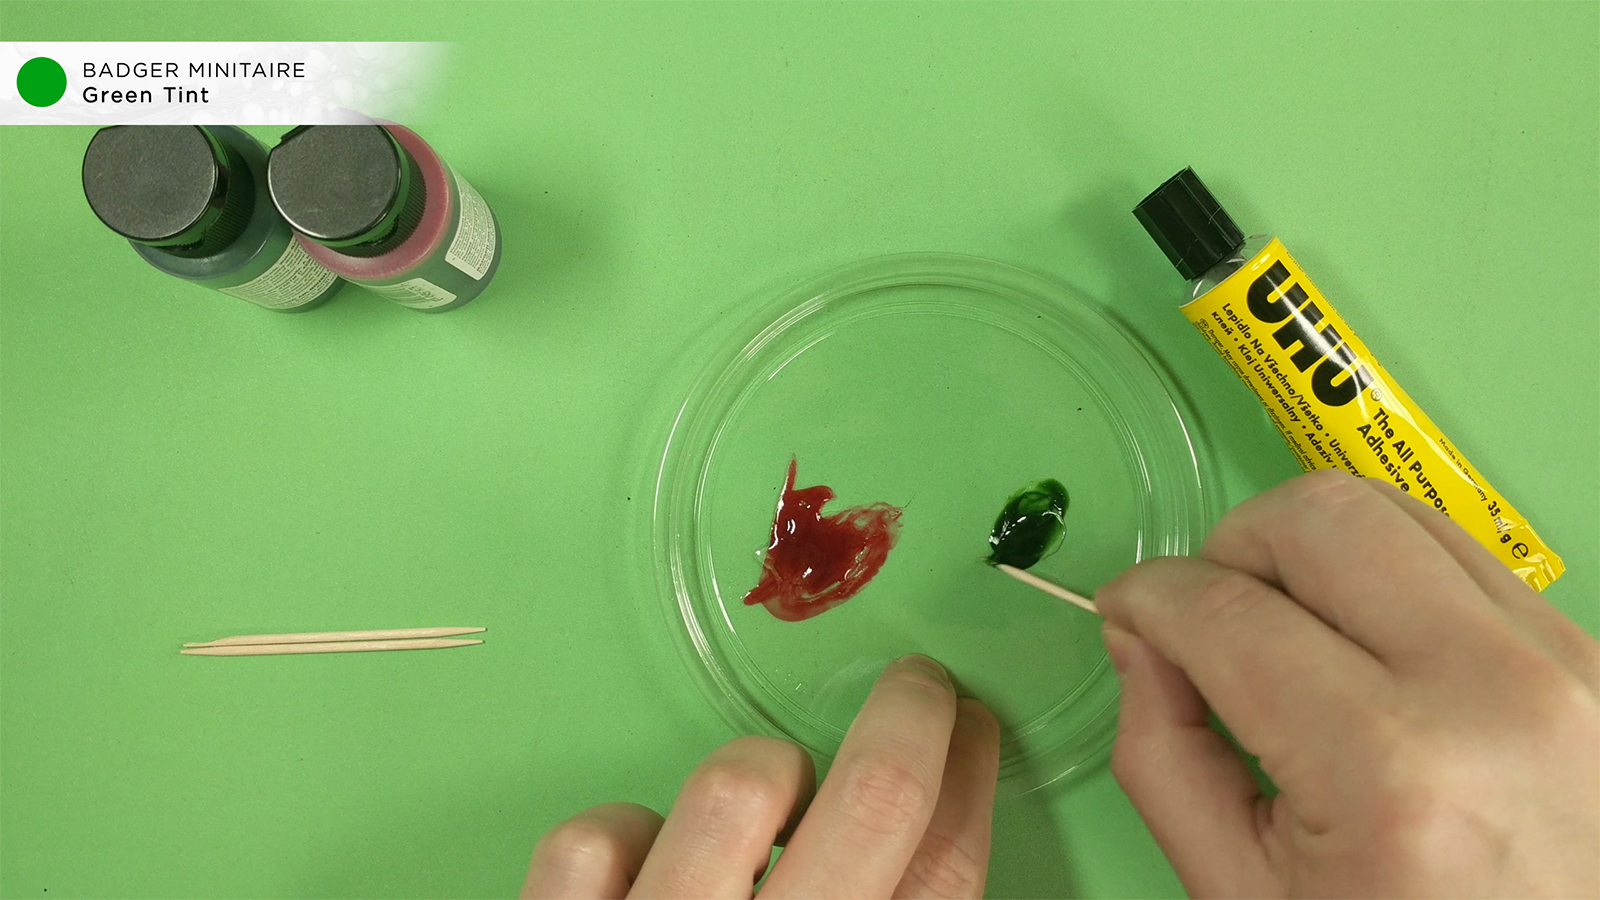
Similar to the blood effect, you’ll want to mix in your green tint paint. You can also experiment with other colors for other effects or keep it clear for saliva.
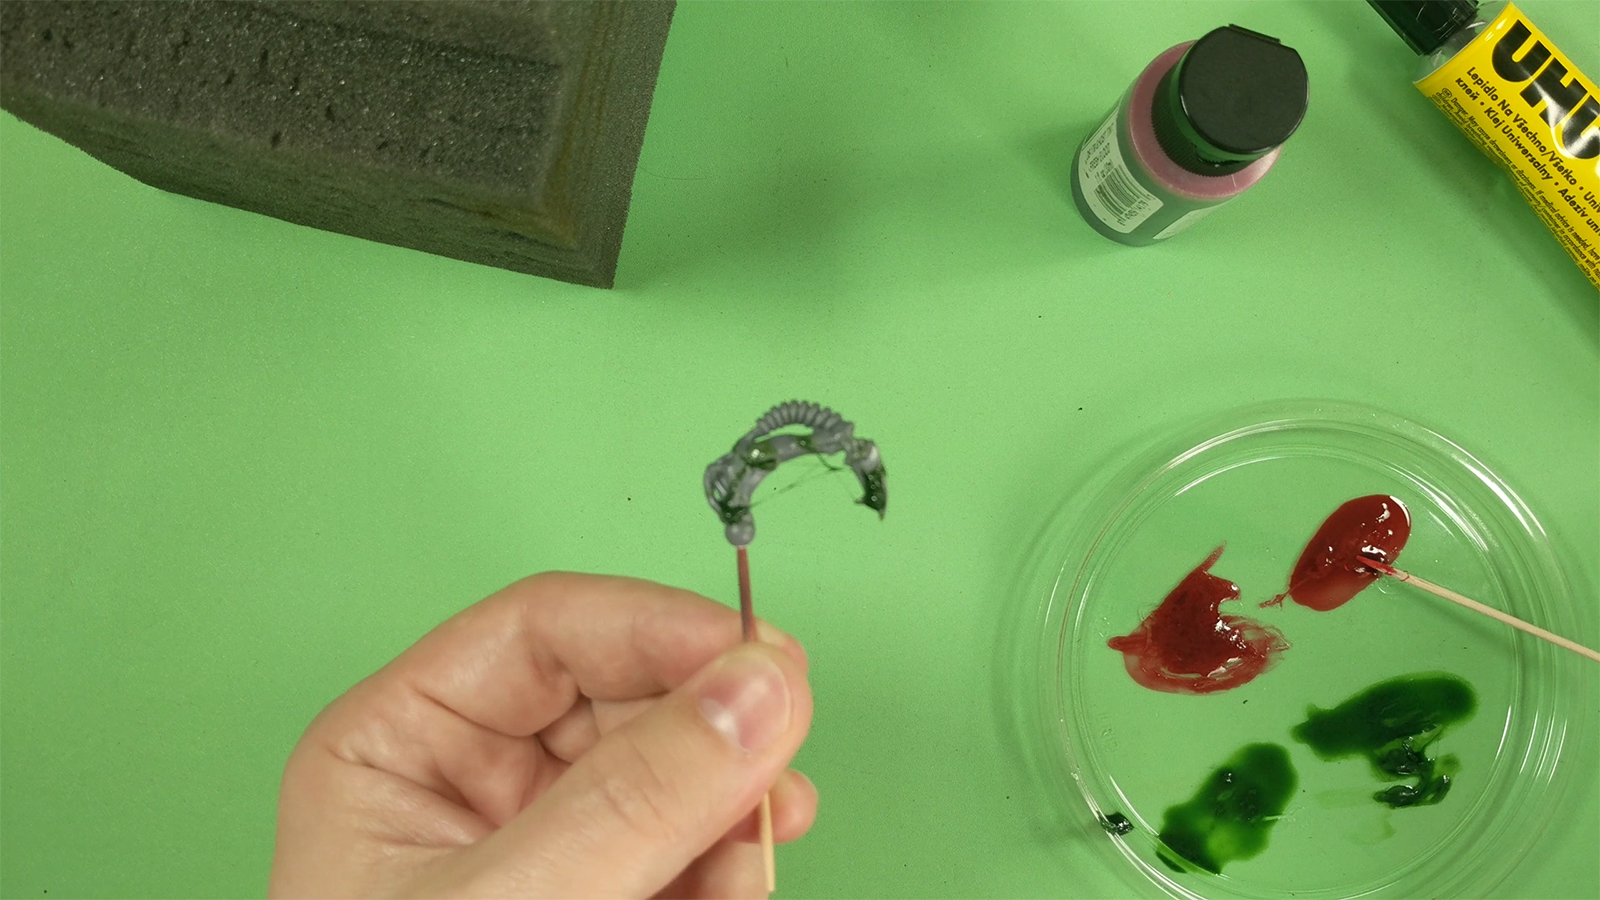
Using the same method as the blood effect, drag your slime mixture across the desired bits. Mouths and claws are a great area to use this effect, especially on Tyranids or Nurgle Daemons
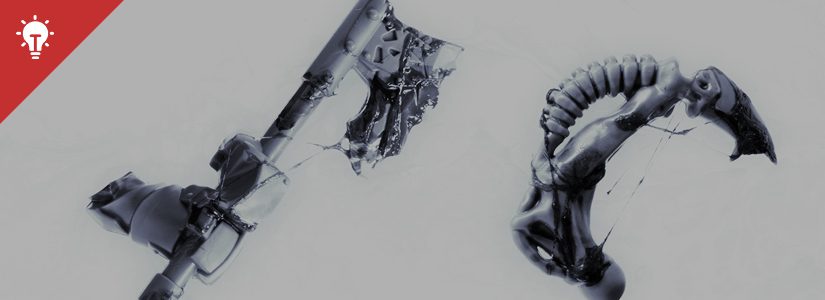
Examples
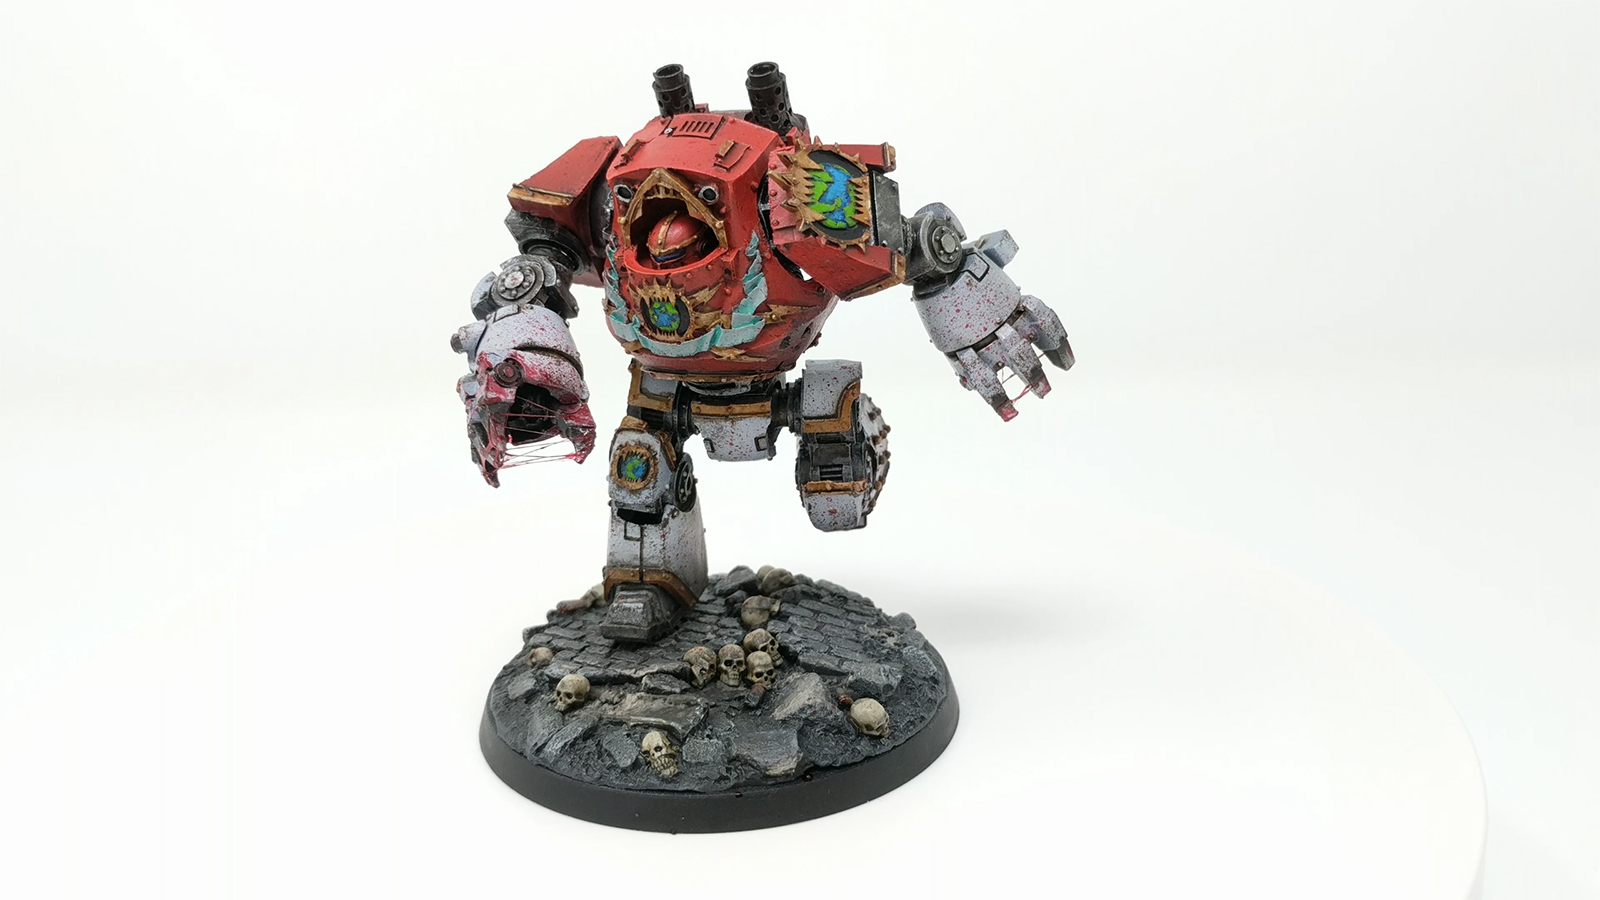
Here is an example of what the blood effect could look like on your finished model. In this case, it’s my World Eaters Contemptor Dreadnought.
I’ve also created a 4K video tutorial if you’d rather watch that:
Hope you find this tutorial useful!
Leave a Reply