
After doing a Google search, I found out there were only a handful of magnetizing tutorials for the Wraithknight. Some great tips and tricks but at the end, it seemed like along with magnetizing, you’d also have to pin to help keep arms posed. So I started to experiment with what can be done and thought I’d share.
Body Components
Magnets: 3/8 x 1/4
Arm Connections: Instead of using weaker magnets, I had some beefier ones laying around that I thought would fit into the arm sockets. Sadly, that wasn’t the case and ended up just lopping them off completely. I’m thinking of wrapping them in green stuff to add the tubing effect back to the joint.
Magnet: 3/8 x 1/4
To attach the top of the model to the legs, I also put the magnet into the bottom. Gluing the torso mount to the top half of the model.

Magnet: 3/8 x 1/16
On the legs, I put a single disc magnet to connect to the torso on the inside.
Magnet: 1/4 x 1/16
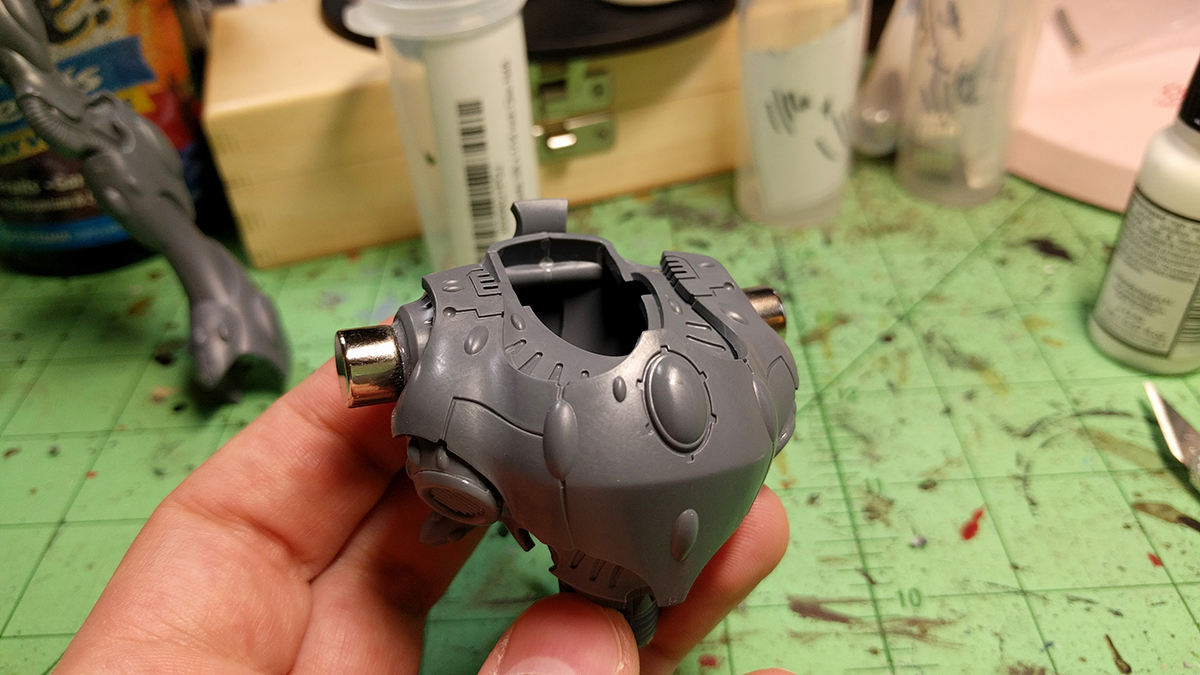
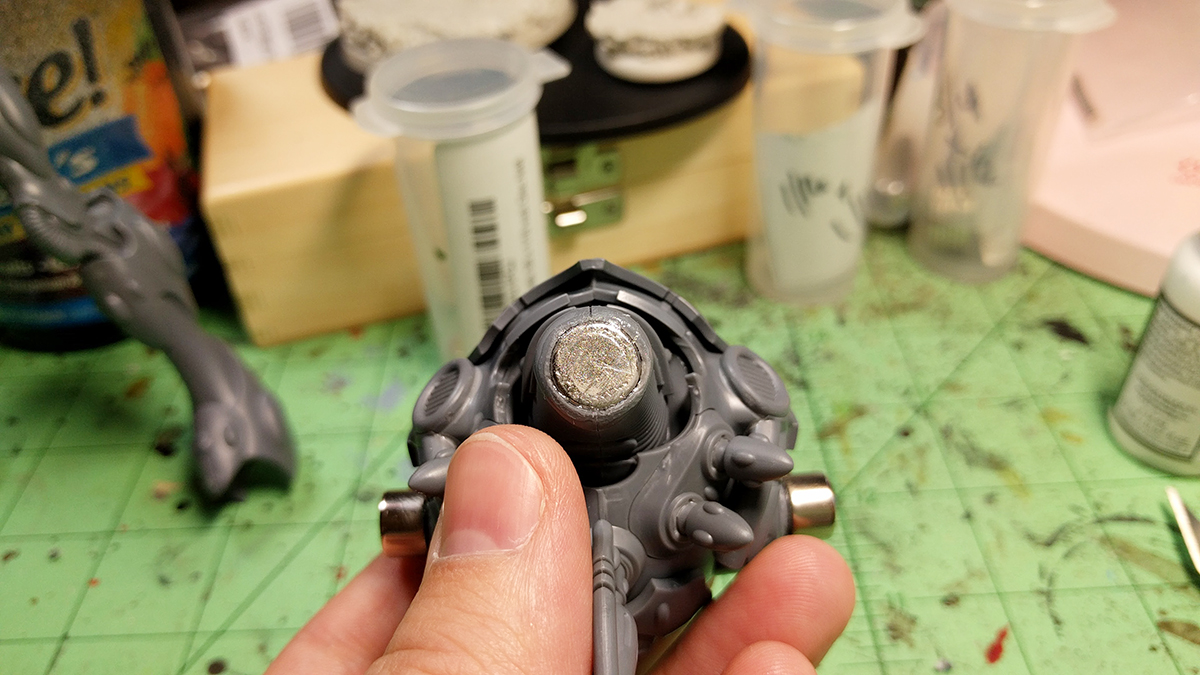
I really love being able to turn the head of my Ork Stompa so I went ahead and magnetized the head to the neck with a pair of disc magnet so I can turn it in battle as well. I’m using the Skathach version (from Forge World) which comes with a different neck and head piece but should be similar for the base kit.
Magnet: 3/8 x 1/16
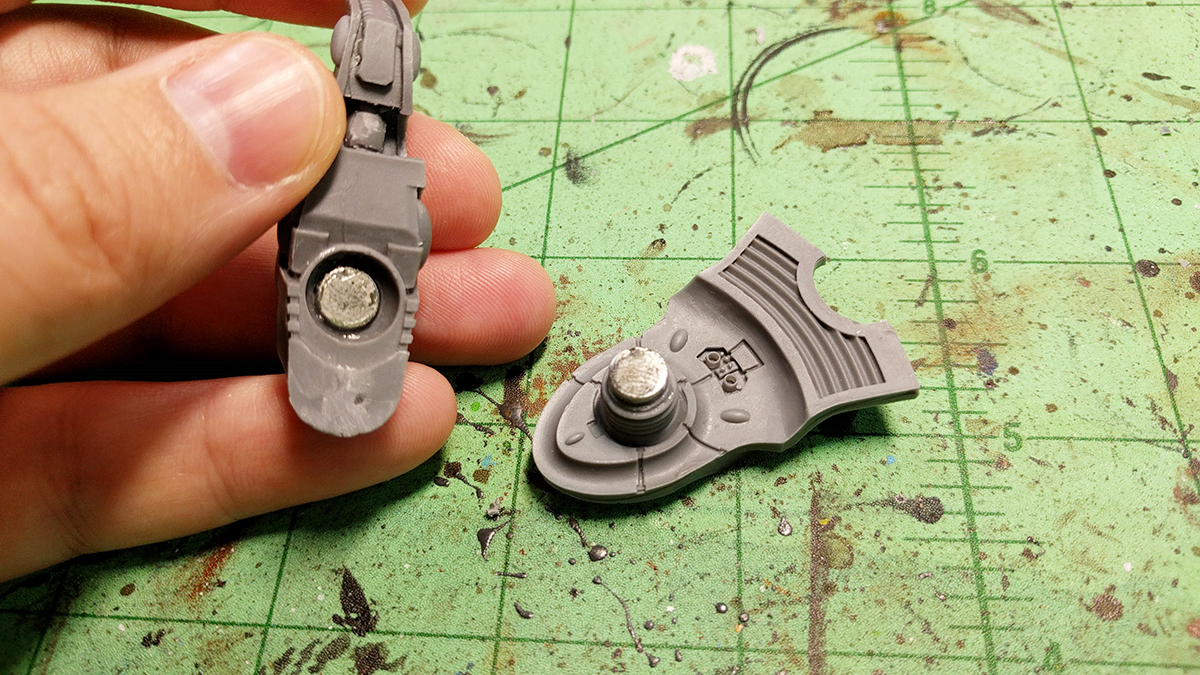
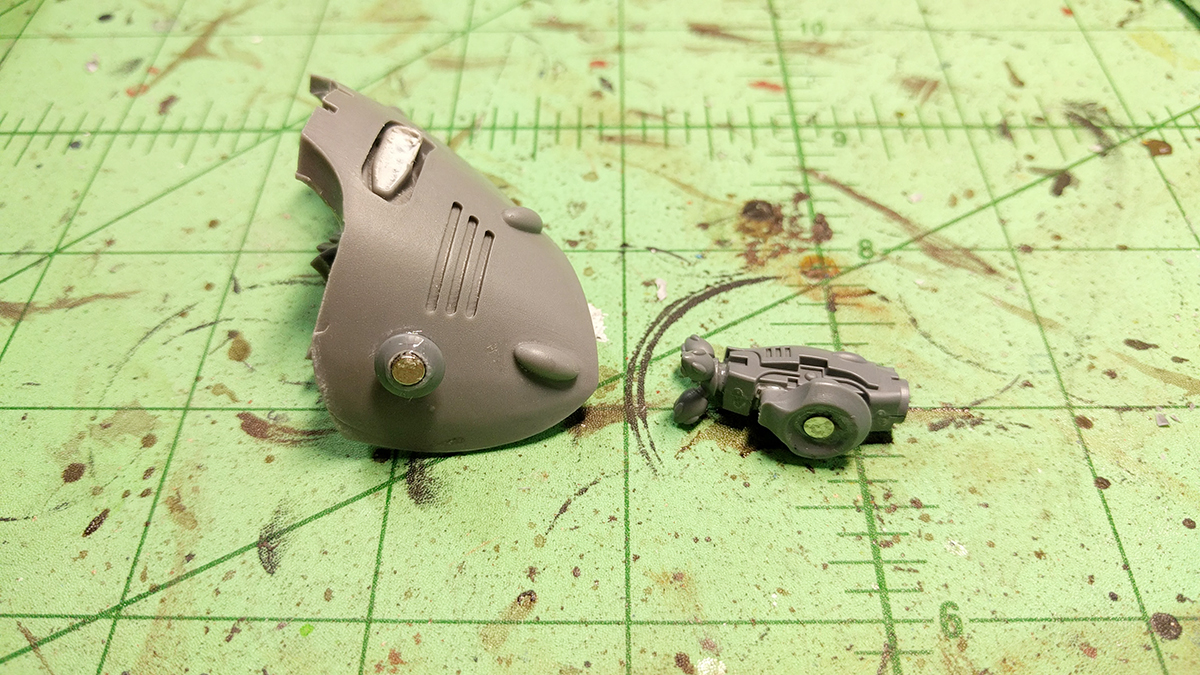
To connect the arms to the chest, I did some minor drilling to help set the disc magnets into the sockets so they were flush.
Weapons
Magnet: 1/4 x 1/16
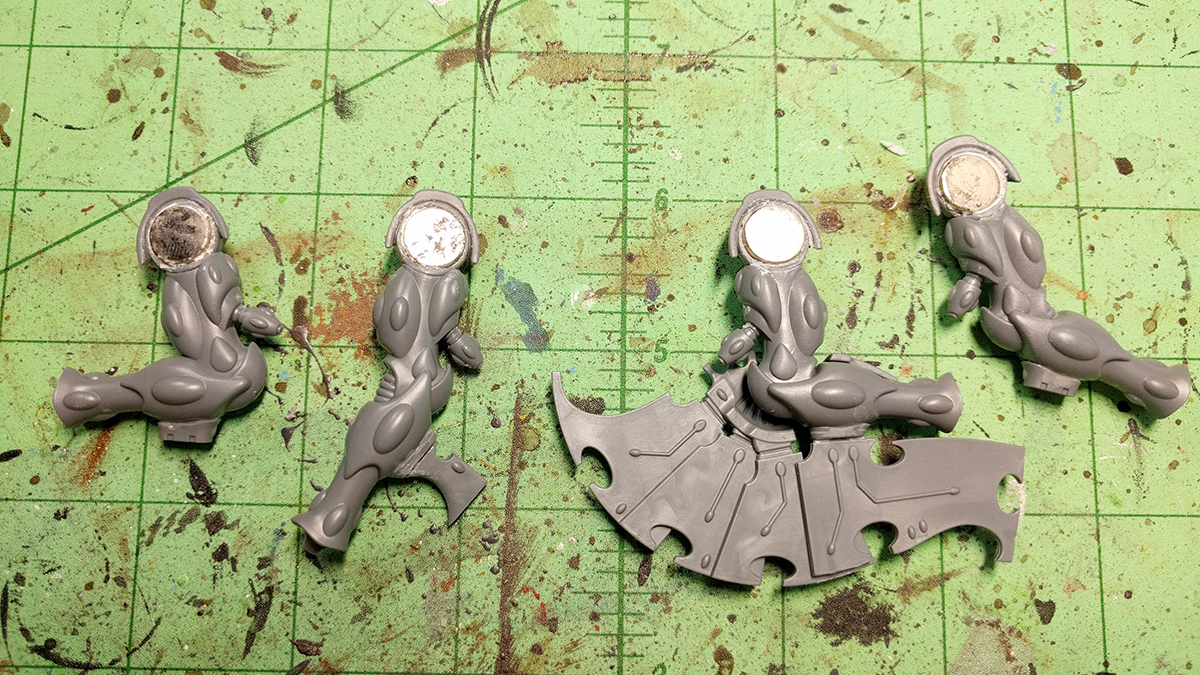
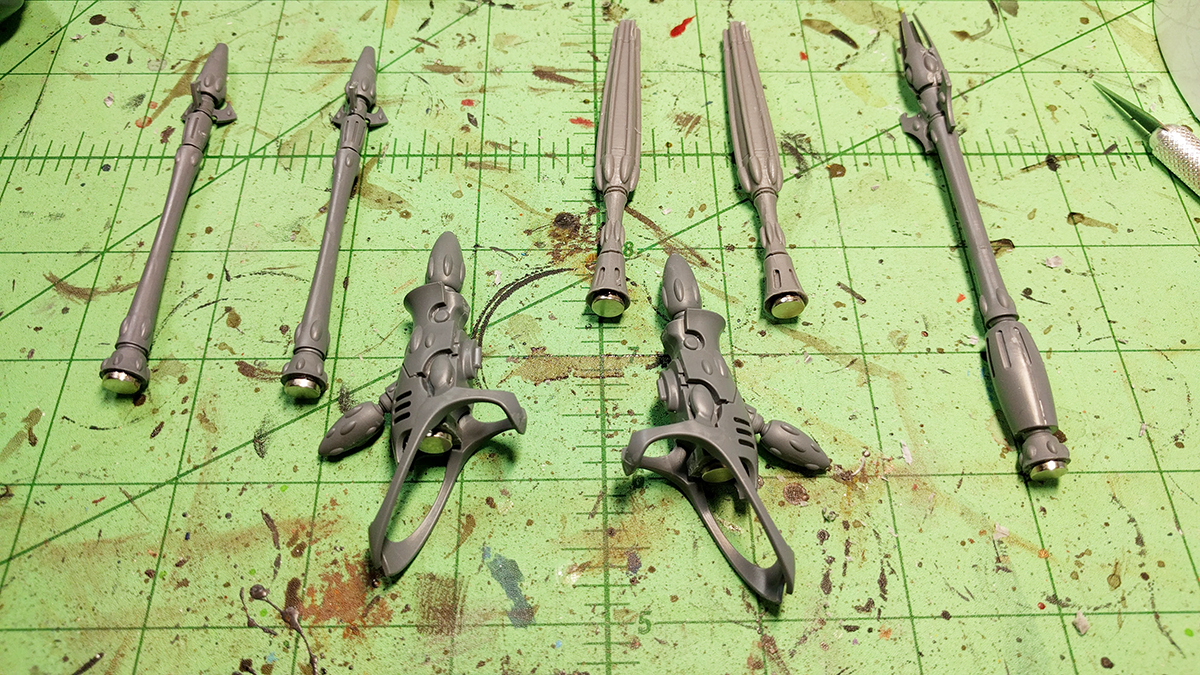
For the weapons, I have one housing for each arm. On the housings, I shaved off the diamond connecting circle to make a flush area to glue the magnets on. I shaved the gun mounts flush to the guns and added the same sized magnet to them. I also decided to magnetize the Deathshroud Cannons in case I ever wanted to run that version.
Magnet: 1/8 x 1/16
For this model, I really loved the Forge World Skathach upgrade kit mostly for the clean/smooth helm but also love the shoulder upgrades. They also have the shoulder weapon mount area as the main model so I decided to magnetize the weapons there too. For these, I added magnets to connect the weapon housing to the shoulder peg. I’m on the fence if I want to magnetize the weapon ends themselves or just keep them as the dry-fit diamond connector.
In total, here are the magnets I used…
(3) 3/8 x ¼
(5) 3/8 x 1/16
(9) ¼ x 1/16
(4) 1/8 x 1/16
Hope this little tutorial helps!
Oh, one more quick tip….
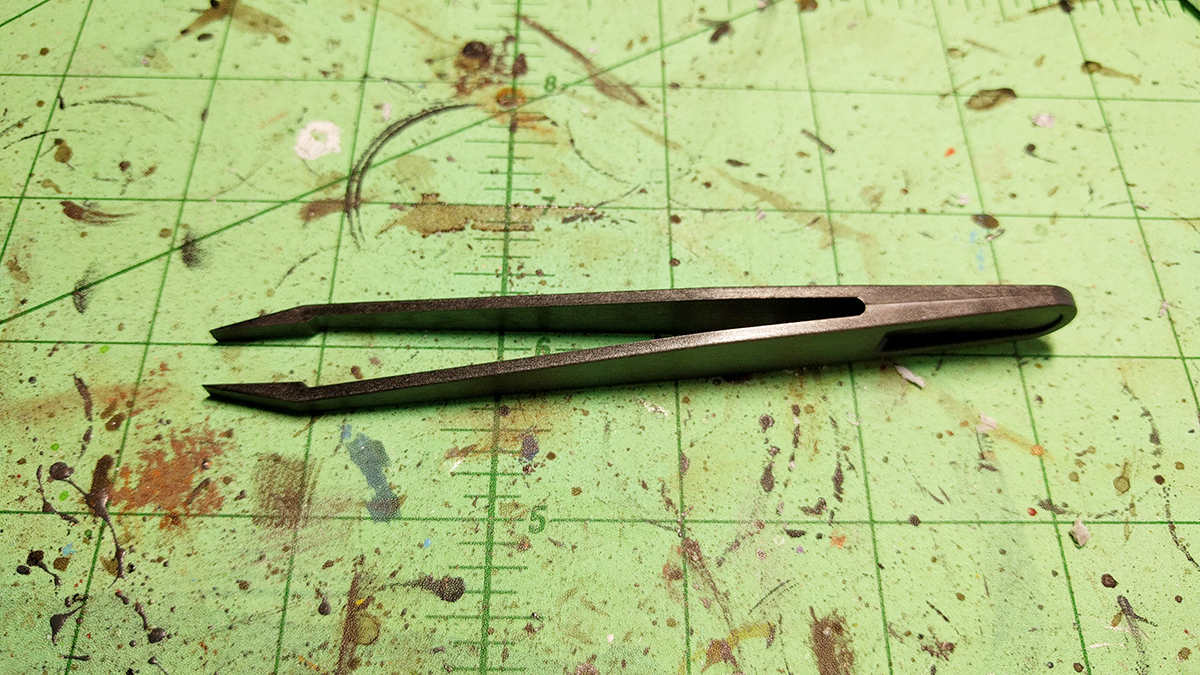
If you’ve worked with magnets you’ll realize that getting them onto the model with an X-acto knife or something can be a pain, especially when the magnets turn around, etc. I picked up a pack of five of these plastic tweezers off Amazon for a few bucks and they’ve been well worth it!
Leave a Reply