
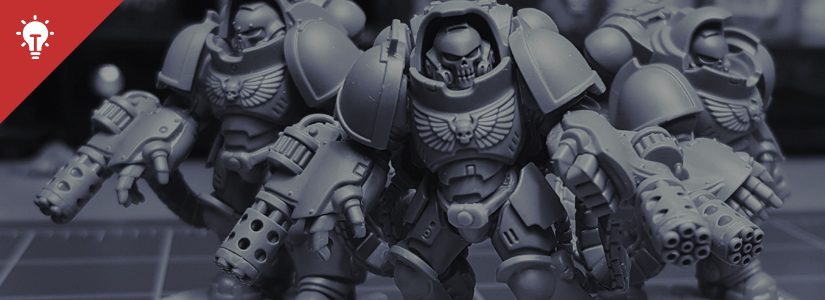
We’re excited to share a new tutorial this week from a guest poster: Kyle Haydon. You may have recognized his name from our recent Lord of Contagion post, with Kyle being the one who created the kit-bash. Today, he’s here to share how easy it is to do a weapon swap on the Decimator-Pattern Aggressor marines. Read on to see how…

Step 1
Make sure to trim both the gauntlet and arm segments in advance, but do not glue them. You don’t want to be fiddling around with trimming mold lines after the fact!
Step 2
Cut the forward part of the gun assembly away. Clippers work fine if positioned in the area shown, but if you’re worried about over-cutting you can do the same easily with an X-Acto knife!
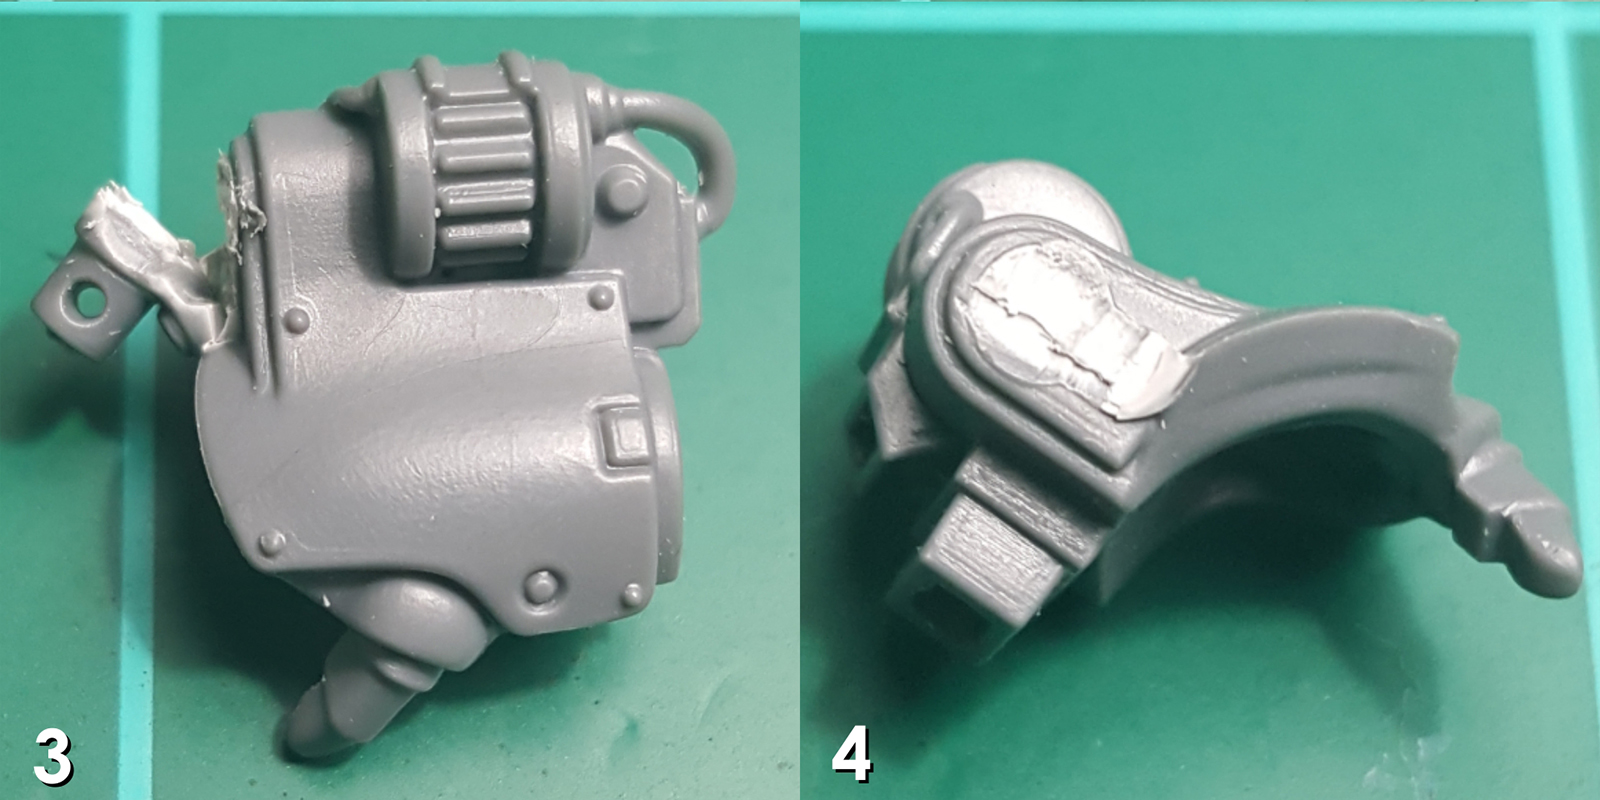
Step 3
Clippers only here, just to show how it’ll split when clipped this way.
Step 4
Whether with clippers or an X-Acto knife, you’ll have some cleanup to do. Most of the area that connects to the gun can simply be scraped clean. The edge of the gauntlet’s plate, however, is a bit more finicky. Use your X-Acto knife to carefully pare it down – follow the curve of said plate to preserve its shape! You can scrape down to the gun ‘base’ to help smooth the whole area.
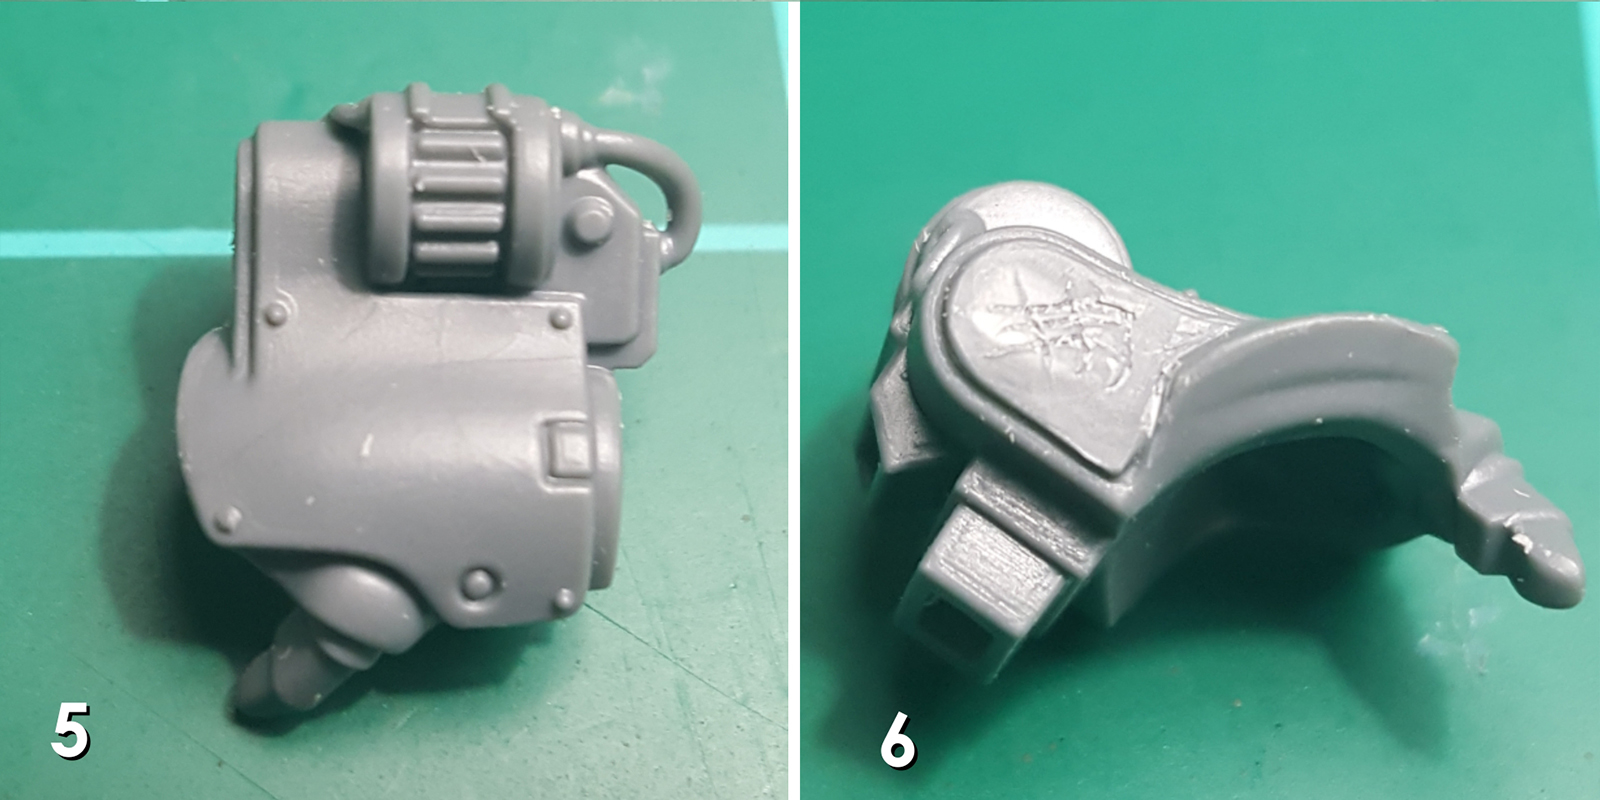
Steps 5 & 6
You can see here how I cleaned up the area. Once done use the tip of your X-Acto to carefully score the middle of the cleaned gun base. This will help the cannon bit bond. I found pinning unnecessary with this method – but you may want to do so anyway to avoid later breakages!
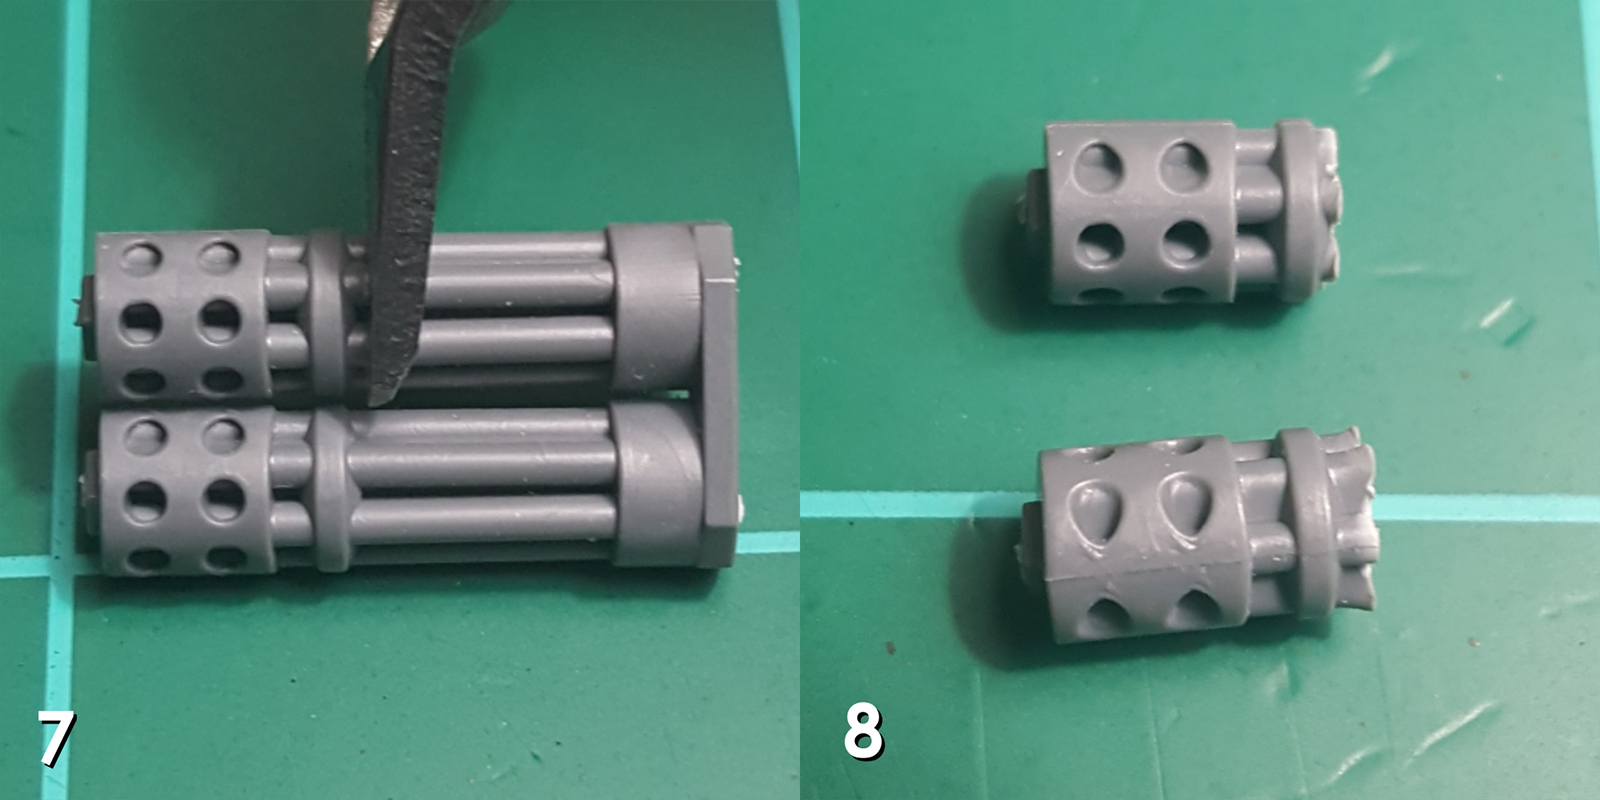
Step 7
Snip or cut the Taurox gatling cannon as shown. Again, either works. Using an X-Acto knife will save you a step but I found snipping much easier.
Step 8 & 9
If you snipped it, cut away the remaining barrel nubs and scrape the area smooth. Also trim mold lines at this stage – the gatling cannon has them between its barrels after all! Trim and prepare the actual muzzle assemblies that come with it as well. Glue the tips on. Then scrape another set of lines in the base of each one as shown.
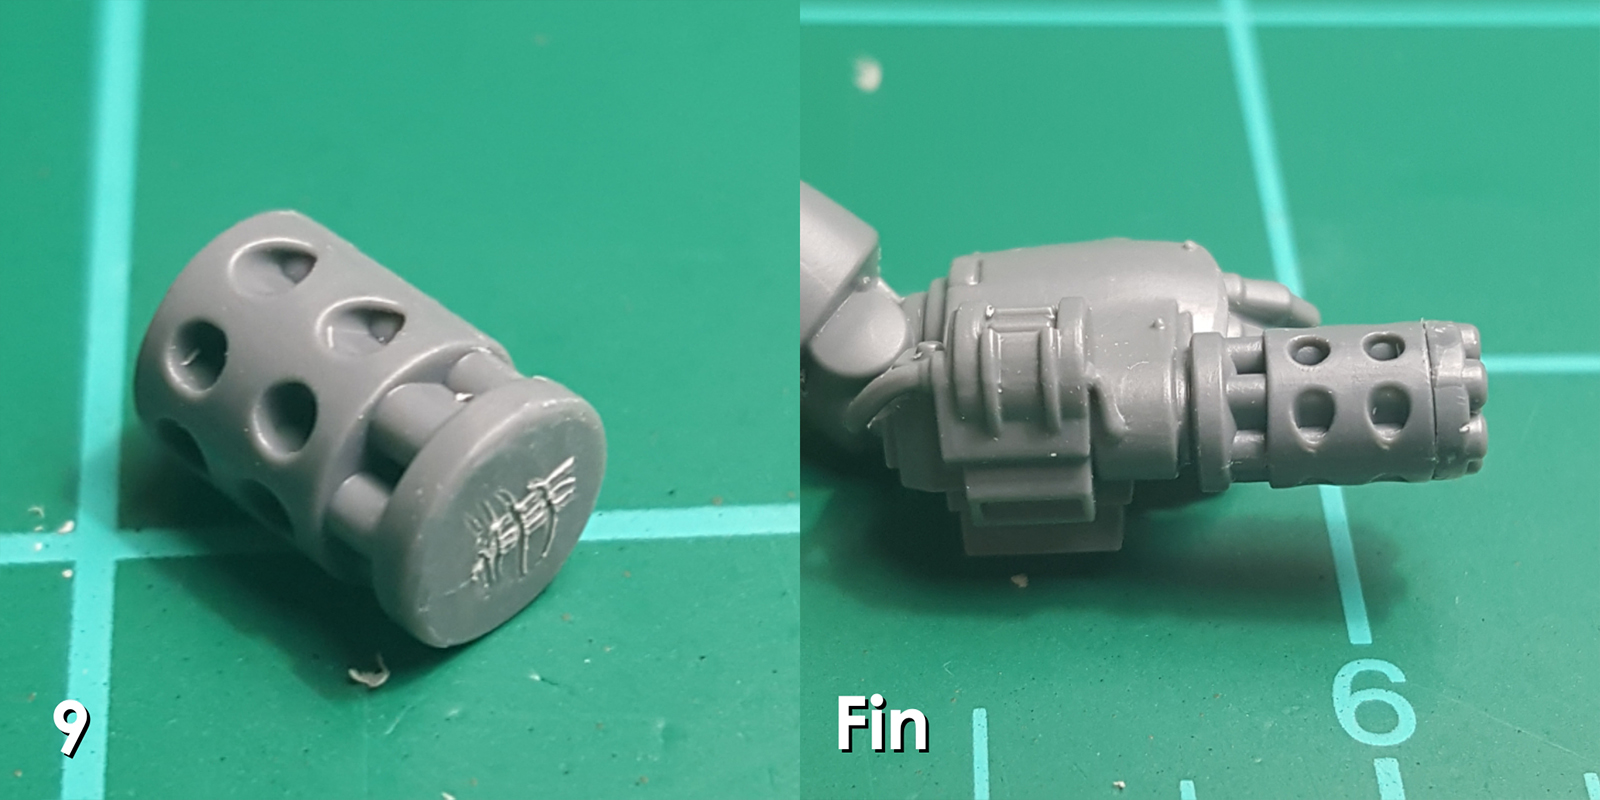
That’s it!
Simply glue the assembled gatling cannon parts onto the space you scratched in 5-6! I used Tamiya thin cement to make a very strong bond, which I’m not worried will break – even though I pinned the first one I made!
I hope this was helpful to those interested in the conversion.
More to come soon!
Be sure to follow Kyle on Instagram for more of his awesome conversion work.
Hi, this conversion is just a brillant and crazy add on that makes the aggressors look even more cool. By the way, what is the Decimator Pattern? Is that a specific pattern that could be find anywhere or is just made up?
Cheers guys
Hey Kj,
Decimator-Pattern is just my made up name for the conversion from a lore perspective! Nothing more to be found about it than that, I’m afraid. Makes such conversions a tad more fun is all.